How Do You Cost Glass-Filled PEI by Good Parts per Tool?
Switching to glass-filled PEI seems simple, but hidden tooling costs can ruin your budget. Are you tracking the right numbers to see the full picture?
To accurately cost glass-filled PEI, you must track the number of accepted parts made per tool. Factor in the tool's purchase price, the cost of scrap material, and the labor spent on tool changes. This gives you the true cost per good part, not just per hour.
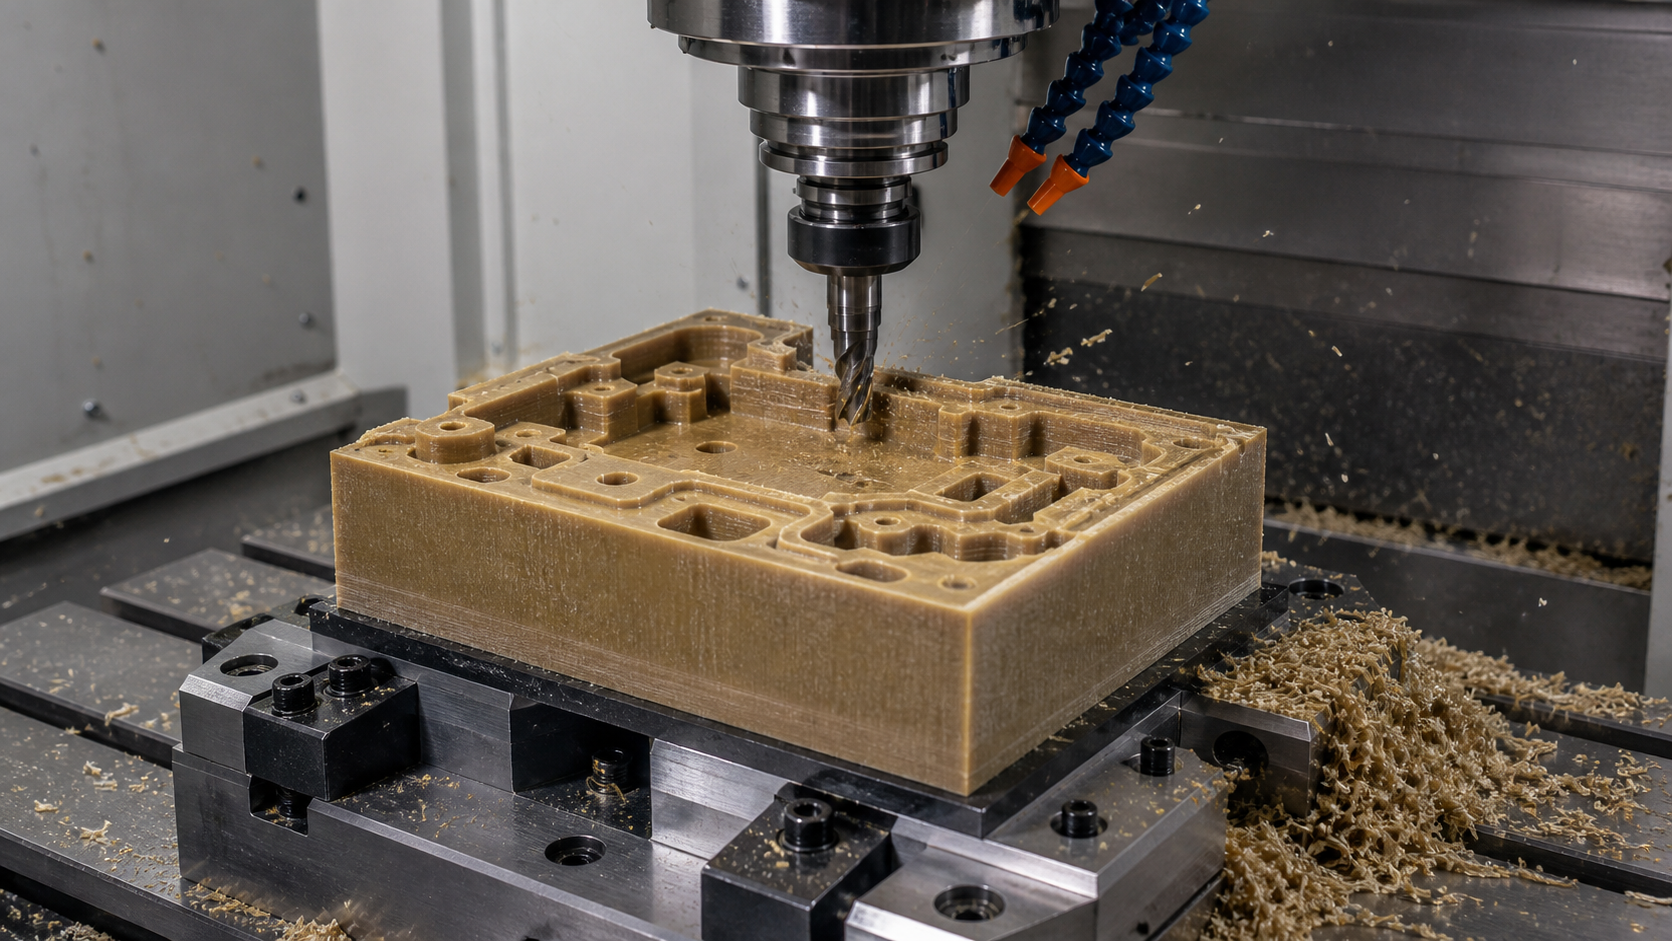
When we first started machining glass-filled PEI, we noticed something immediately. Our standard carbide tools wore down much faster than with unfilled grades. The glass fibers act like fine sandpaper, constantly abrading the cutting edge. This experience taught us that simply looking at the price of a cutting tool or the cost per kilogram of a polymer tells you very little. The real story is in the production data. You have to dig deeper to find the actual cost of making a finished, accepted component. This means moving beyond simple estimates and building a cost model based on what actually happens on the machine shop floor. It’s a lesson that has saved us from many poor supplier and material decisions over the years.
Counting Good Parts Produced Before Each Tool Change?
Your tools wear out fast on glass-filled PEI. Just buying cheaper tools seems like a fix. But does it actually save you money in the end?
Focus on machining yield, not just tool price. A more expensive, durable tool that produces more good parts before needing a change is often cheaper overall. You must count the accepted components produced during a tool's life.
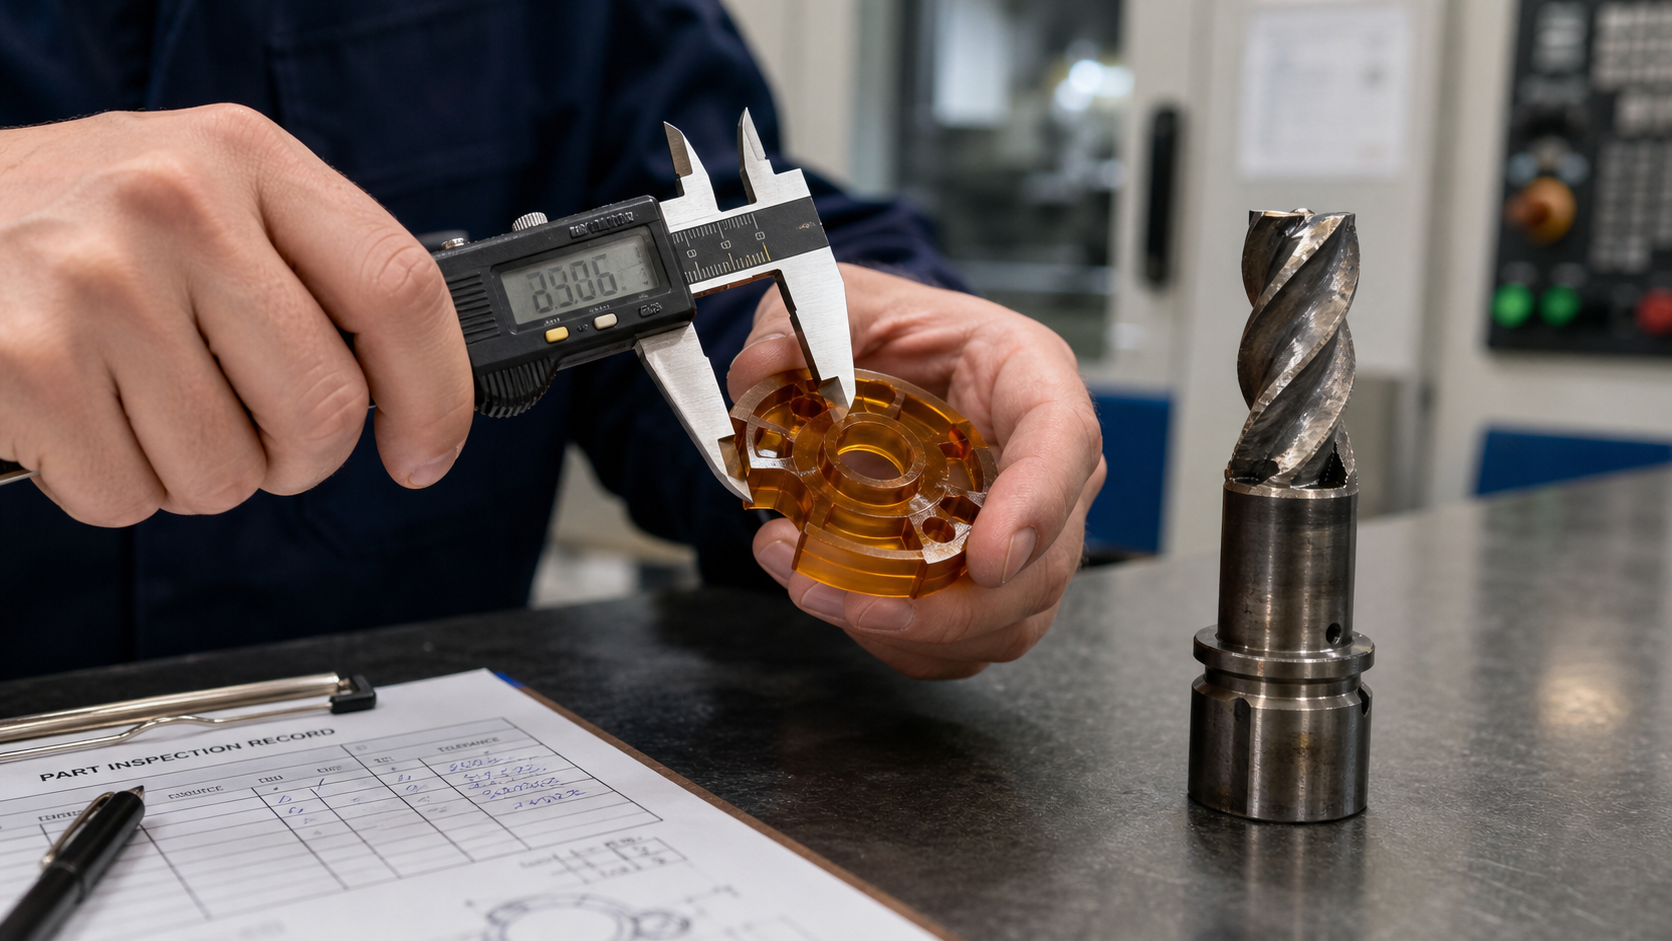
We consider rapid carbide wear a potential concern when changing from an unfilled to a glass-filled polymer. The abrasive nature of glass reinforcement is well-known. A cheap tool might only last for 50 good parts, while a premium coated tool could produce 500. The premium tool might cost three times as much, but it delivers ten times the output. This is the core of an evidence-based decision. We treat these discussions as anecdotal until we can test and confirm the results for a specific grade and application. Every PEI grade is different, and the tool's performance depends heavily on the geometry of the part and the machining parameters.
Tool Life Metrics
The key is to move from "cost per tool" to "tool cost per good part." This simple shift in perspective changes everything. It forces you to look at performance and yield instead of just the purchase price on an invoice.
Data Collection Table
We use a simple table to compare tools. It makes the best financial choice obvious.
| Metric | Standard Carbide Tool | Premium Coated Tool |
|---|---|---|
| Tool Purchase Price | $30 | $90 |
| Good Parts per Tool Life | 50 | 500 |
| Tool Cost per Good Part | $0.60 | $0.18 |
As you can see, the tool that looked more expensive at first is actually over three times cheaper for each component we ship.
Including Scrap Resin in Tooling Economics?
A worn tool produces bad parts before you notice it. This scrap material costs real money. Are you including this waste in your tooling calculations?
When a tool dulls, part dimensions drift out of specification, creating scrap. You must add the cost of this wasted high-performance resin to the cost of the tool that produced it. This reveals the hidden expense of premature tool wear.
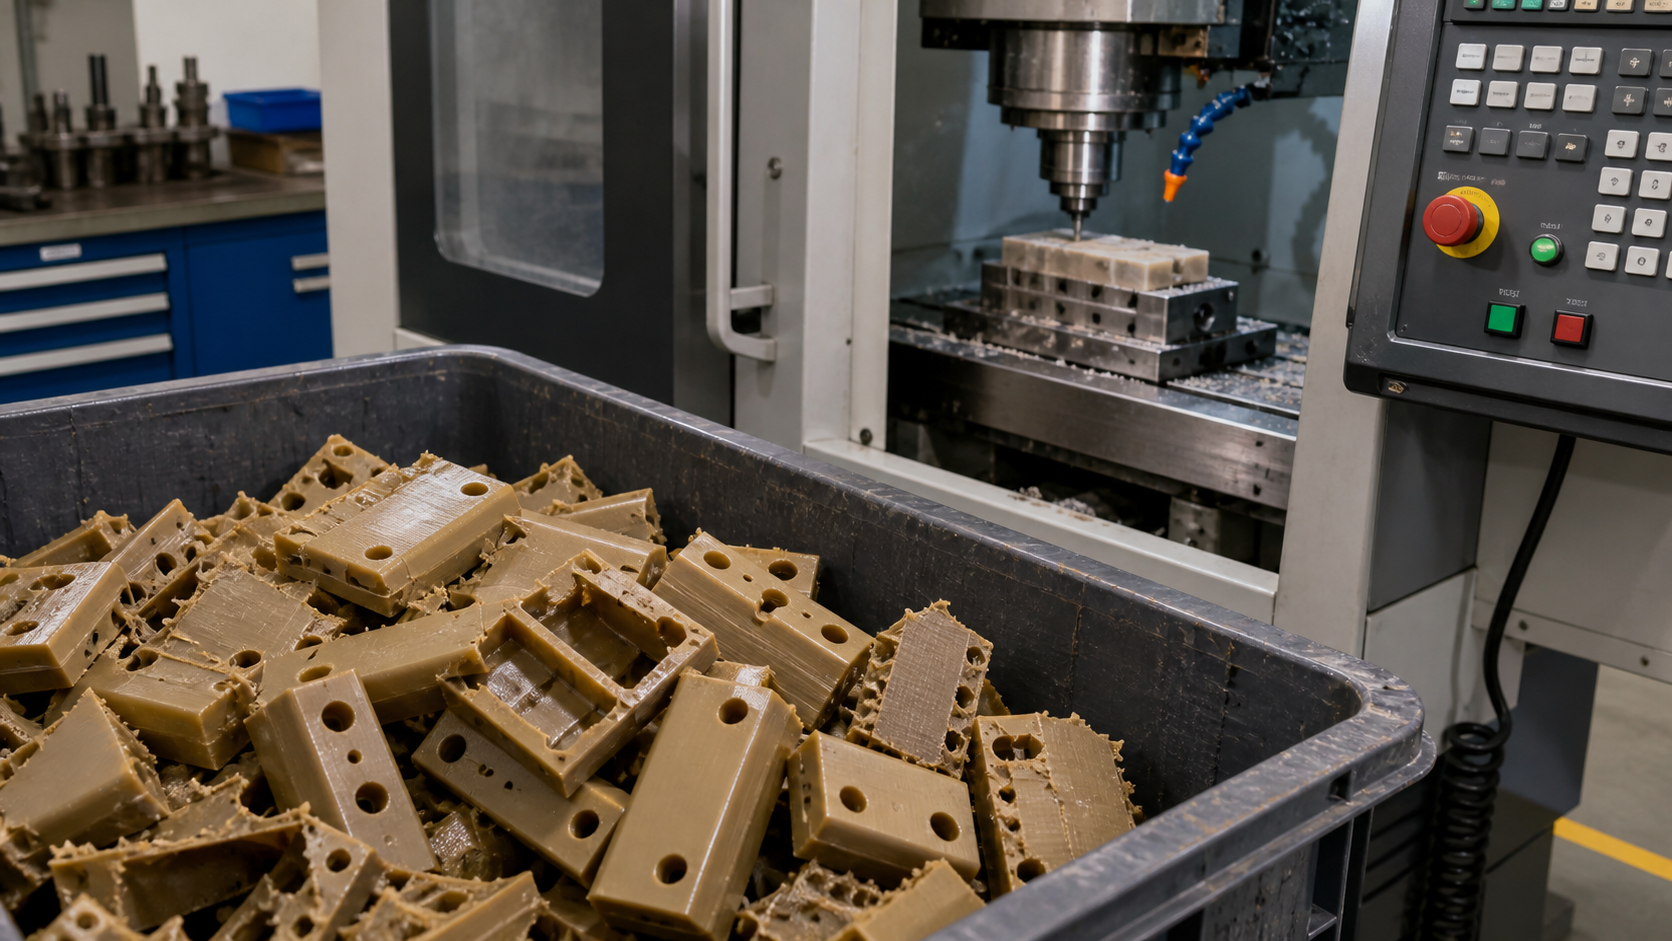
I remember one project where we were making small, high-tolerance insulators from glass-filled PEI. The operator found that after about 80 parts, a critical dimension started to go out of spec. The five parts made before he caught it were scrap. That doesn't sound like much, but PEI is a premium material. That small pile of scrap added a surprising amount to the total cost of the job. It taught us that the cost of a dull tool isn't just the price of a new one; it's also the value of the good material it turned into waste. Now, we always add the cost of scrap resin directly to the tool's performance evaluation. It gives us a much more honest number and helps justify using better, more wear-resistant tools.
We calculate this cost simply:
- Scrap Cost = (Number of Scrap Parts) x (Material Cost per Part)
For example, if a tool creates 5 scrap parts before being changed, and the material in each part costs $4, that's $20 of waste. This $20 must be added to the tool's purchase price before you calculate the cost per good part. It's a hidden tax on using the wrong tool.
Recording Labour Lost to Changes and Reinspection?
Changing a tool stops production and costs operator time. But these "soft costs" are often ignored. How much is this machine downtime really costing you?
Track the time it takes for an operator to stop the machine, change the tool, and restart production. You should also add the time spent re-inspecting parts after a tool change. This labor is a direct part of your tooling cost.
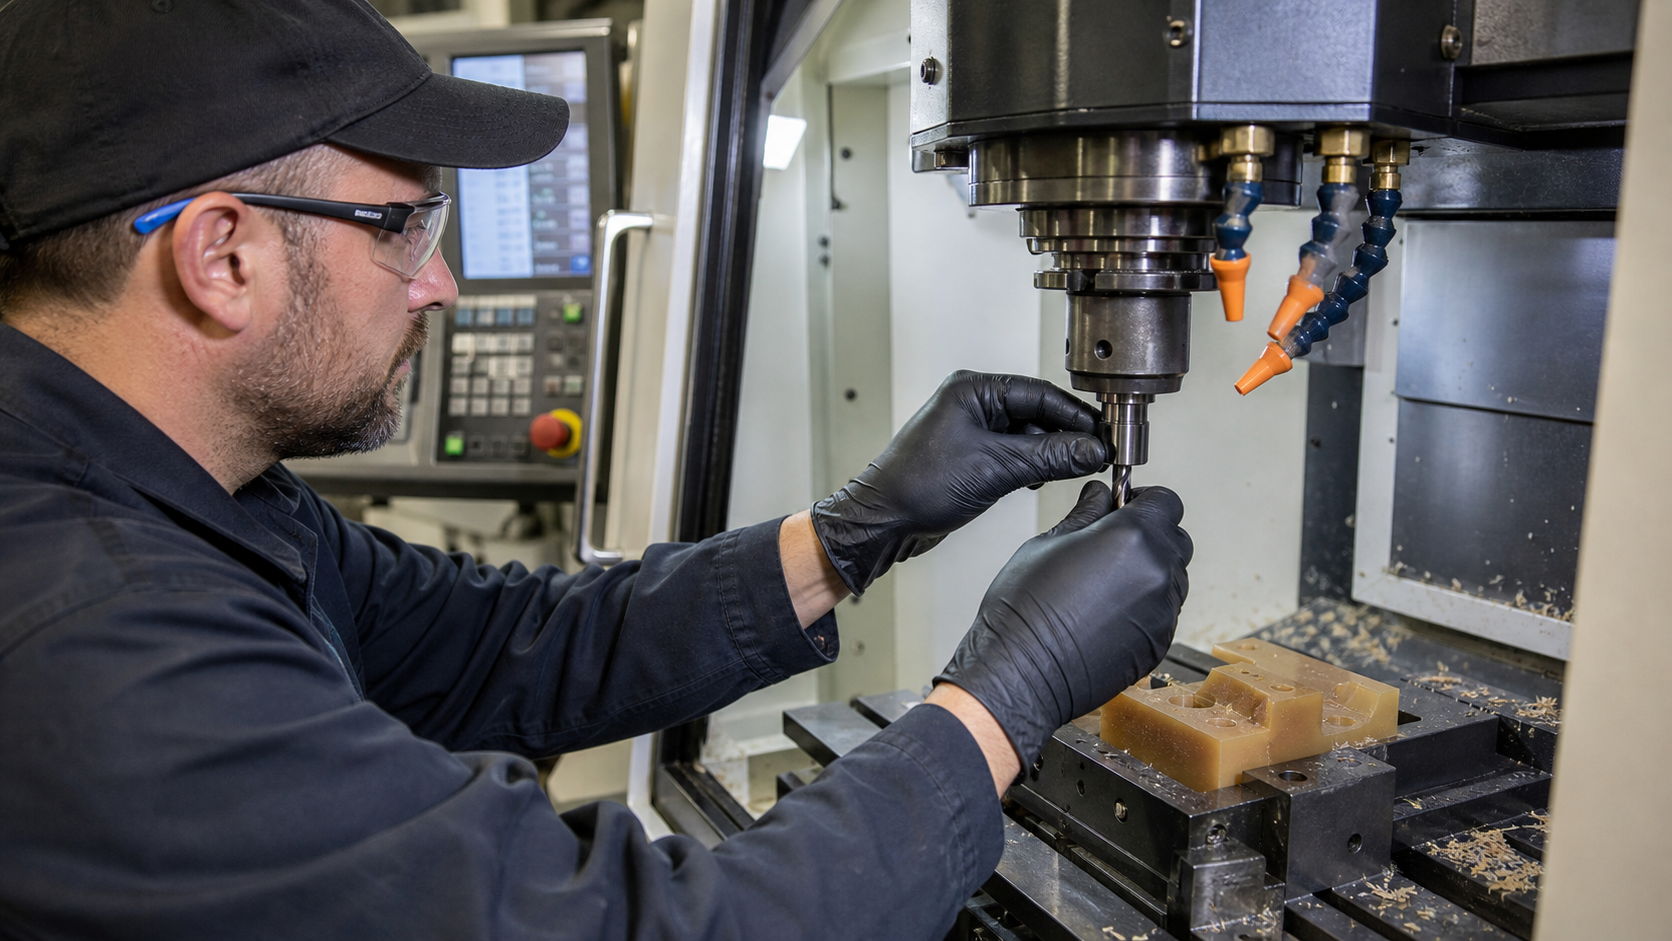
We used to overlook this. An operator would say, "I'm just changing a tool," and we wouldn't think much of it. But then we timed it. It took ten minutes to stop the machine, safely swap the tool, touch it off to set the new length, run a test piece, and get production going again. If a cheap tool forces you to do this ten times a day, that's over an hour and a half of lost production time. That's a huge cost. Now we see labor as a critical part of the tooling equation. A tool that runs longer doesn't just save money on carbide; it saves money on labor and keeps the machine making parts, which is the whole point. We treat production cost records as the final word on what works.
This cost is easy to quantify. If an operator's loaded rate is $60 per hour, a 10-minute tool change costs $10 in direct labor. If a cheap tool requires 10 changes to make 500 parts, that's $100 in labor. A premium tool that makes all 500 parts in one go has zero changeover labor cost.
Comparing Shops on Cost per Accepted Component?
You get quotes from two different machine shops. One is cheaper per hour. Is it the best value? Not if their poor tool management drives up your total cost.
Compare suppliers based on the total cost per accepted component, not just the hourly machining rate. An efficient shop with better tool management may have a higher hourly rate but deliver a lower final part price due to less waste.
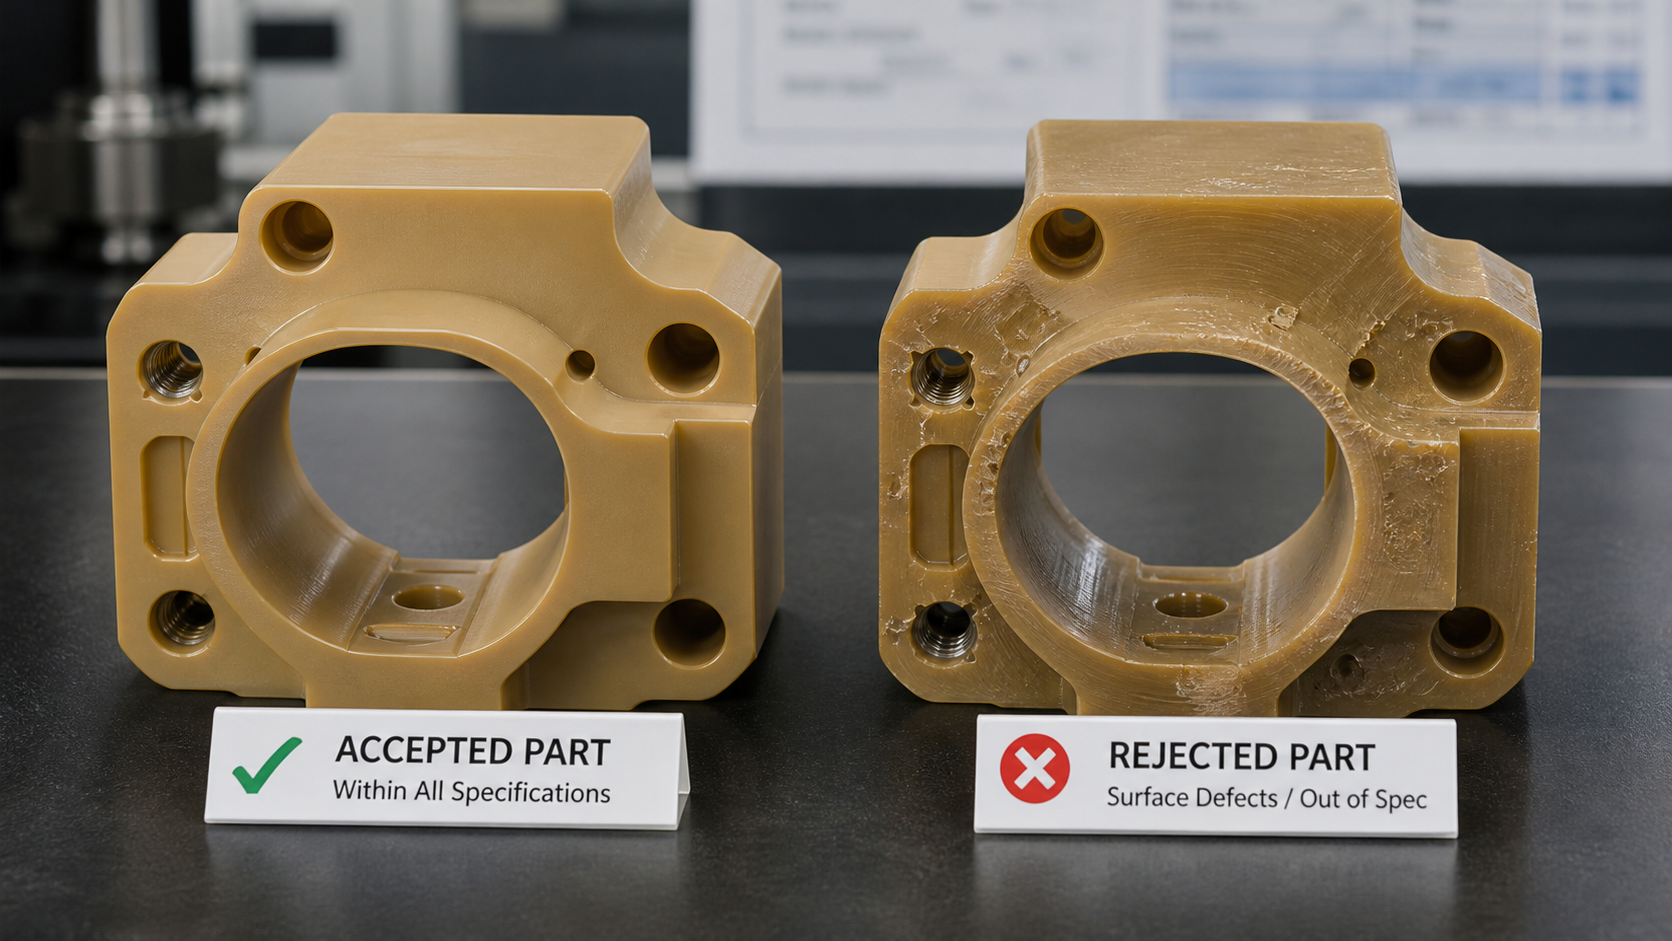
This is where all the pieces come together. We don't choose machining partners based on their hourly rate alone. We ask them about their process for managing tools on abrasive materials like glass-filled PEI. A shop that understands the principles of yield, scrap control, and labor efficiency is a much safer bet than one that just quotes a low hourly number. We use the cost per good part as the ultimate benchmark. This allows us to make a supplier comparison an evidence-based decision rather than just a guess based on a polymer name or a price list. It ensures we're comparing apples to apples and that the final price reflects true production efficiency, not just a low-ball quote that will be eaten up by hidden costs later. It’s important to independently confirm any proposed tooling or process for your specific PEI grade.
We'd create a final comparison:
Total Cost Breakdown per 500 Parts
| Cost Factor | Shop A (Low Hourly Rate) | Shop B (High Hourly Rate) |
|---|---|---|
| Tooling Cost | $60 (10 cheap tools) | $18 (1 premium tool) |
| Scrap Resin Cost | $100 (25 scrap parts) | $20 (5 scrap parts) |
| Changeover Labour Cost | $90 (9 changes) | $0 (0 changes) |
| Total Hidden Costs | $250 | $38 |
This analysis shows that even if Shop B's machining time costs a bit more, their superior process control saves over $200 in hidden costs, leading to a lower final price per part.
Conclusion
To truly cost glass-filled PEI, look past the polymer name and tool price. Focus on total cost per good part by tracking actual machining yield, scrap, and labor.