Can Removing the Skin Change a PAI Bushing's Wear Behavior?
You machine a PAI bushing for a perfect fit, but worry you've scraped away its toughest layer. Is the part's wear life now compromised?
Yes, removing the original molded skin of a PAI (polyamide-imide) bushing can significantly change its wear behavior. Machining exposes the subsurface polymer structure, which often wears differently. A post-machining heat treatment, or recuring, may restore a wear-resistant surface, but its effectiveness depends on the process.
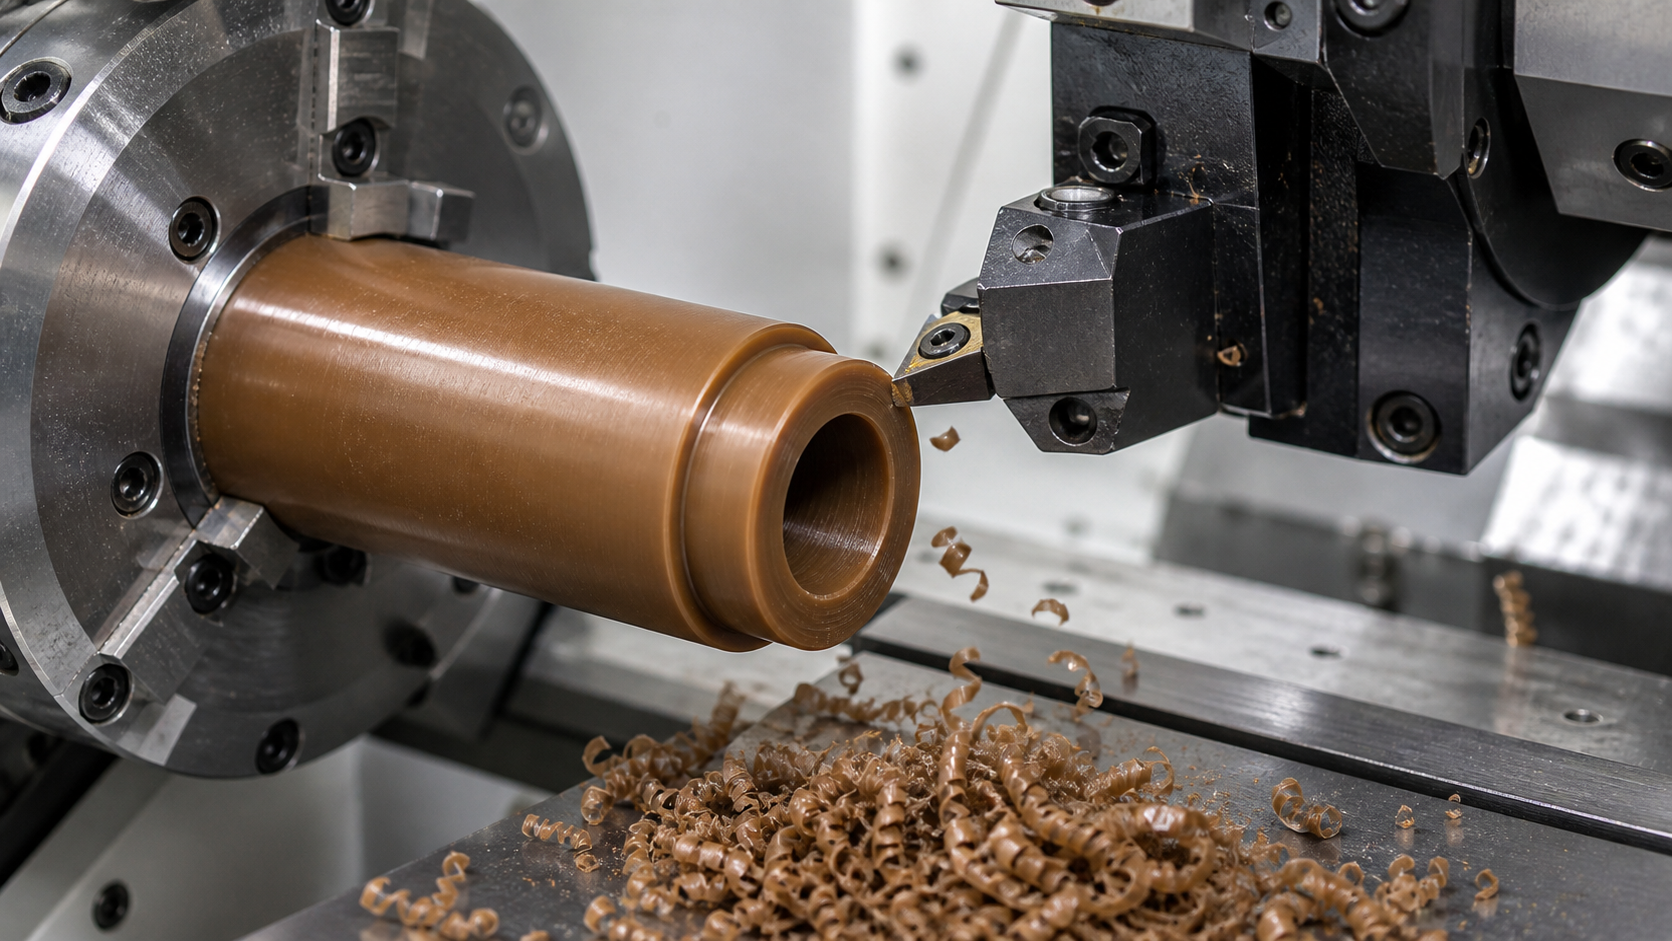
When we work with high-performance polymers like PAI, we often start with semi-finished shapes like rods or tubes. These shapes have a "molded skin" from the extrusion or compression molding process. This skin can have slightly different properties than the material underneath. But what happens when your design requires tight tolerances that can only be achieved by machining that skin away? This question is more than academic; it directly impacts the reliability and lifespan of critical components. It forces us to look beyond just the polymer's name and dig into the manufacturing details that define performance. Let's explore how to make this an evidence-based decision.
Locating the Bearing Contact Within the Machined Layer?
The original molded surface of a PAI part is very tough. But machining for precision removes that skin, raising questions about what surface is now handling the load.
The bearing contact is located on the newly created machined surface, not the original molded skin. This exposes the internal polymer structure and fillers, which may have different friction and wear characteristics. The location and depth of this new layer are critical to the part's performance.
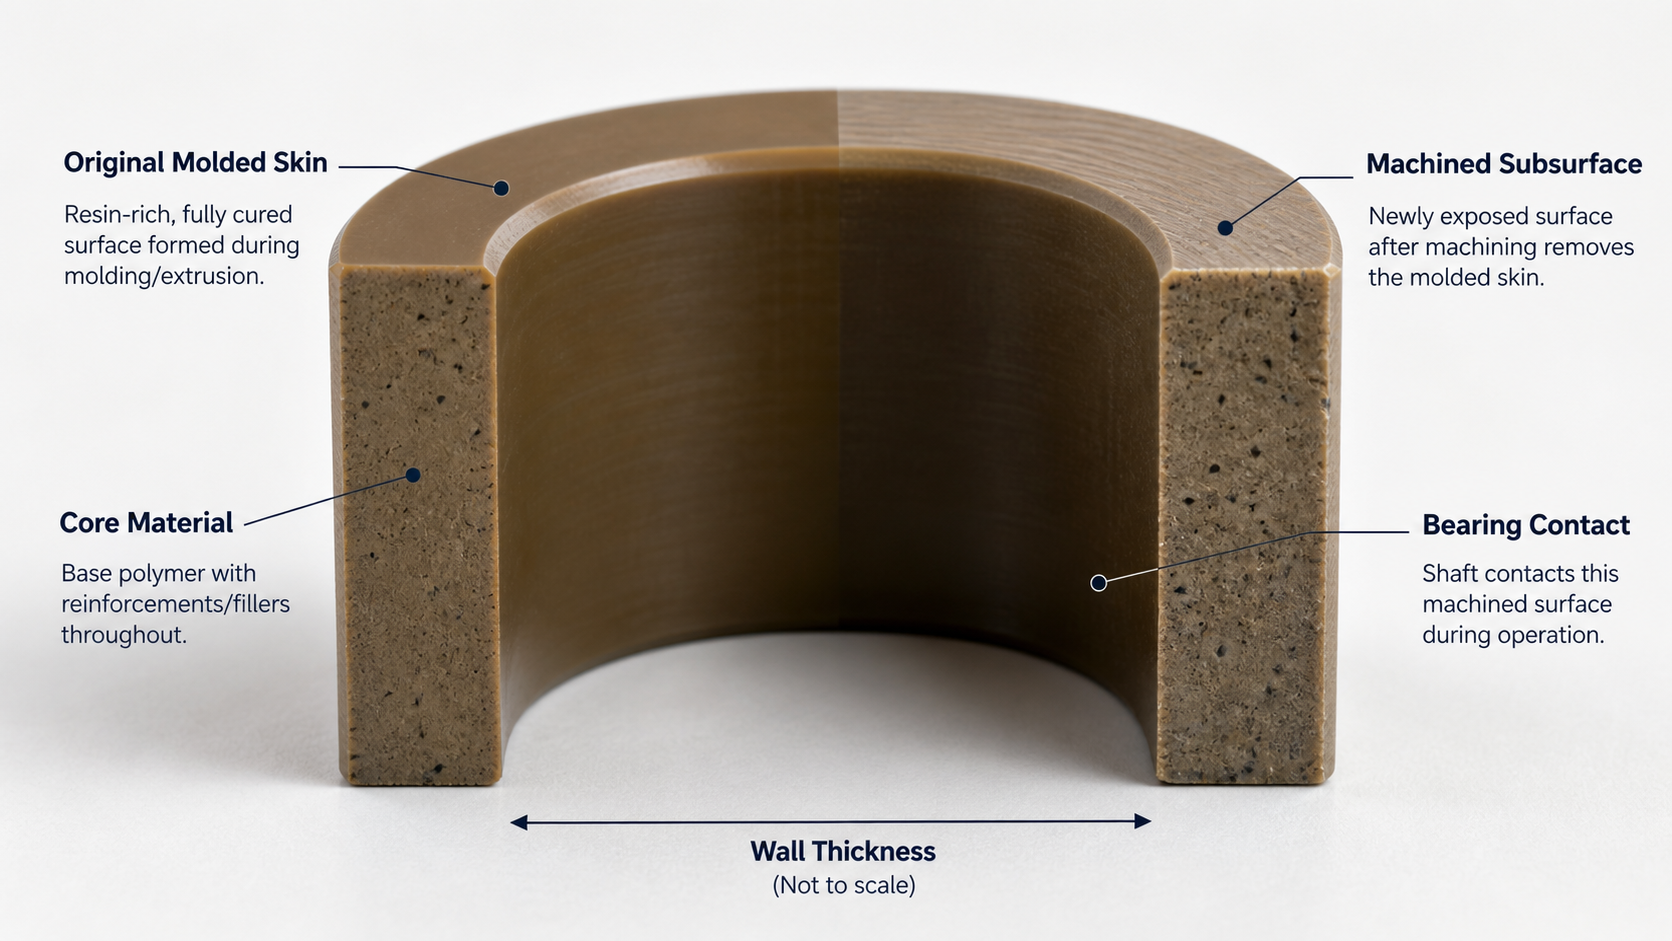
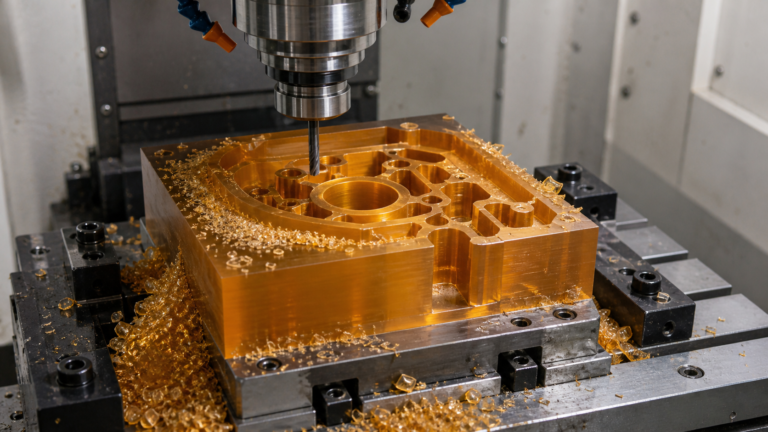
When we talk about a PAI bushing, the "skin" is the very outer layer formed during the manufacturing of the stock rod or tube. This layer cools at a different rate against the mold or die, which can create a distinct, often resin-rich and highly cured surface. It's usually very smooth and durable. However, most applications require us to machine the inner or outer diameter to achieve specific tolerances. This machining process cuts away that original skin, creating a brand-new surface. The true bearing contact, where the bushing meets a shaft, now occurs entirely on this machined subsurface. The properties of this new layer—its hardness, texture, and how the polymer and any fillers are exposed—dictate how the bushing will perform.
Comparing Surface Zones
The distinction between these two surfaces is not just cosmetic. It has real implications for wear life. We need to consider what properties we might be giving up and what we are gaining.
| Property | Original Molded Skin | Machined Subsurface |
|---|---|---|
| Surface Finish | Generally very smooth, low Ra, non-directional. | Defined by cutting tool, feed, and speed; has a directional lay. |
| Curing State | Fully cured from the initial manufacturing and post-curing process. | Exposes material that may benefit from an additional curing cycle. |
| Filler Exposure | May be resin-rich, with fillers slightly below the surface. | Directly exposes polymer matrix and internal fillers (like graphite or PTFE). |
Understanding this shift from the original skin to a machined core is the first step in deciding if a post-machining process like recuring is necessary.
Comparing Surface Condition Before and After Skin Removal?
A molded PAI surface has a specific, smooth finish. But machining creates tool marks and a completely different texture. How does this change affect the part's function?
The original molded skin is typically smooth and resin-rich. After skin removal, the machined surface exhibits tool marks and a specific roughness (Ra) value. This new topography directly influences the initial run-in behavior, friction, and how the bushing mates with the shaft.
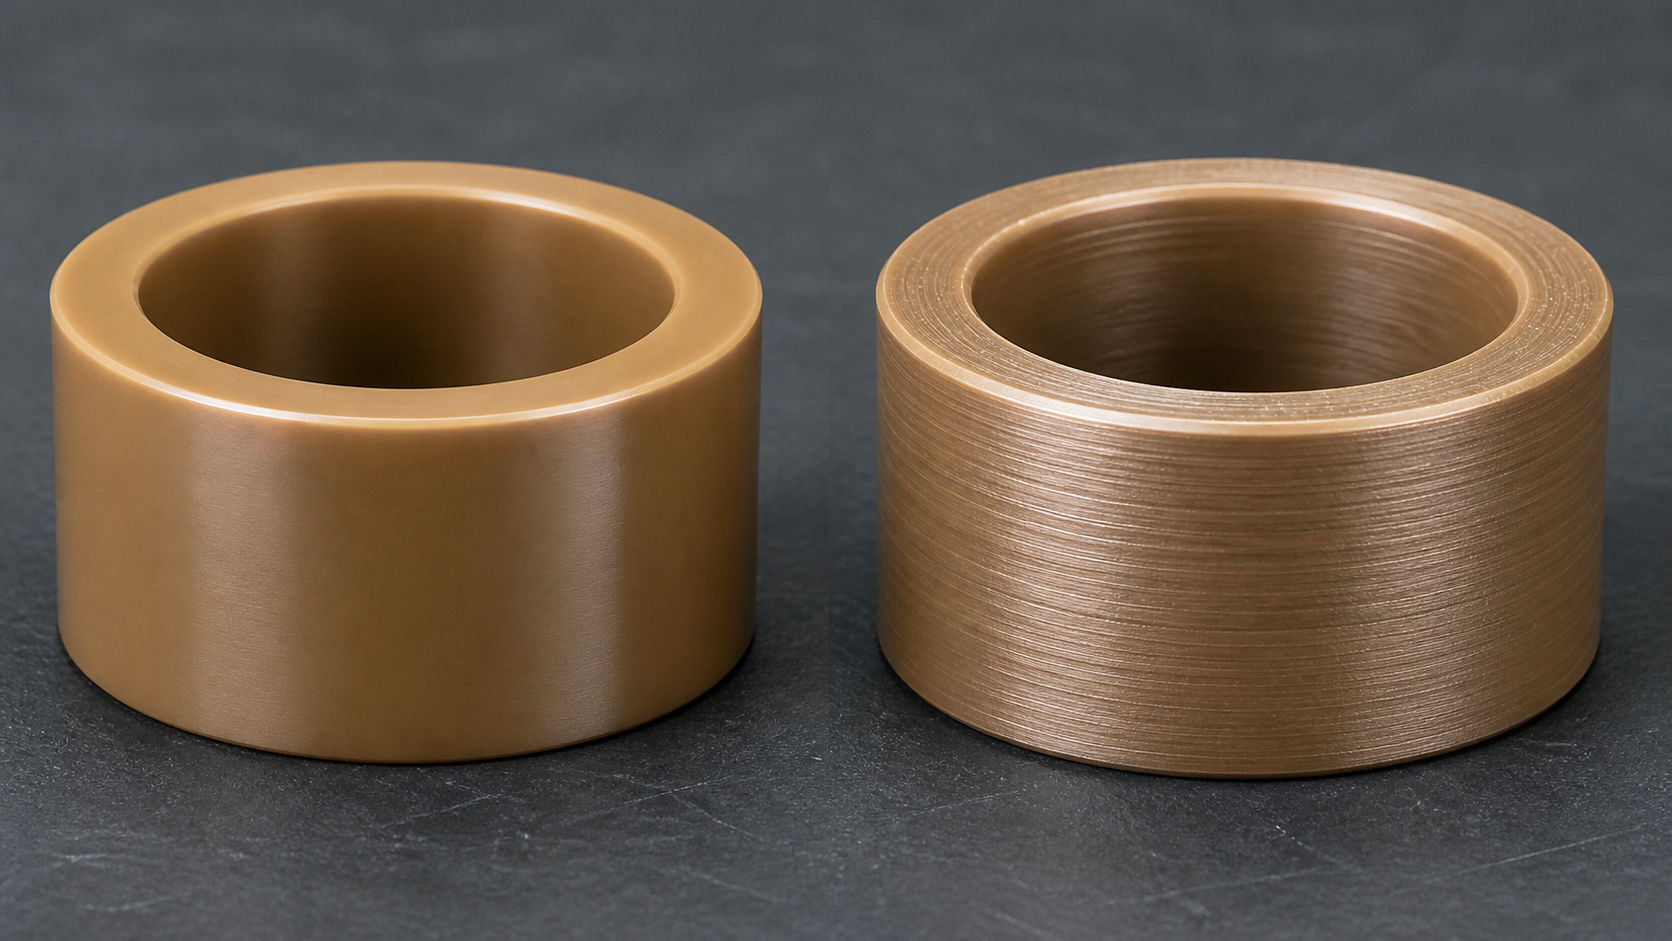
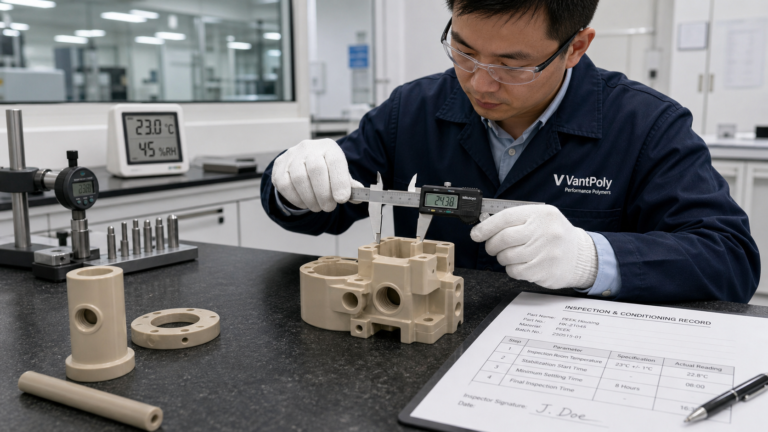
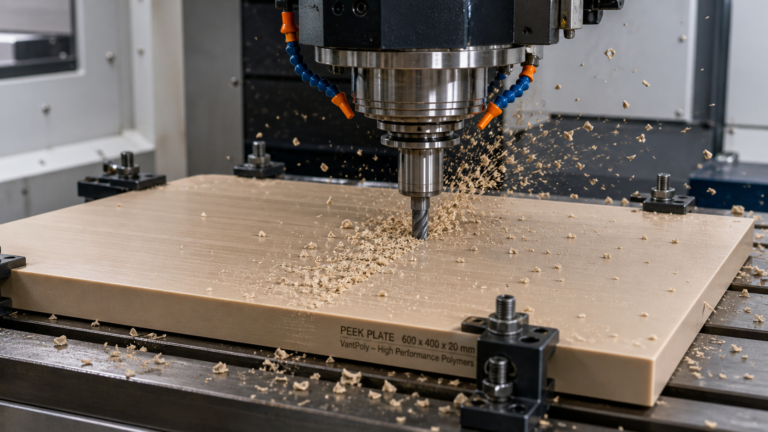
The difference between the as-molded surface and a machined one is clear to see and feel. The molded skin is often glossy and has a very low surface roughness. It's a product of the polymer solidifying against a highly polished tool. When we put that part on a lathe, the cutting tool leaves behind a pattern of microscopic peaks and valleys. We measure this as surface roughness, or Ra. This isn't necessarily a bad thing, but it's a different thing. This new, rougher surface will interact differently with a mating part, especially during the initial "break-in" period. The direction of the tool marks, known as the lay, can also influence friction. For example, tool marks running parallel to the direction of motion might perform differently than marks running perpendicular to it. At VantPoly, when a customer sends us a drawing for a bushing, the specified surface finish is one of the first things we look at, as it's a key factor in predicting performance.
Testing Wear Under Matched Running Conditions?
You have two PAI bushings: one with its original skin and one that's been machined. How can you definitively know which one will last longer in your application?
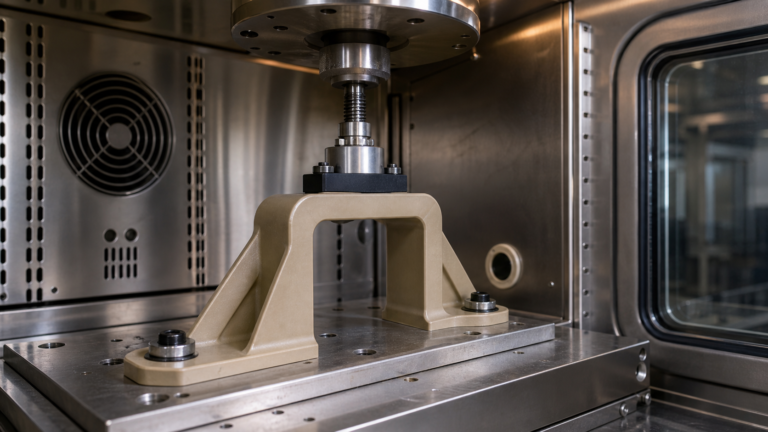
To fairly compare wear, both the original-skin and the machined-skin bushings must be tested under identical, controlled conditions. This includes the same load, speed, temperature, and mating surface. This type of systematic testing isolates the effect of the surface condition on the final wear rate.
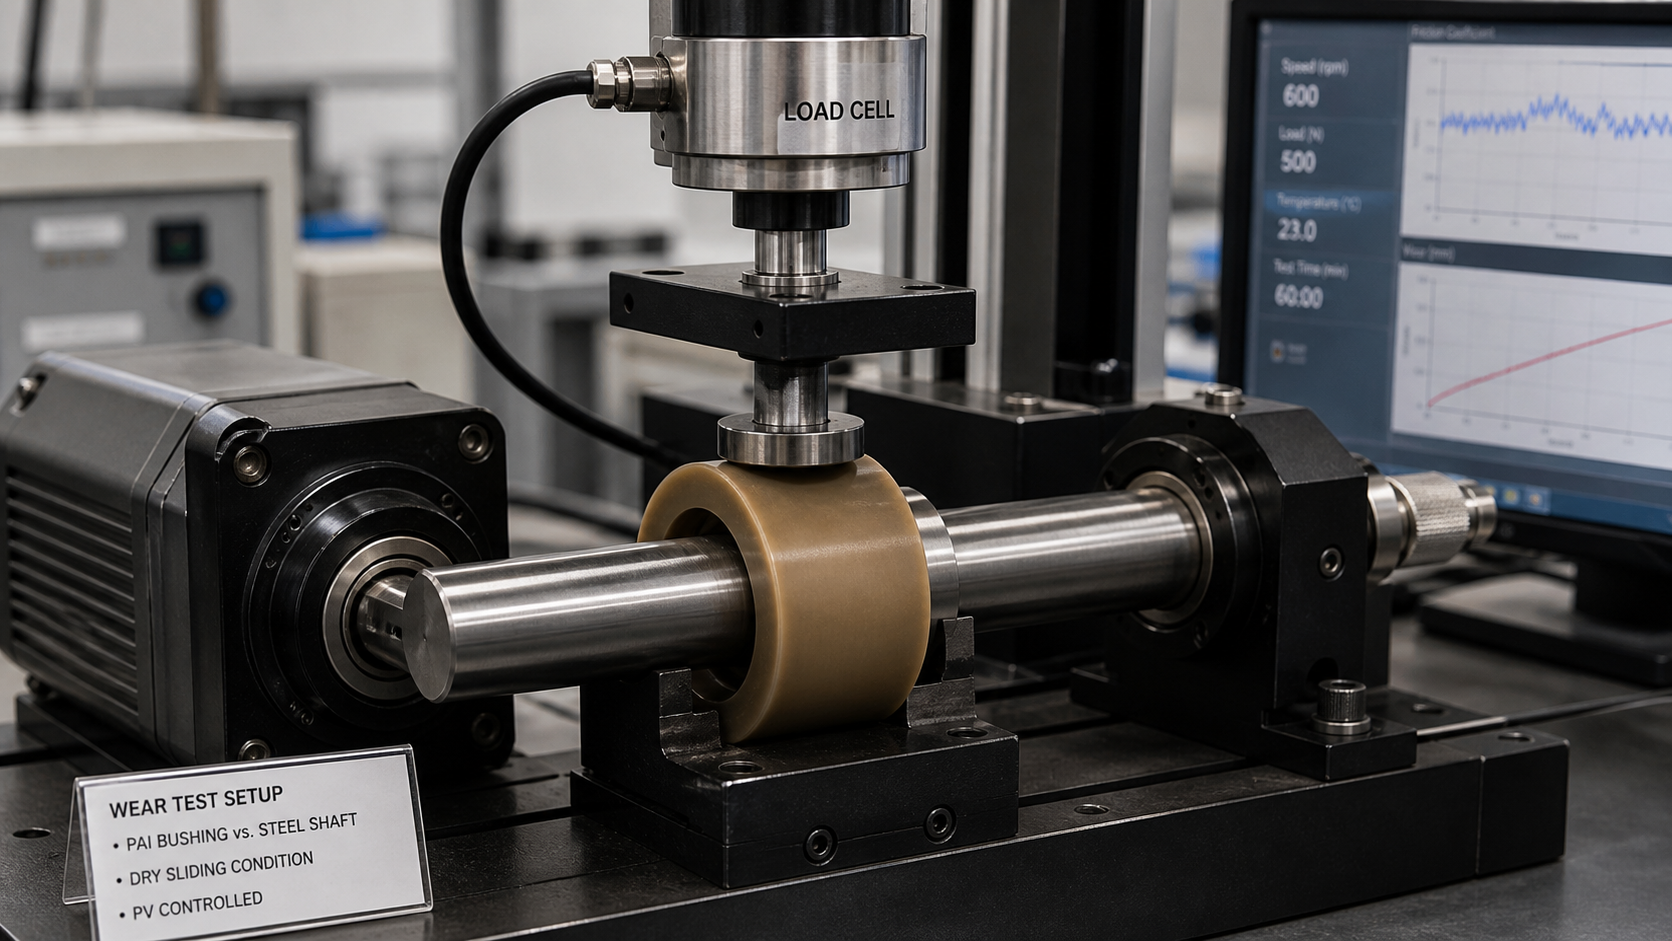
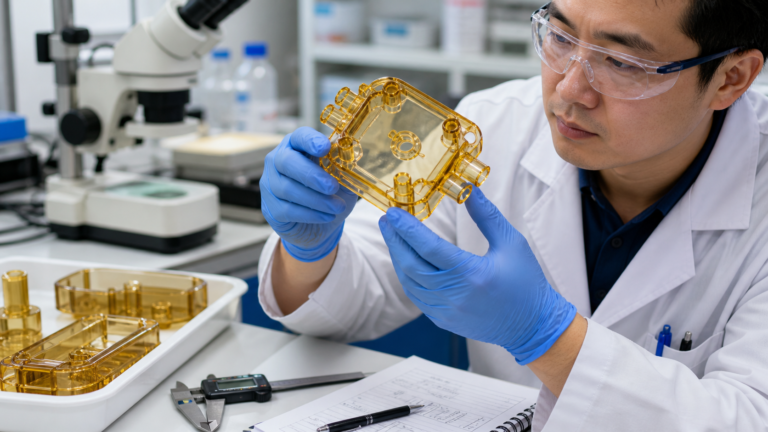
The only way to get a real answer is to test them head-to-head. In the world of polymer wear, we rely on standardized tests that control for key variables. The most important of these are pressure (P) and velocity (V). The "PV rating" of a material gives us a limit for its performance under load and speed. To compare our two PAI bushings, we would put them in a test rig against the exact same shaft material and finish, apply the same load, and run them at the same speed for the same amount of time. We would then precisely measure the amount of material lost from each bushing. To make the test even more complete, we should include a third sample: a bushing that was machined and then put through a second curing cycle, or "recured." By comparing the wear on all three—original skin, machined, and machined-then-recured—we can gather the evidence needed to make an informed decision. It's important to rely on data from the specific material grade supplier, as we are doing here, and not generalize results.
Placing Recuring at the Appropriate Manufacturing Stage?
Recuring a machined PAI part seems like a smart way to restore its surface. But when should you do it? Before final machining? After? The timing is critical.
Recuring is often best placed after rough machining but before the final finishing pass. This allows the heat treatment to reform a durable surface layer and relieve internal stress. A final, light machining pass is then performed to achieve the final dimensions and tolerances.
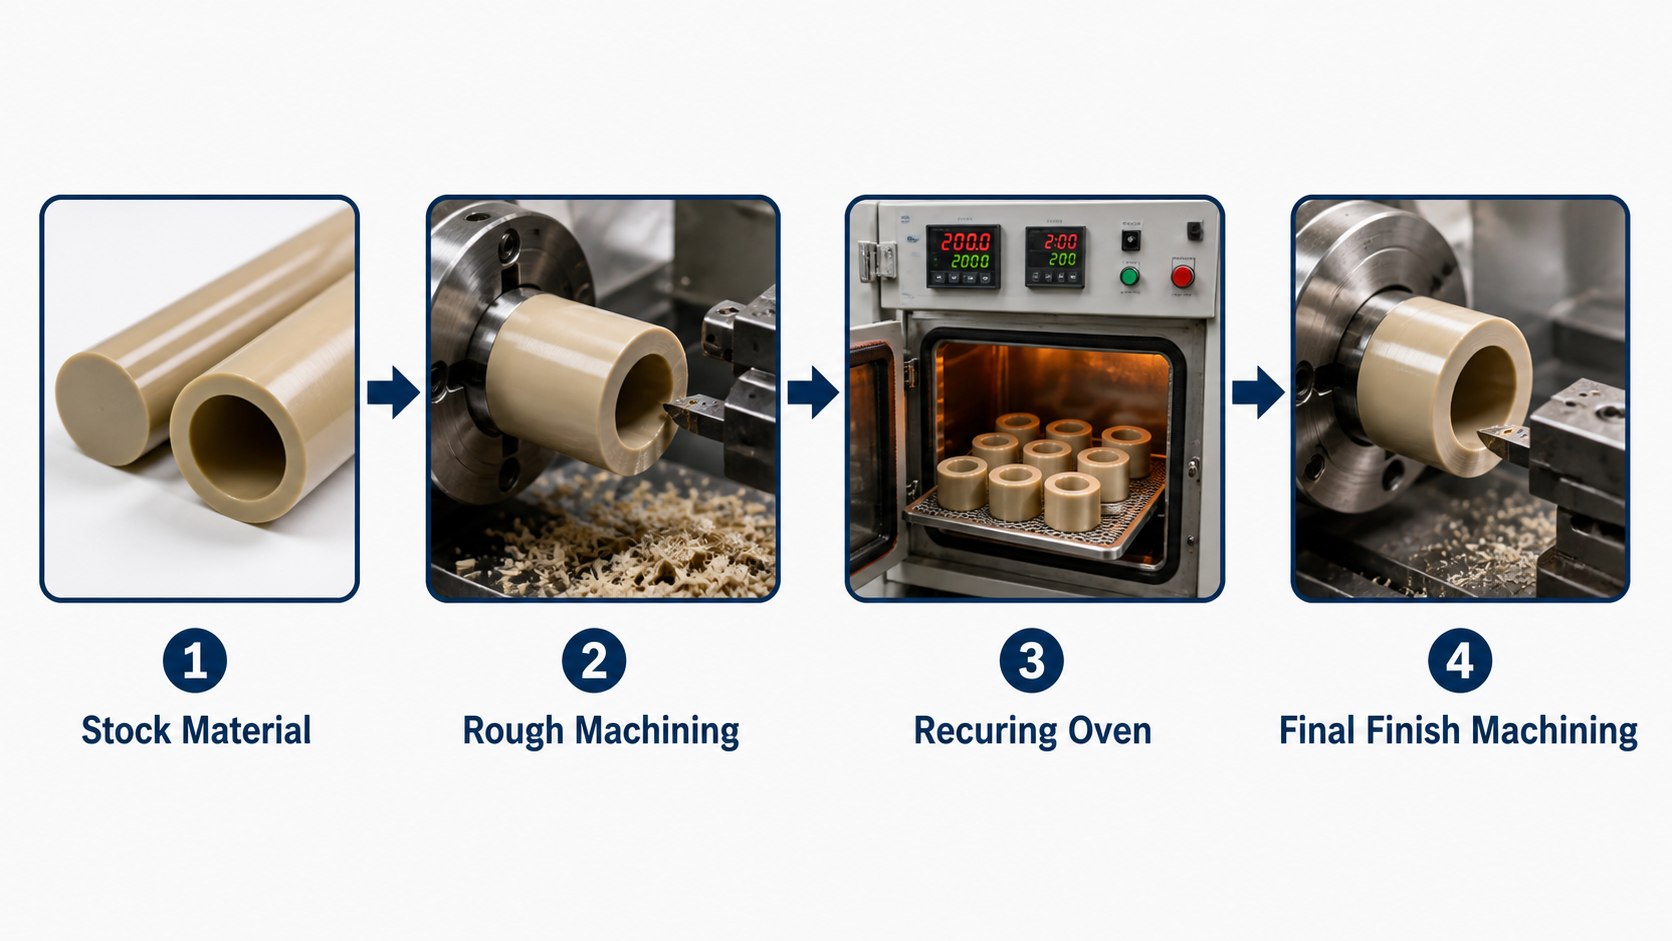
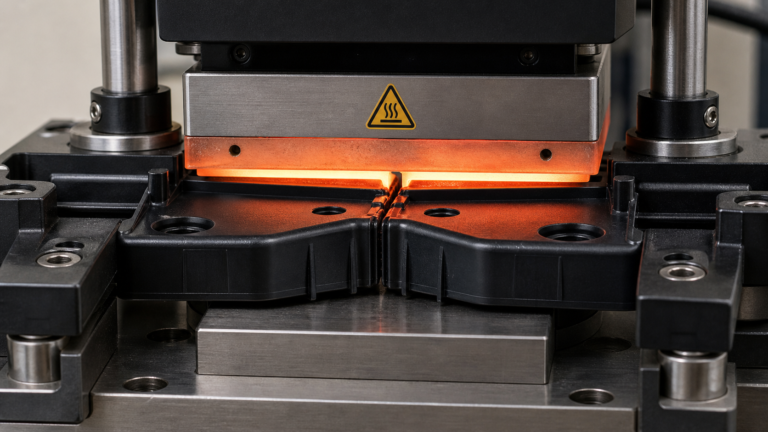
Deciding to recure a PAI component introduces a new step into the manufacturing process, and its placement matters immensely. If you recure the part after all machining is complete, you risk slight changes in dimension. PAI can shrink or distort a tiny amount during this heat treatment, which could throw a precision part out of tolerance. If you do it before any machining, you're only treating the stock shape, and you'll just machine away the newly treated surface anyway. The most effective approach is often a multi-stage process. First, we rough machine the part, leaving a small amount of extra material (e.g., 0.2-0.5 mm). Then, we perform the recuring cycle. This relieves stress from the rough machining and develops that tough surface. Finally, we put the part back in the CNC machine for a very light finishing pass to bring it to its final, precise dimensions. This method gives us the benefits of a recured surface while maintaining tight dimensional control. It adds cost and complexity, but for critical wear applications, it's a decision based on engineering evidence, not just a polymer name.
Conclusion
Removing a PAI bushing's skin changes its wear behavior. Recuring after machining can restore surface properties, but its placement in the manufacturing sequence is a critical, evidence-based decision.