Can Alternating Sides Reduce Bowing in PEEK Plate?
Machining a flat part from PEEK plate seems simple, until internal stress turns your project into a warped mess. This wastes time, material, and money. What can you do?
Yes, machining alternating sides of a PEEK plate can significantly reduce bowing. This technique helps balance the release of internal stresses inherent in the material, preventing one side from overpowering the other and causing the stock to warp during processing.
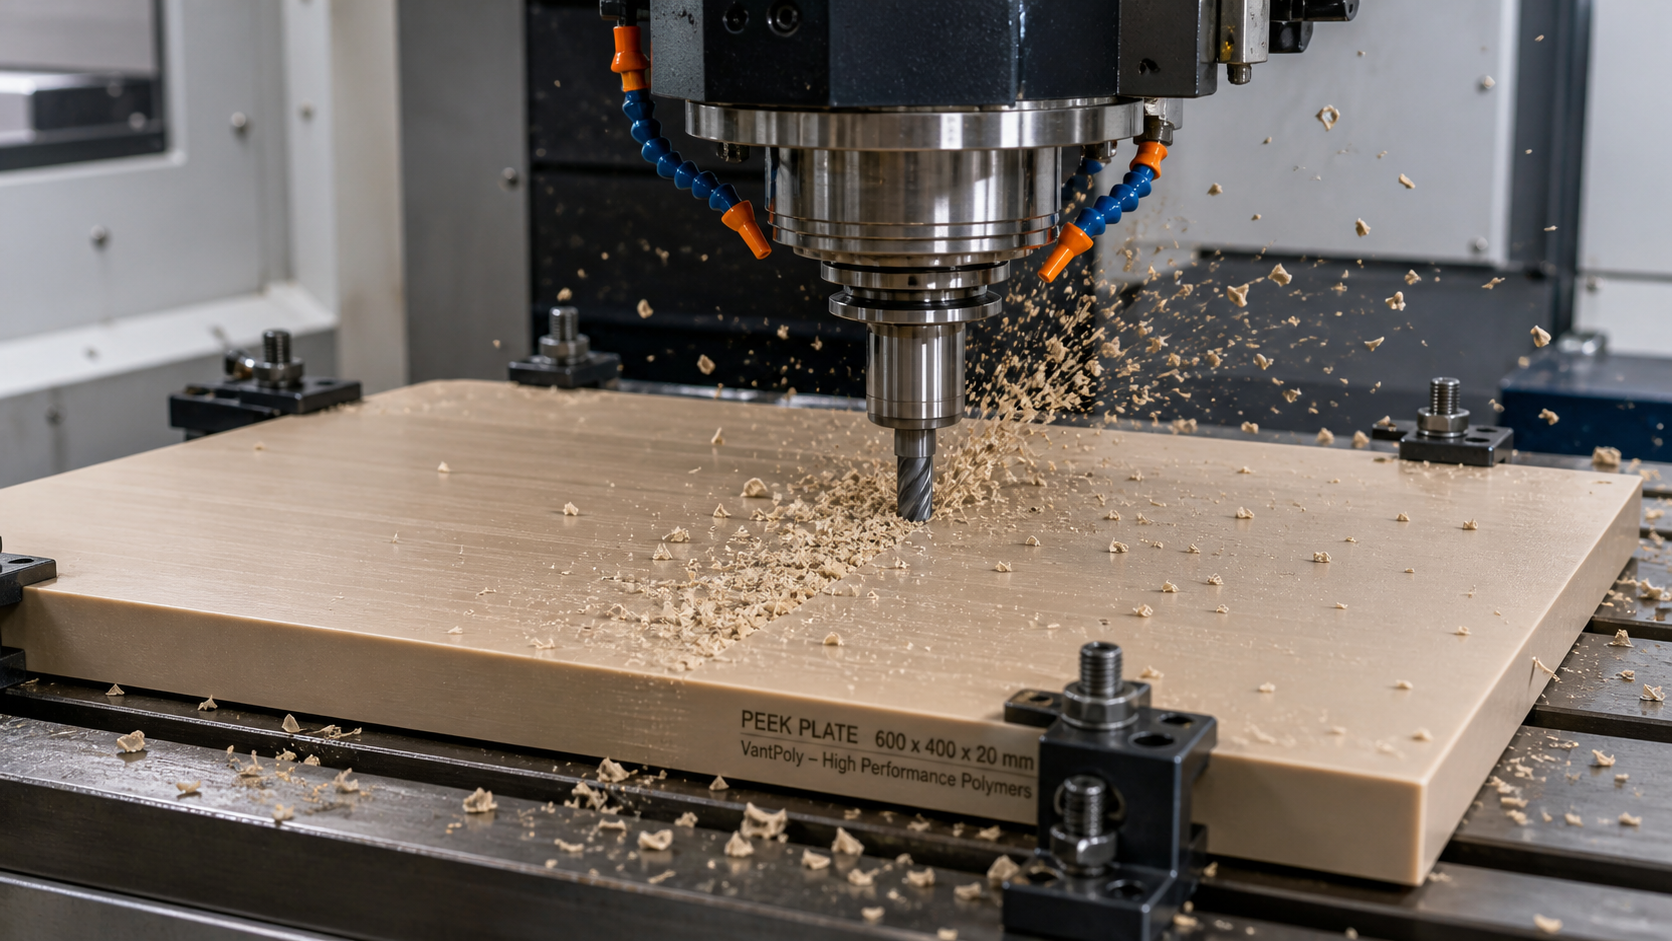
I've seen many machinists fight with plastic plates, especially high-performance materials like glass-filled PEEK. You take a careful cut to flatten one side, unclamp it, and it bows like a banana. It's a common story. The solution often isn't about more aggressive cutting or different tools, but a smarter strategy. By approaching the material systematically, you can work with its internal stresses instead of fighting against them. Let's explore how a balanced approach, combined with careful measurement, can lead to flatter, more predictable parts.
Balancing Removal Between Opposite Plate Faces?
You spend hours getting one face perfectly flat, only to flip it over and find your reference surface has become a curve. What's the point of balancing cuts?
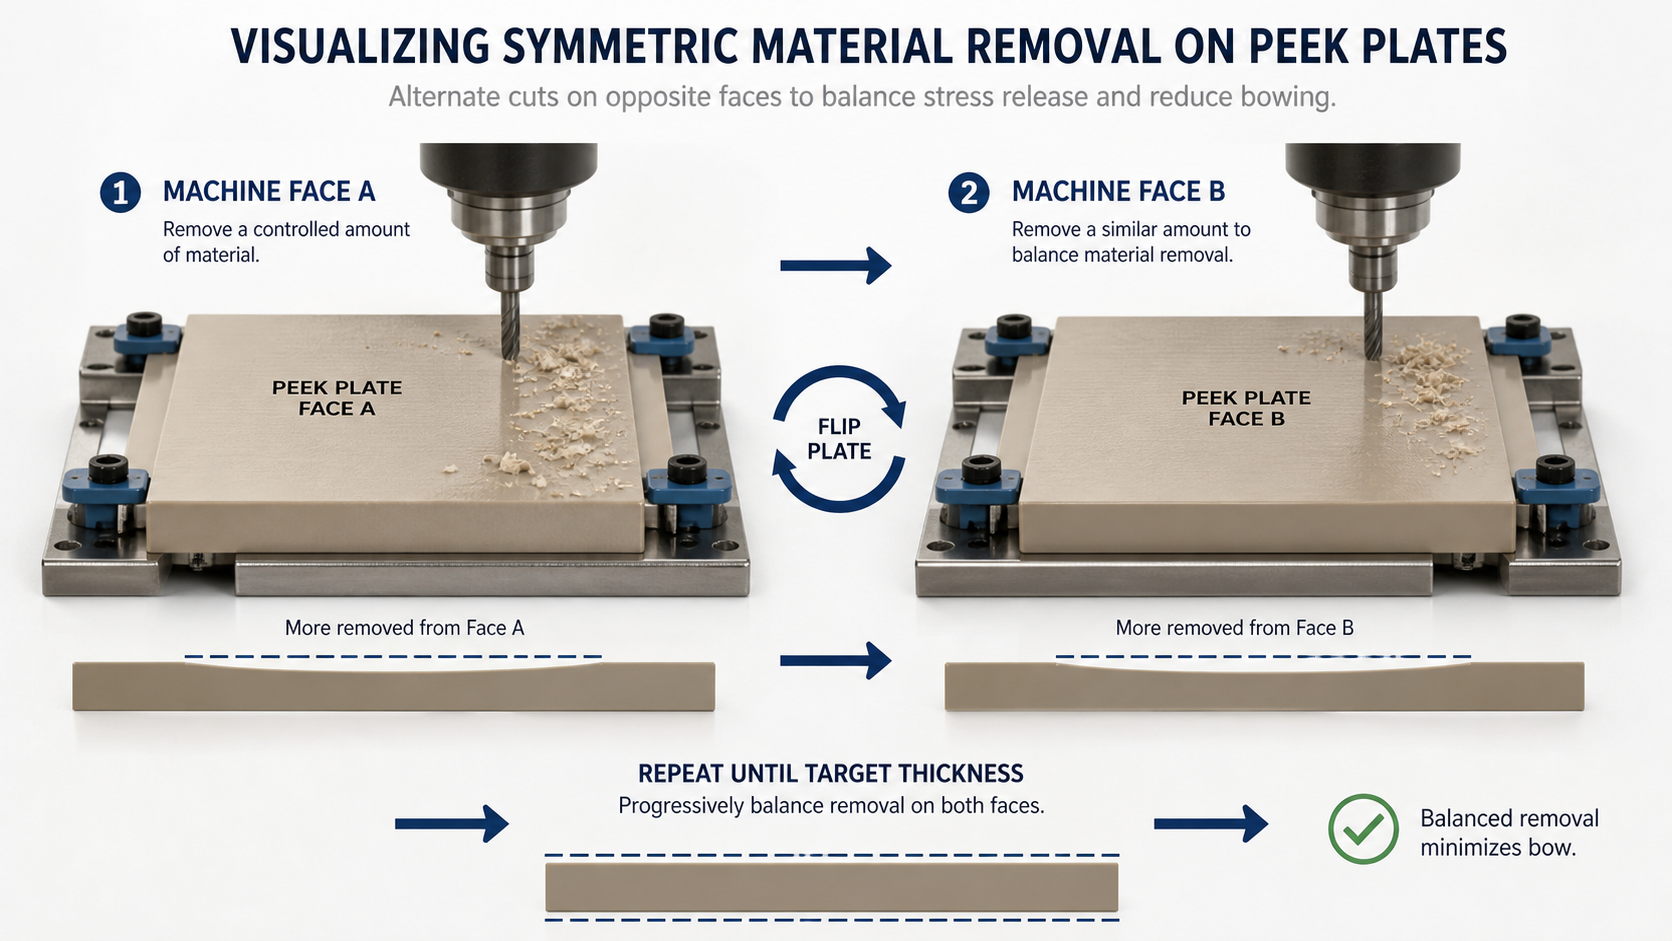
Symmetrically removing material from both faces helps release internal stresses evenly. This prevents one side's stress from overpowering the other, which is a primary cause of bowing in materials like extruded PEEK, especially when it is glass-filled.
When a PEEK plate is extruded, the cooling process creates a "skin" on the outer surfaces that has different internal stress compared to the core. When you machine away one skin, you release that tension, and the remaining stress in the plate pulls it into a bow. I think of it like a tug-of-war. If you cut all the ropes on one side, the other side wins and pulls everything out of line. The key is to release the tension on both sides a little at a time. This keeps the forces in equilibrium.
A Staged Removal Strategy
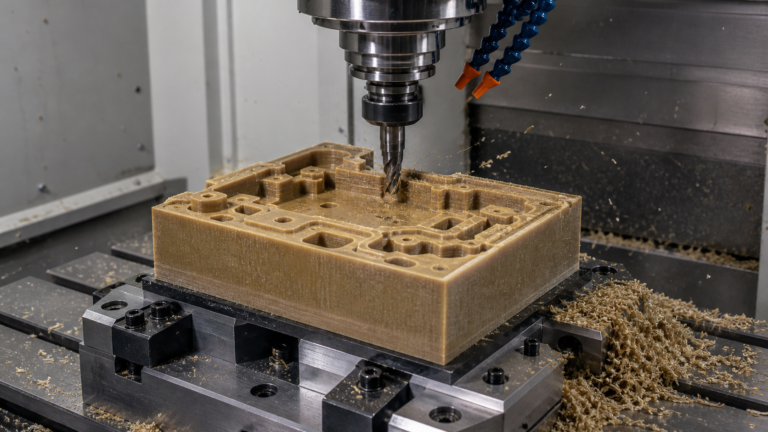
Instead of trying to finish one side completely, we remove a bit of material from face A, then flip the plate and remove a similar amount from face B. We repeat this process until we get close to the final thickness. This method lets the material adjust gradually. For critical jobs, we document every step to see how the material behaves. This turns guesswork into an evidence-based process.
Sample Machining Sequence
Here’s a simplified table showing what this might look like for a 20mm plate we need to finish at 15mm.
| Step | Action | Target Thickness | Notes |
|---|---|---|---|
| 1 | Rough cut Face A | 19mm | Remove the outer skin and major imperfections. |
| 2 | Rough cut Face B | 18mm | Flip and balance the removal. The plate may move. |
| 3 | Semi-finish Face A | 16.5mm | Continue balancing the stress release. |
| 4 | Semi-finish Face B | 15.5mm | Getting closer to the final size. |
| 5 | Finish Face A/B | 15.0mm | Final light cuts after most stress is relieved. |
Keeping Clamping Conditions Comparable Between Trials?
You follow the exact same toolpath on two identical pieces of PEEK, but one comes out flat and the other bows. Could your workholding be the problem?
Yes, inconsistent clamping can ruin any machining strategy. Over-tightening can temporarily flatten a bowed plate or induce new stress, making it impossible to judge if your alternating cuts are actually working. Use a torque wrench for repeatable results.
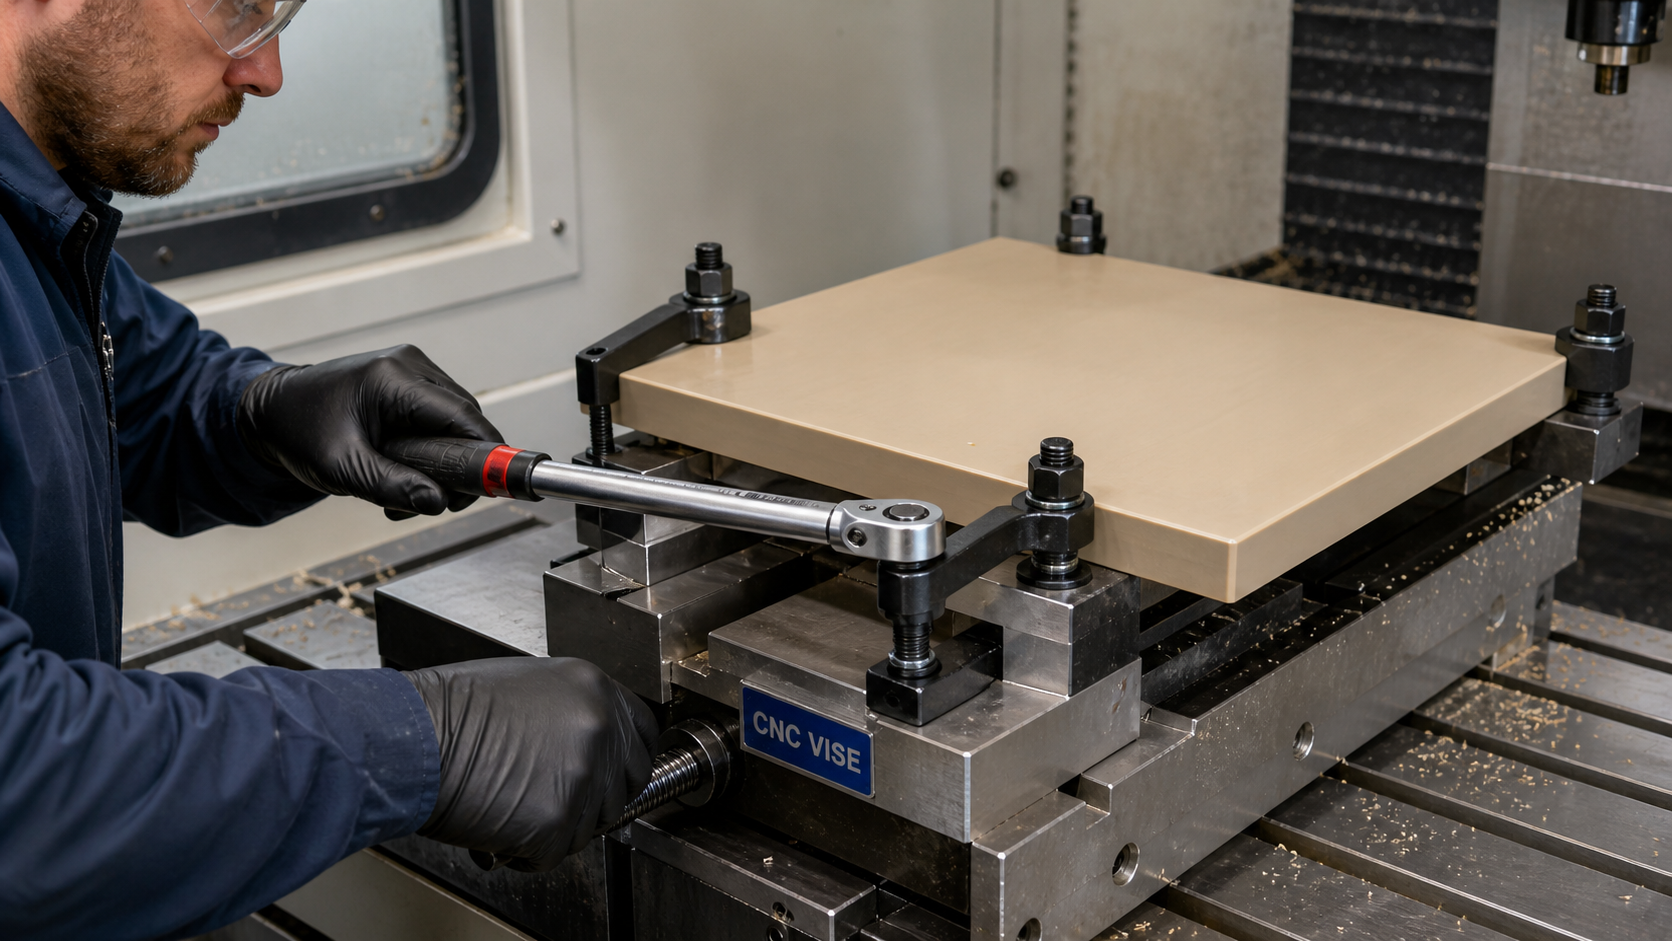
I remember one project where we chased a flatness issue for days. We blamed the material, the tools, everything but our process. It turned out one operator was tightening the vise clamps much more than another. The tighter clamps were actually bending the plate flat against the parallels. It looked perfect while being machined, but the moment we released the pressure, it sprang back into a bowed shape. This taught me a valuable lesson: your measurement is only as good as your setup. If you clamp the material differently each time you flip it, you are introducing a huge variable that makes it impossible to know what’s really happening. The goal is to hold the part securely without deforming it.
Best Practices for Clamping
We now use a torque wrench on our vise and clamps for all polymer jobs. We also make sure to use the same support points and clamping locations every time we flip the part. This ensures that any change we see in flatness is due to the material releasing stress, not because we accidentally bent it with the clamp. It’s a simple change, but it makes our results much more reliable and predictable. It's about removing variables so you can focus on the real problem: internal material stress.
Tracking Bow After Each Alternating Cut?
You finish your part after carefully flipping and cutting it, but it's still not flat. When did the process fail? Without checking your work along the way, it's just a guess.
Measuring the plate's flatness on a surface plate after each cut provides crucial data. This evidence-based approach shows you exactly how the material is reacting, allowing you to identify the problem and adjust your strategy before the part is ruined.
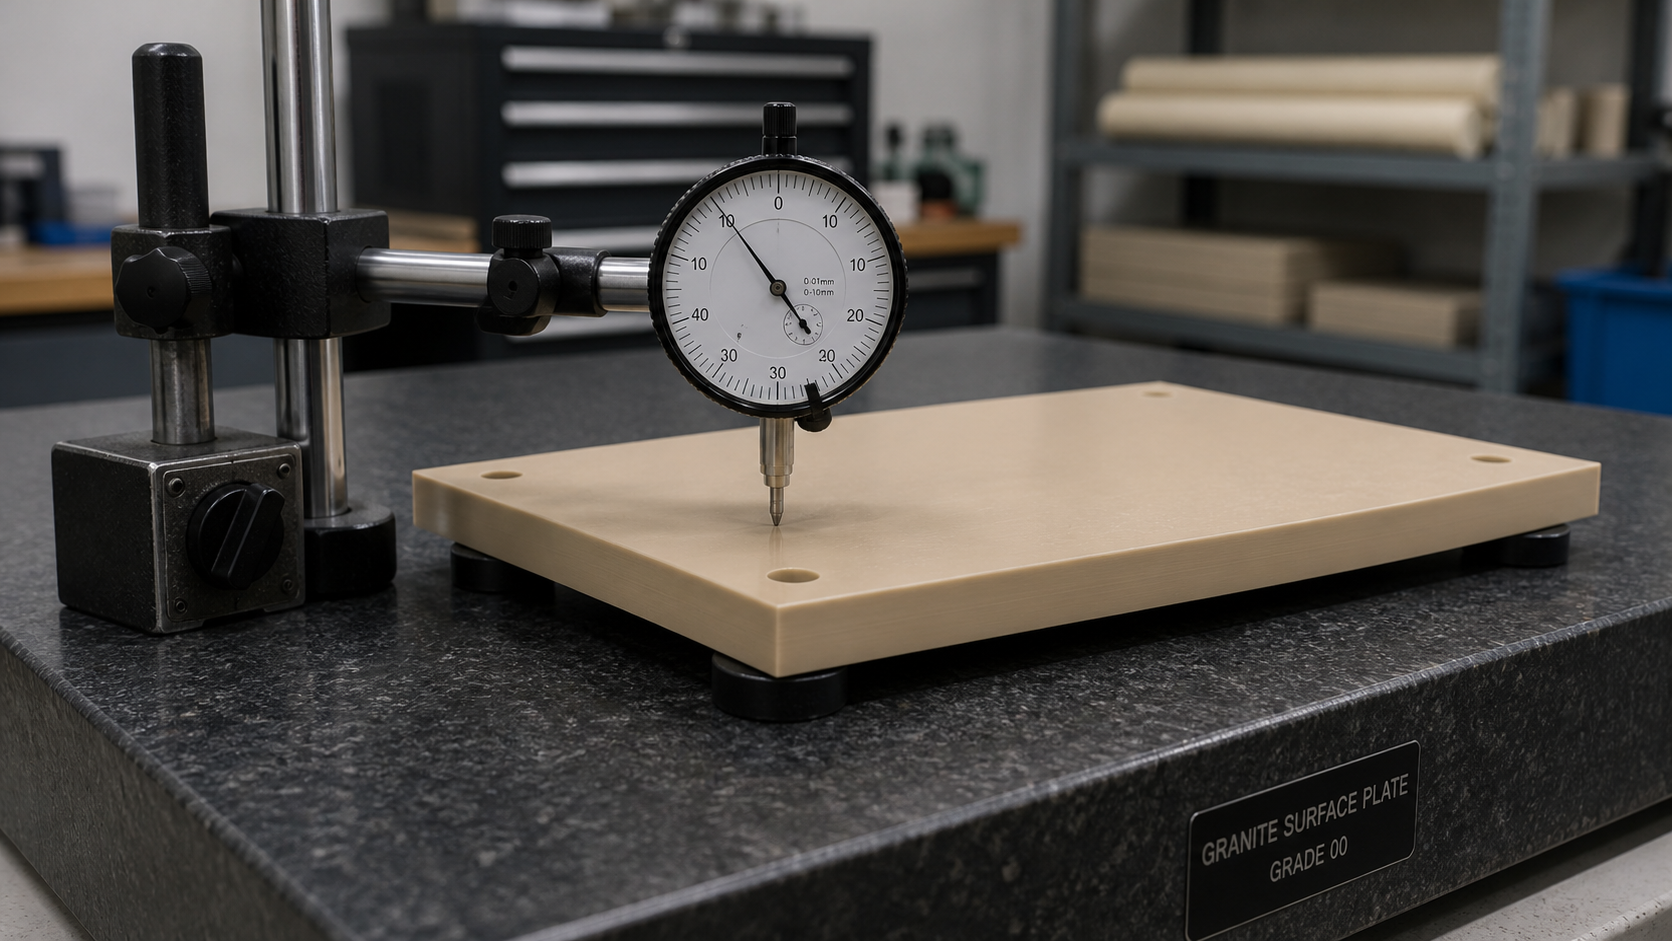
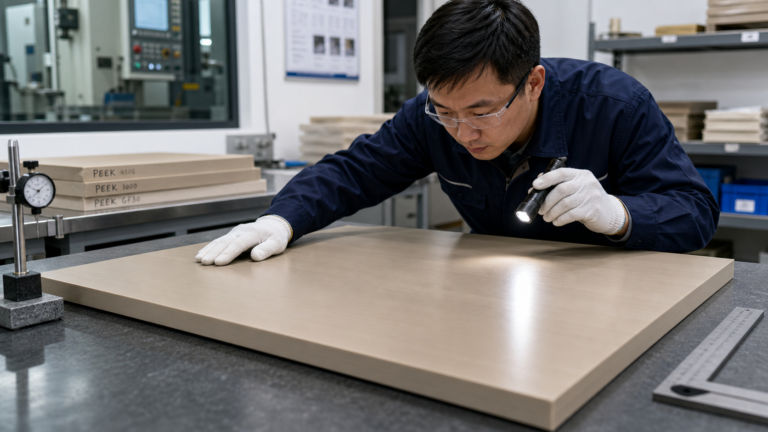
This is where we move from just machining to true process control. Relying on a toolpath strategy alone is like driving with your eyes closed and hoping you stay on the road. We need to open our eyes and look at the results. After every single cut, or at least after each flip, we unclamp the part completely and take it to a granite surface plate. Using a dial indicator, we measure the bow or warp across the entire surface. I keep a simple log sheet next to the machine where I write down the step number, the amount removed, and the measured flatness.
Turning Data into Decisions
This log becomes a map of the material's behavior. Sometimes, you’ll see the plate move a lot after the first skin cut, then stabilize. Other times, it might continue to move with each step. If you see a sudden, large change, it might indicate a problem with your clamping or an area of high localized stress. This data tells you if your alternating strategy is working. If the bow gets progressively worse, you know you need to stop and reconsider your approach, perhaps by taking lighter cuts or deciding the material needs annealing before you continue. It stops being a mystery and becomes an engineering problem you can solve.
When Toolpath Symmetry Does Not Resolve Stock Stress?
You did everything by the book: balanced cuts, consistent clamping, and in-process checks. But your expensive PEEK plate still looks like a potato chip. What's left to try?
If a symmetric toolpath fails, the internal stress in the material is likely too high to manage through machining alone. A pre-machining annealing cycle is often the best solution to relax the polymer stock before you even start cutting.
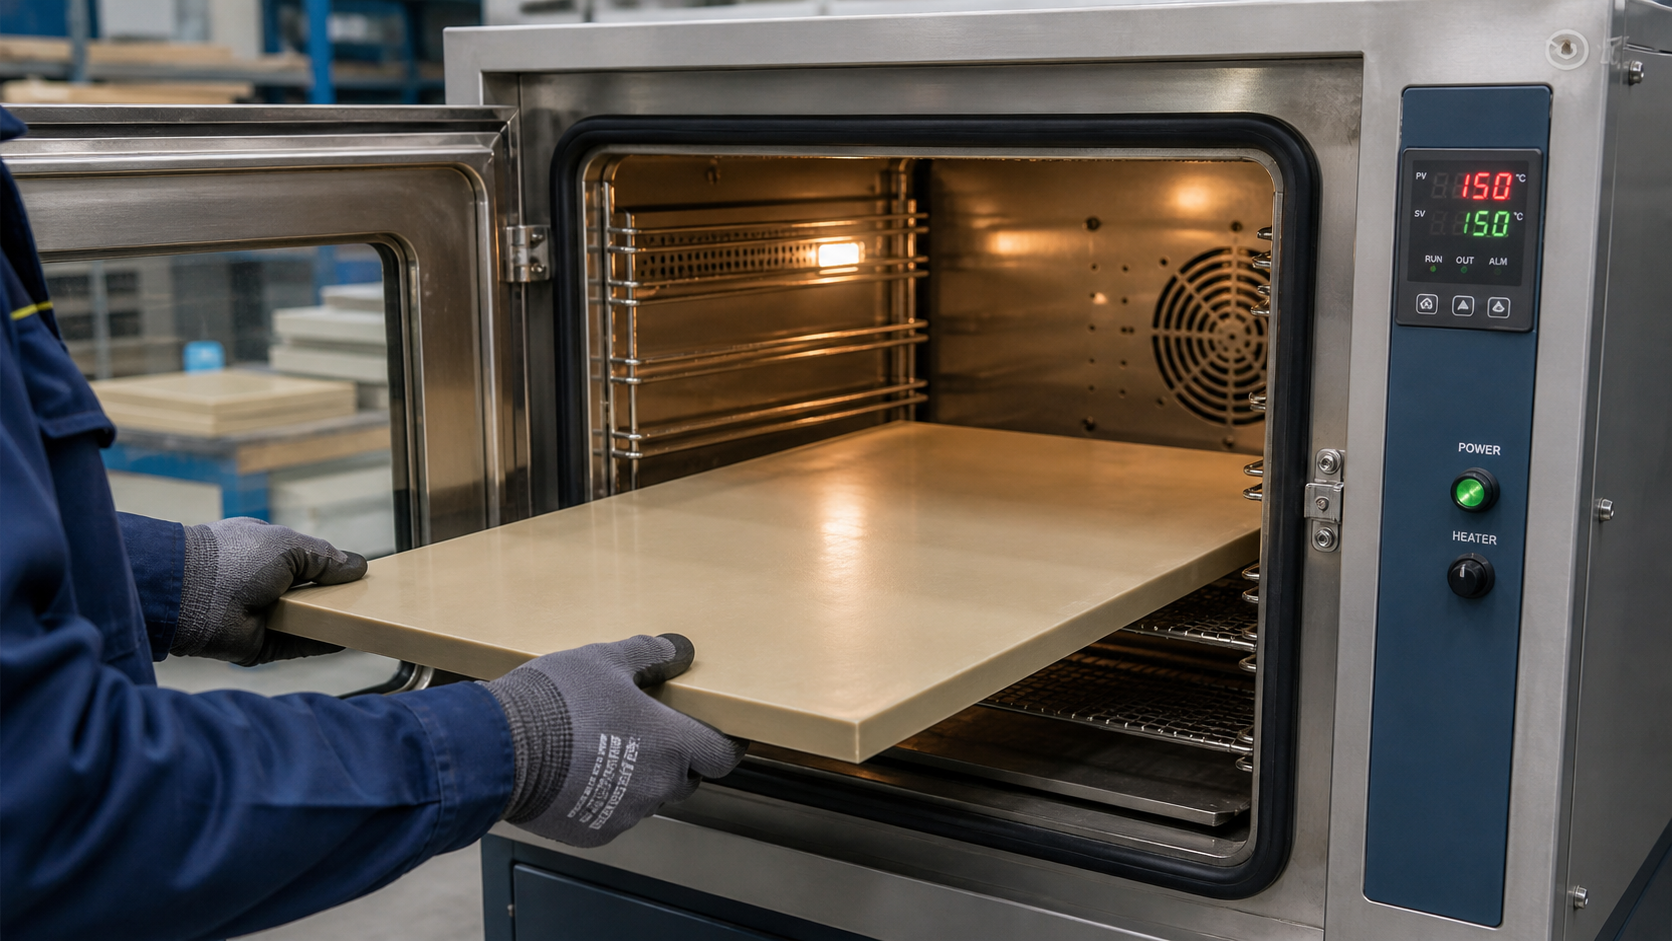
There are times when no amount of clever machining can save a part. This usually happens with materials that have very high internal stress locked in from their manufacturing process, like some grades of glass-filled PEEK. In these situations, we have to address the stress in the material itself before we try to machine it. The most effective way to do this is through annealing. This involves heating the material in a controlled oven to a temperature below its melting point, holding it there for a period, and then cooling it down very slowly. This process allows the polymer chains to relax, releasing the locked-in stress.
When to Choose Annealing
We consider annealing when we are working with a particularly troublesome grade of material, or when the final part has very tight flatness tolerances. It’s an extra step that adds time and cost to the project, so we don't do it for every job. But for high-value components, the cost of annealing is much less than the cost of a scrapped part. It’s important to remember that this is an anecdotal discussion; we would always confirm the specific annealing cycle for the exact grade of PEEK we are using, as every material is a little different.
Conclusion
To reduce bowing in PEEK, use alternating cuts, consistent clamping, and staged flatness checks. If stress persists, consider annealing the raw material before machining for the best results.