Could PPSU Meet a Printed Part's Needs at Lower Cost?
Choosing high-performance polymers for 3D printing often leads directly to PEEK. But is this expensive choice always necessary? You might be paying for performance your application simply doesn't require.
Yes, in many cases, PPSU can meet a printed part's needs at a lower cost than PEEK. The key is to analyze the specific application's environment. If the required heat resistance, chemical exposure, and mechanical load are within PPSU's capabilities, it becomes a very strong, cost-effective alternative.
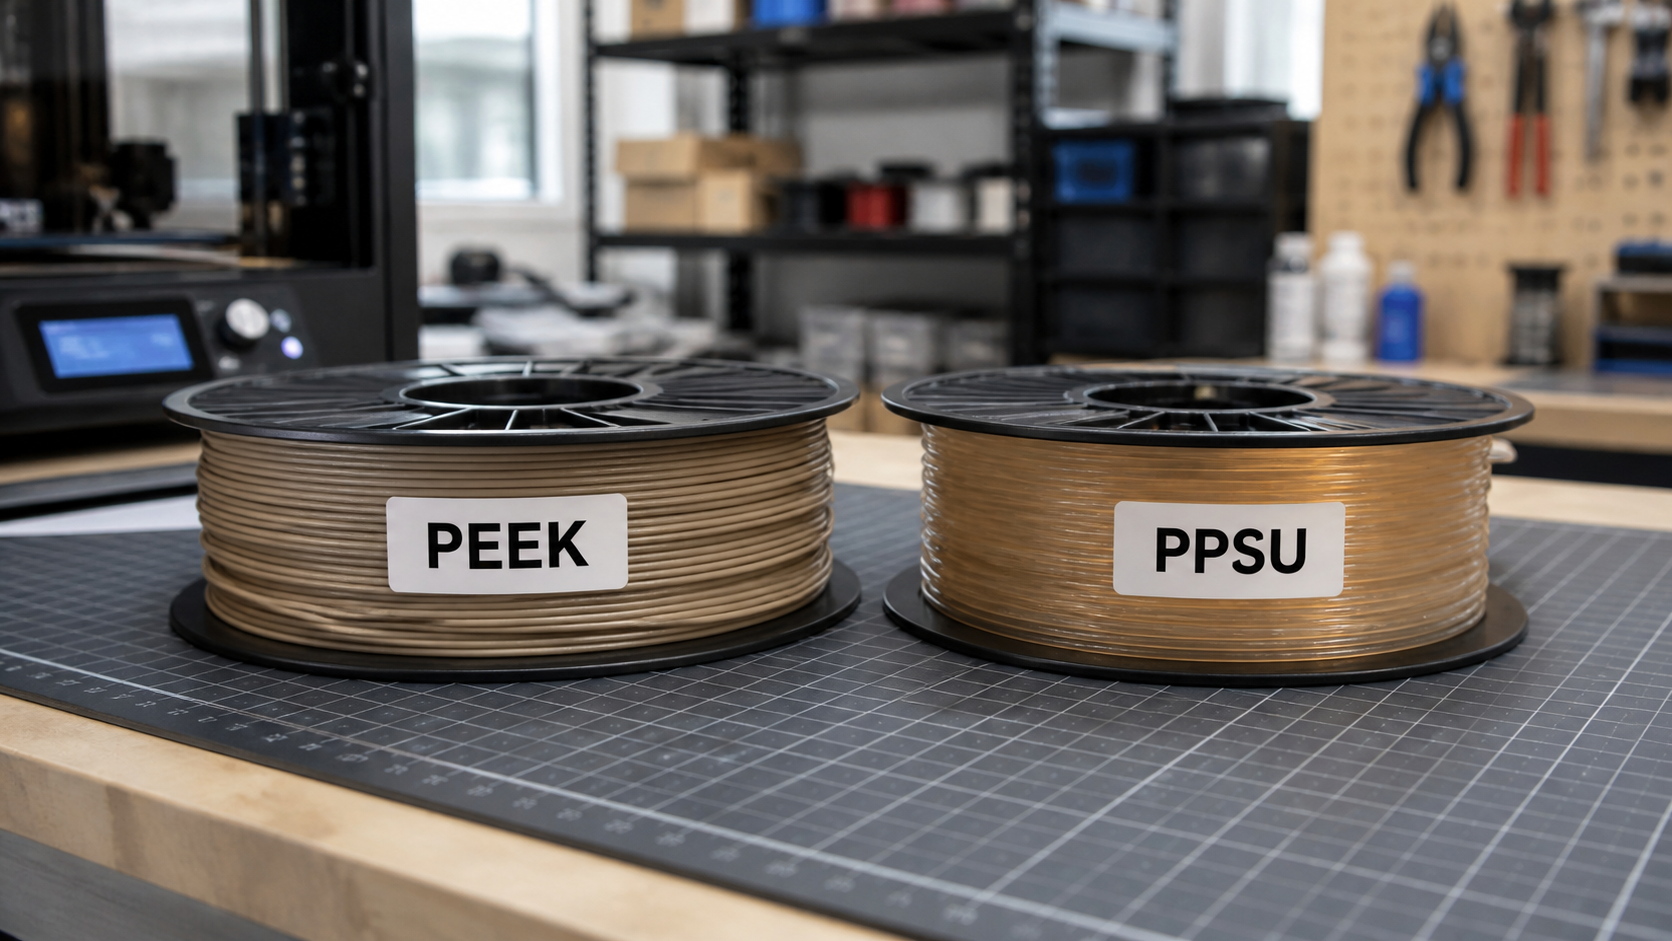
When we look at materials for demanding printed parts, PEEK often comes to mind first. It has an incredible reputation for performance, and for good reason. But I’ve learned that relying on a polymer's name alone can be an expensive habit. The real engineering work is in matching the material to the job. We don’t need the "best" material; we need the right material. This means we have to question our assumptions and look at the actual evidence. Would PEI or PPSU do the job just as well for a fraction of the price? Let’s break down how we can make that decision based on facts, not just habits. It’s a process of careful review that can save a lot of money without sacrificing performance where it counts.
How Do We Define Heat, Moisture, and Load for the Printed Part?
Designing a part without knowing its exact working conditions is a recipe for failure. A vague description leads to over-engineering or, worse, unexpected breakdowns. We must define the environment first.
To properly define the part's environment, you must quantify three key areas: the maximum continuous and peak operating temperatures, the specific chemicals and moisture it will be exposed to, and the exact type and magnitude of mechanical loads it will experience, such as static, cyclic, or impact forces.
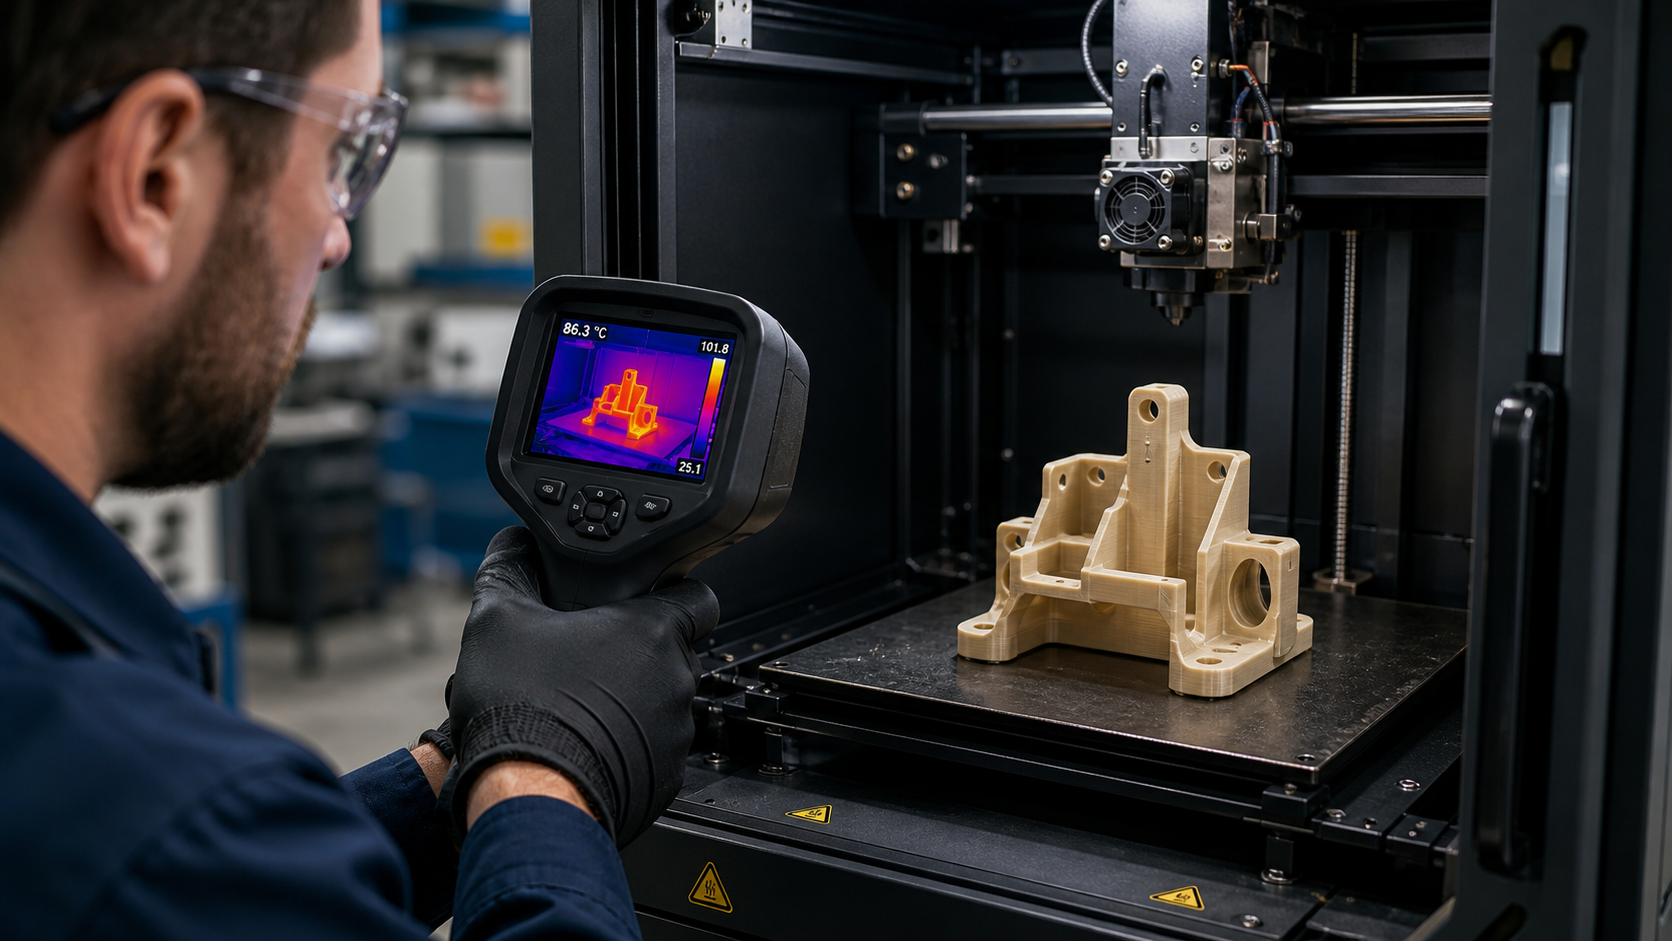
To make an evidence-based material decision, we need to move beyond general terms. Vague requirements like "high heat" or "chemical resistance" are not enough. We need specific, measurable data points. I always start by creating a simple requirements document for any new part we evaluate. It helps focus the conversation and ensures we don’t miss anything critical.
### Temperature Profile
We must identify the complete temperature range. What is the normal, continuous operating temperature? Are there short-term temperature spikes? If so, for how long and how often? The material's Glass Transition Temperature (Tg) and Heat Deflection Temperature (HDT) are critical here. A polymer can lose a significant amount of its stiffness and strength above its Tg, so knowing the exact thermal load is non-negotiable.
### Chemical and Moisture Exposure
"Resistant to chemicals" means nothing without specifics. We need a list of every chemical, cleaning agent, or fluid the part will touch. We also need to know the concentration, temperature, and duration of exposure. Water and steam are especially important. Some polymers that handle oils and fuels well can be terrible with hot water or steam, a property known as hydrolytic stability.
### Mechanical Load
Finally, we need to understand the forces acting on the part. Is it a constant, static load, like a bracket holding a component? Or is it a dynamic, cyclic load, like a part in a vibrating assembly? Will it experience sudden impacts? Answering these questions helps us evaluate properties like tensile strength, flexural modulus, and impact strength.
Here is a simple table we use to organize this information:
| Parameter | Requirement | Unit | Notes |
|---|---|---|---|
| Continuous Temperature | °C / °F | Normal long-term operating heat. | |
| Peak Temperature | °C / °F | Duration and frequency of spikes. | |
| Chemicals | List | Include concentration and temperature. | |
| Moisture/Steam | Yes/No | Note pressure and temperature if steam. | |
| Static Load | MPa / psi | Constant force on the part. | |
| Dynamic Load | Hz / cycles | Vibration or repeated stress. |
How Does PPSU Performance Compare Under Those Conditions?
PEEK has top-tier performance, which can make it seem like the only option. But this mindset can be costly if that level of performance isn't truly needed.
PPSU offers excellent performance that often bridges the gap between standard engineering plastics and extreme polymers like PEEK. It has a high heat deflection temperature, outstanding resistance to steam sterilization and hydrolysis, and better impact strength than PEI, making it a powerful candidate for many applications.
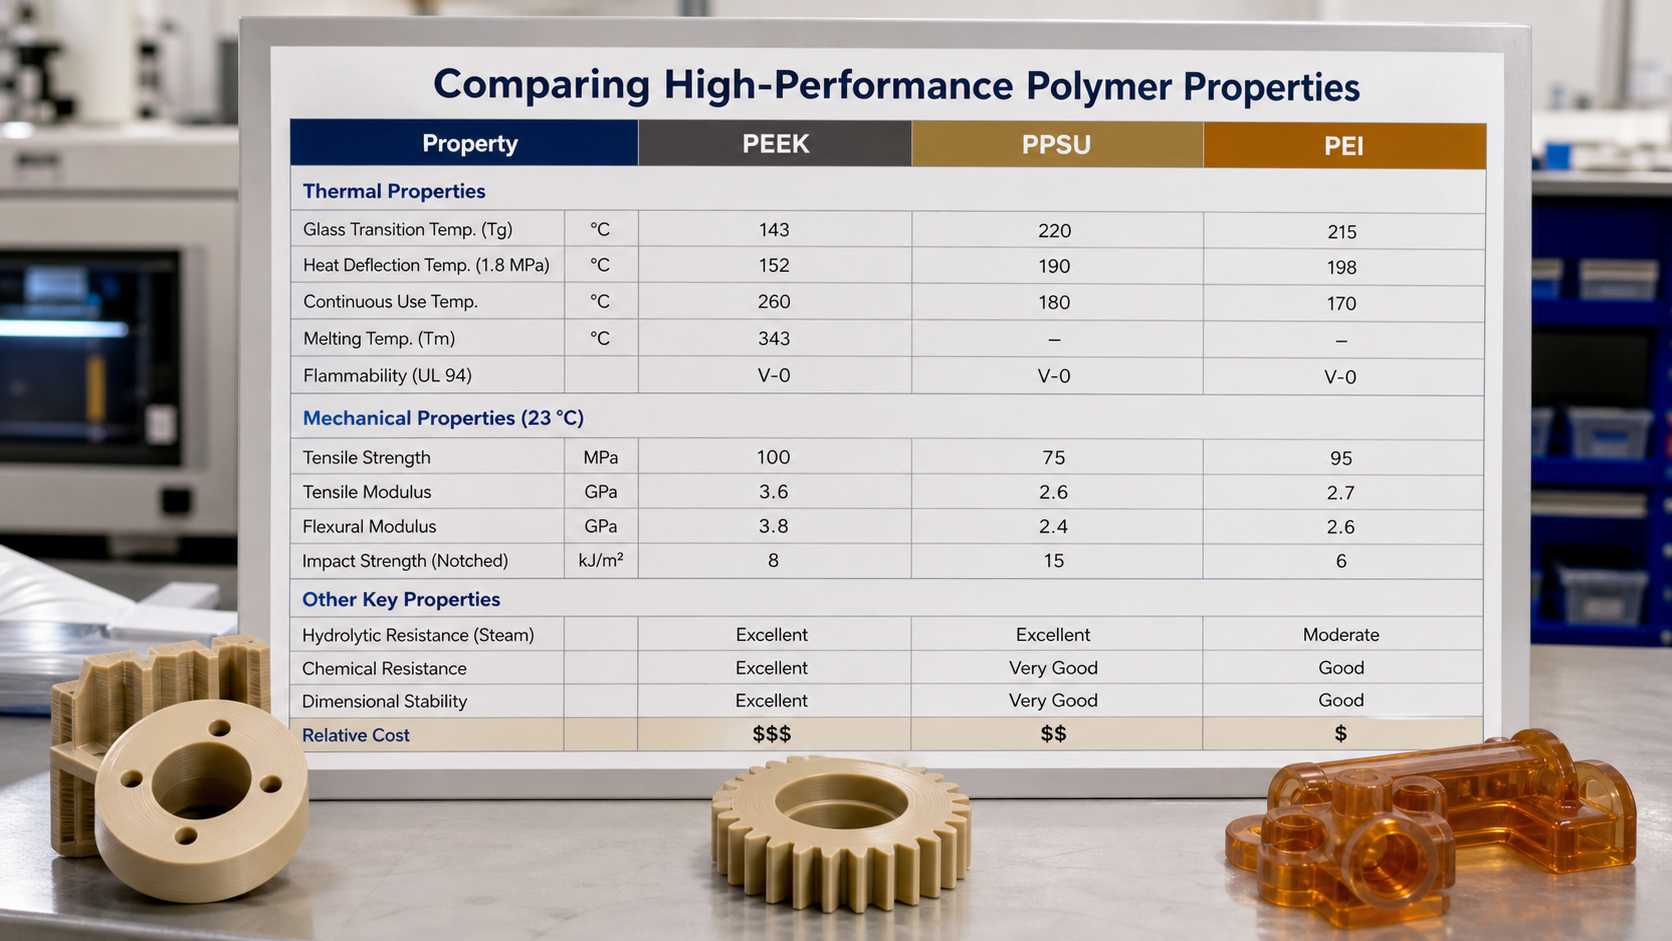
Once we have our list of environmental conditions, we can start comparing material data sheets. This is where we see if an alternative like PPSU or even PEI has a chance. We treat this as an initial screening. If a material doesn't meet the core requirements on paper, there's no point in moving forward. Remember, we must always look at the data for the specific grade we intend to use, as properties can vary.
PEEK is a semi-crystalline polymer, which gives it excellent mechanical performance and chemical resistance even at temperatures well above its glass transition temperature (around 143°C). PPSU, on the other hand, is an amorphous polymer. This means its performance drops off more significantly above its Tg (around 220°C). So, if your continuous use temperature is above 150°C and involves high mechanical stress, PEEK is likely the right choice. But for many applications, especially those involving steam, hot water, and temperatures below 180°C, PPSU is a fantastic option. It has superior hydrolytic stability to both PEEK and PEI, meaning it holds its strength better after repeated exposure to steam, making it a favorite in medical and food processing equipment.
How Do We Include Print Yield in the Cost Comparison?
The price per kilogram of filament is just the beginning of the cost story. A failed print with a $1000/kg material is a lot more painful than one with a $200/kg material.
To find the true cost, you must factor in the print success rate, or yield. The total cost per part is the material cost divided by the yield percentage. A cheaper material with a low yield can easily become more expensive than a reliable, higher-priced alternative.
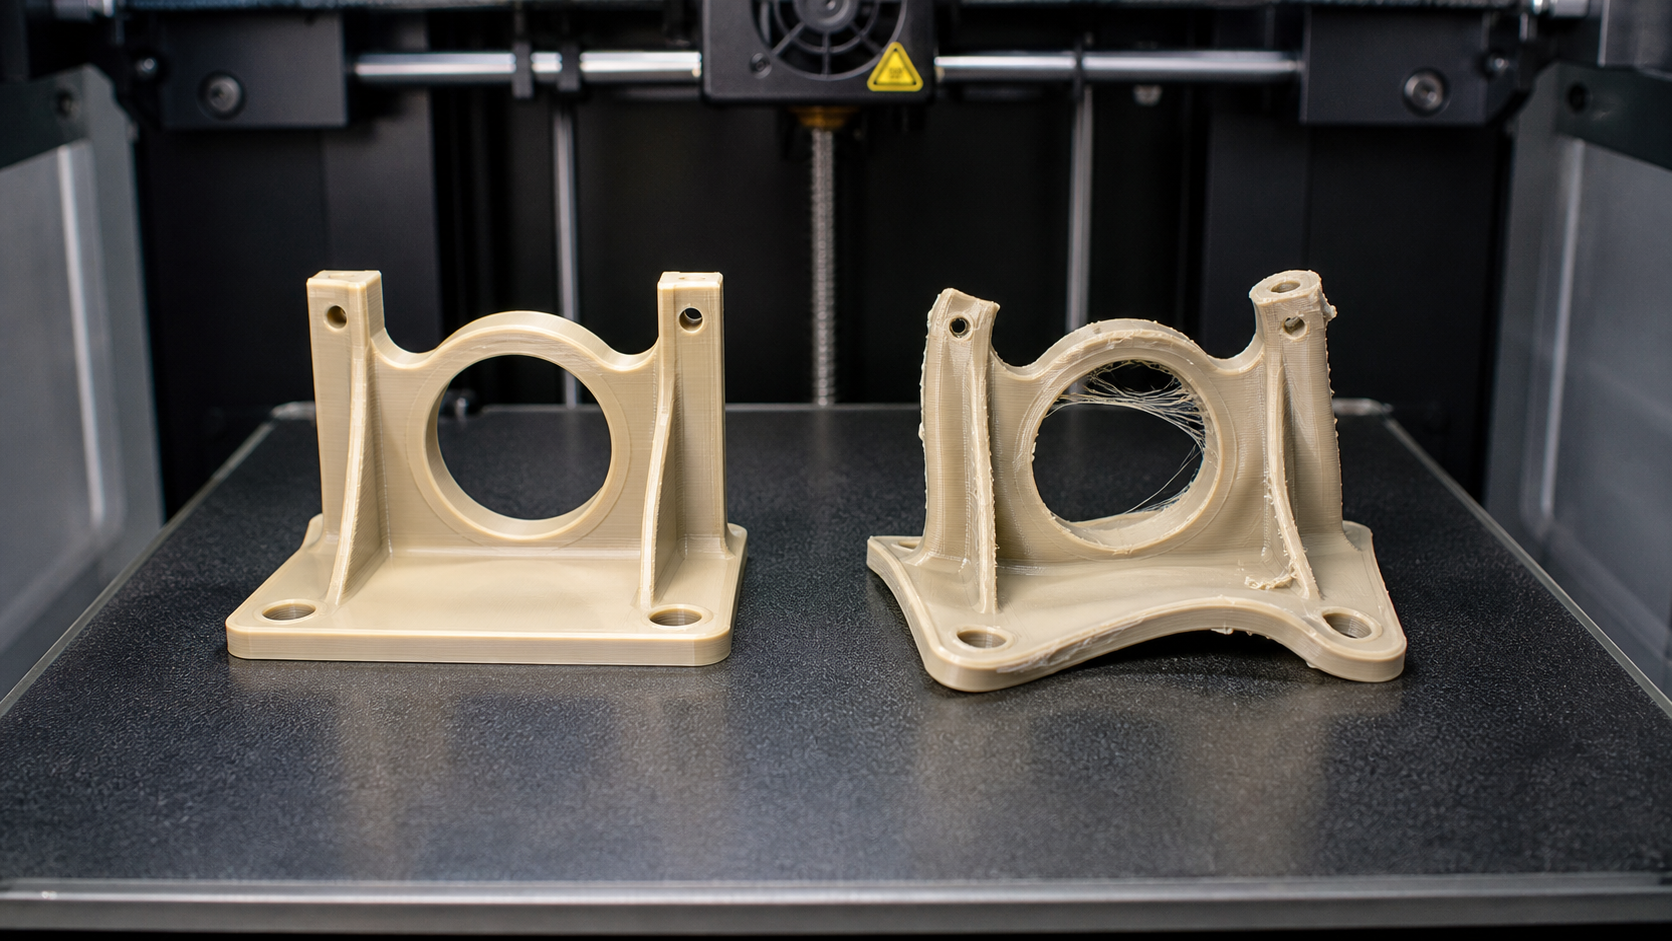
I learned this lesson the hard way. We were printing a complex part with a very expensive PEEK-CF filament. The material cost for the part was about $80. But our print success rate was only around 50% due to challenges with warping and layer adhesion on our machine. Every failed part was an $80 loss. The true cost of a successful part was closer to $160, not counting machine time and operator frustration.
This experience forced us to look at the entire printing process. High-performance polymers are demanding. PEEK requires extremely high nozzle temperatures (around 400°C) and, crucially, a heated chamber that can maintain temperatures above its Tg (so, >143°C) to prevent stress and warping. Not many printers can do this reliably. PPSU and PEI are also high-temperature materials but are often more forgiving. They still need a heated chamber, but their lower print temperatures and different thermal properties can sometimes lead to a higher print yield on a wider range of machines. When comparing costs, we now create a simple formula: (Filament Cost per Part) / (Estimated Print Yield %) = True Part Cost. This gives us a much more realistic picture.
How Can We Qualify the Alternative Without Calling It Universally Equivalent?
Finding a lower-cost material that works is a big win. But it's dangerous to declare it a "drop-in replacement" for all future parts. This can erase all your hard work and lead to field failures.
Qualify an alternative for a specific application by performing targeted testing. Print test samples and final-form parts using the new material, then validate them against the exact heat, moisture, and load conditions defined for that part. This creates an evidence-based approval for one use case only.
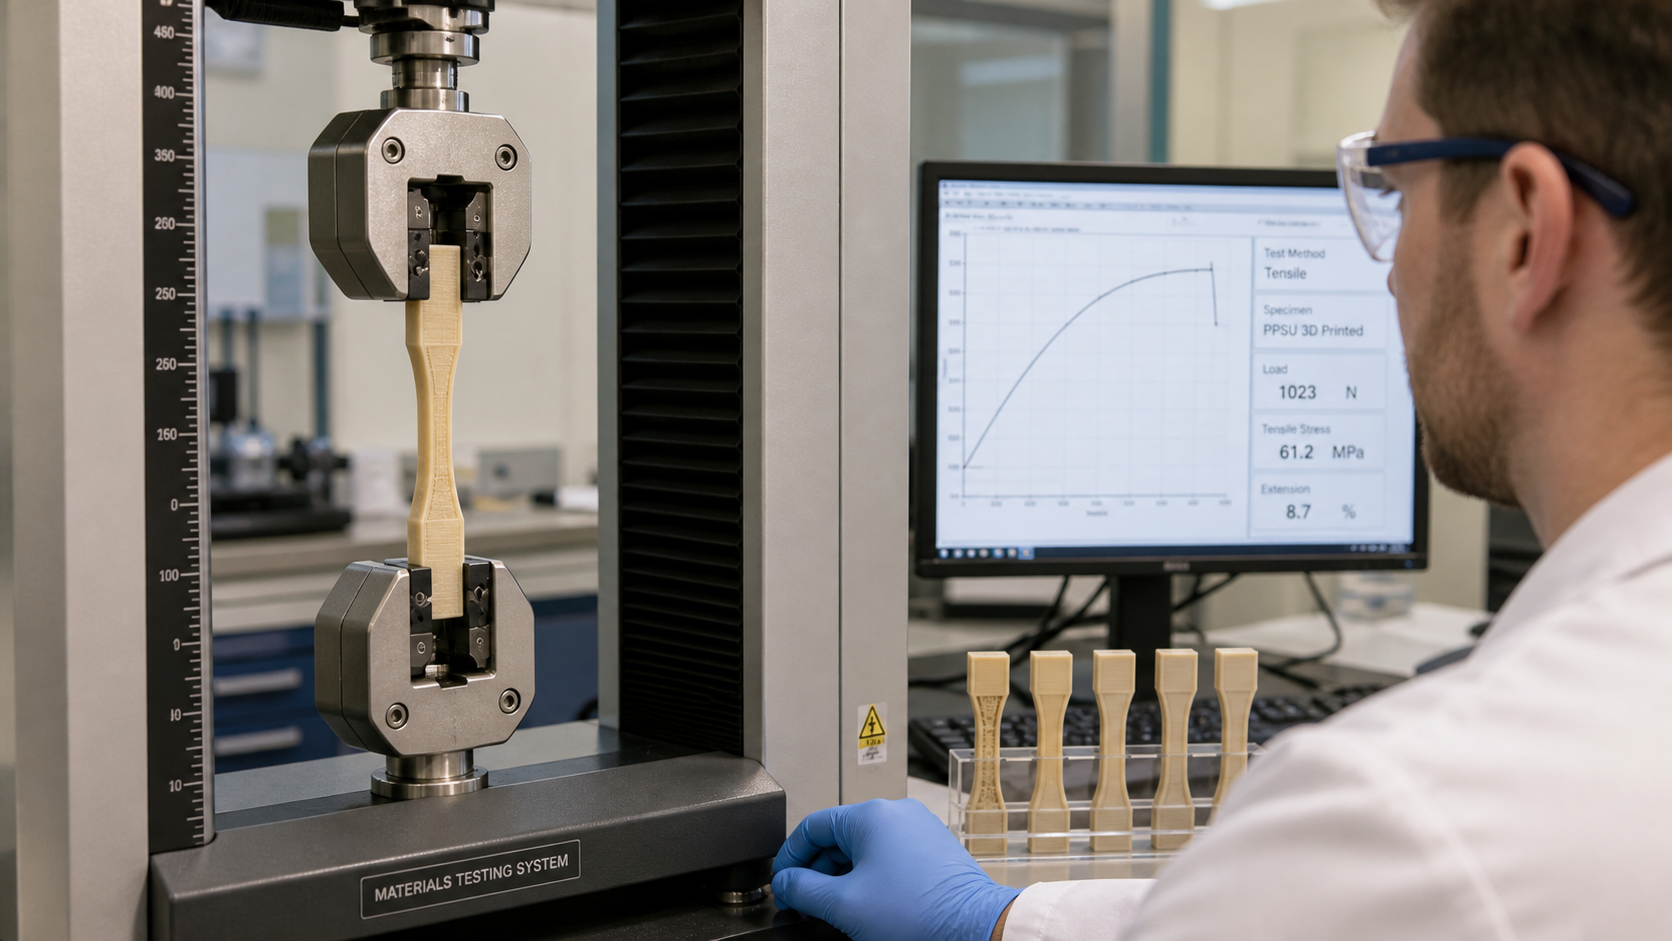
Qualification is about managing risk. Just because PPSU worked for one bracket doesn't mean it will work for a different manifold, even in the same machine. We never say "PPSU is our new PEEK." Instead, we say, "For part number XYZ, under the documented operating conditions, PPSU has been tested and approved as a suitable material." This approach is critical for maintaining quality and reliability.
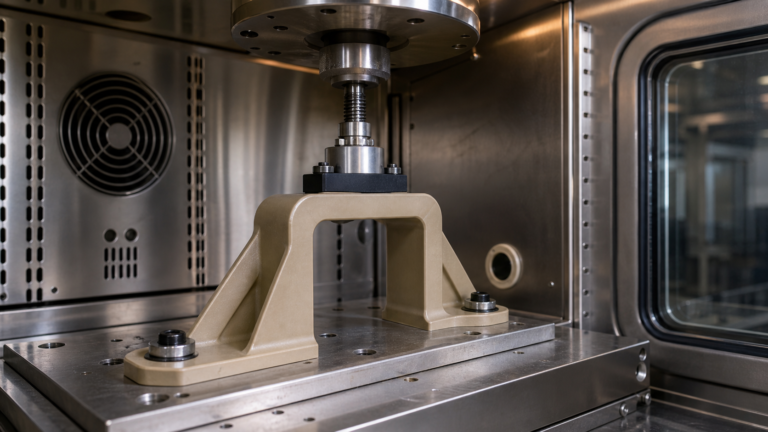
Our qualification process is straightforward. First, after the data sheet review looks promising, we print standard test coupons (like tensile bars) in PPSU. We test them to confirm the baseline mechanical properties from our printer. If those results look good, we move on to printing several prototype parts. These prototypes then go through functional testing that simulates the real-world application as closely as possible. This could mean thermal cycling in an oven, chemical soak tests, or mounting them on a vibration rig. We document every step. Only after the part passes this targeted validation do we approve the material substitution for that specific component. This methodical, part-by-part approach ensures that our cost-saving efforts are built on a solid foundation of engineering evidence.
Conclusion
PPSU can be a smart, cost-saving alternative to PEEK in 3D printing. The key is to base your decision on application-specific evidence, from defining the environment to testing the final part.