How Should PEEK Parts Be Conditioned Before Final Inspection?
Machining tight-tolerance PEEK parts that fail inspection is frustrating. What if the problem isn’t the toolpath, but how and when you measure the finished component?
PEEK parts must be conditioned by allowing both the component and the inspection gauges to stabilize at a defined temperature. A subsequent settling period, where critical dimensions are measured repeatedly until they stop changing, is essential before conducting the final, official inspection.
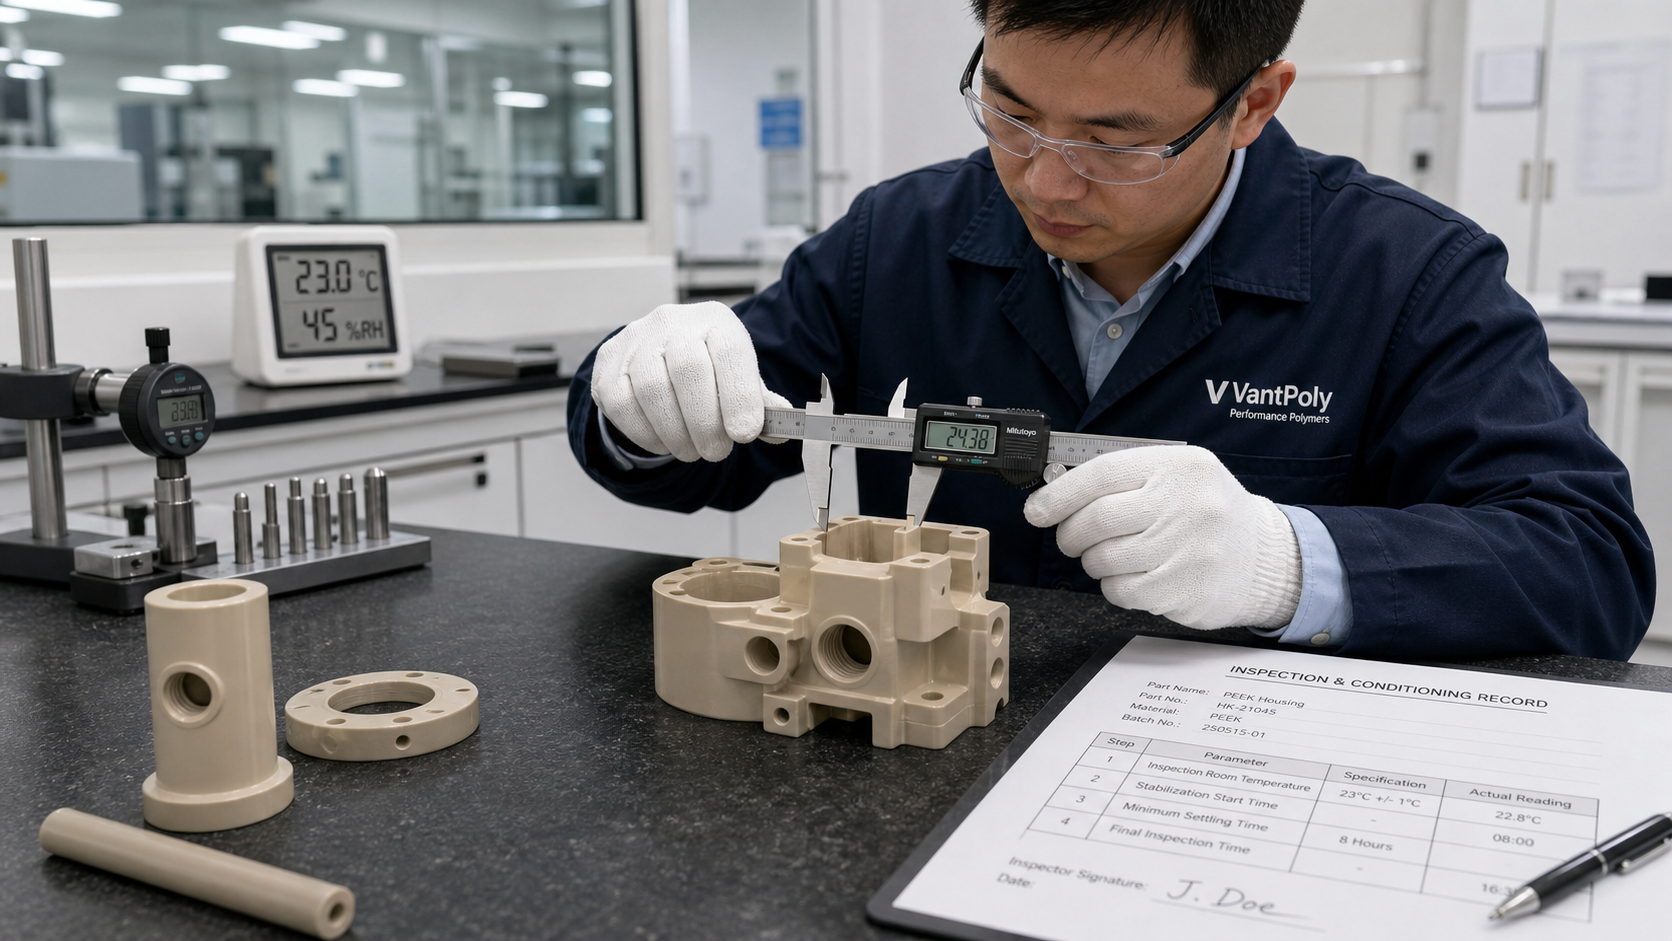
When we work with high-performance polymers like PEEK, we learn quickly that they behave differently than metals. Their dimensions can shift due to temperature changes and the relaxation of internal stresses introduced during manufacturing and machining. Simply machining a part and measuring it right away can lead to inaccurate results, causing good parts to be rejected or, worse, bad parts to be accepted. This is why establishing a formal conditioning process is not just good practice; it's a necessary step for achieving reliable and repeatable quality control. Let’s explore how to build an inspection protocol based on evidence rather than assumptions.
Bringing Parts and Gauges to a Defined Temperature?
Your machine just finished a perfect PEEK part, but it's still warm. Measuring it now will give you a false reading, leading to costly rejections or approvals.
Both the machined PEEK parts and the measurement gauges must acclimate to a stable, controlled room temperature, typically 23°C (73°F). This stabilization period minimizes dimensional errors caused by thermal expansion, creating a reliable baseline for any accurate inspection of a polymer component.
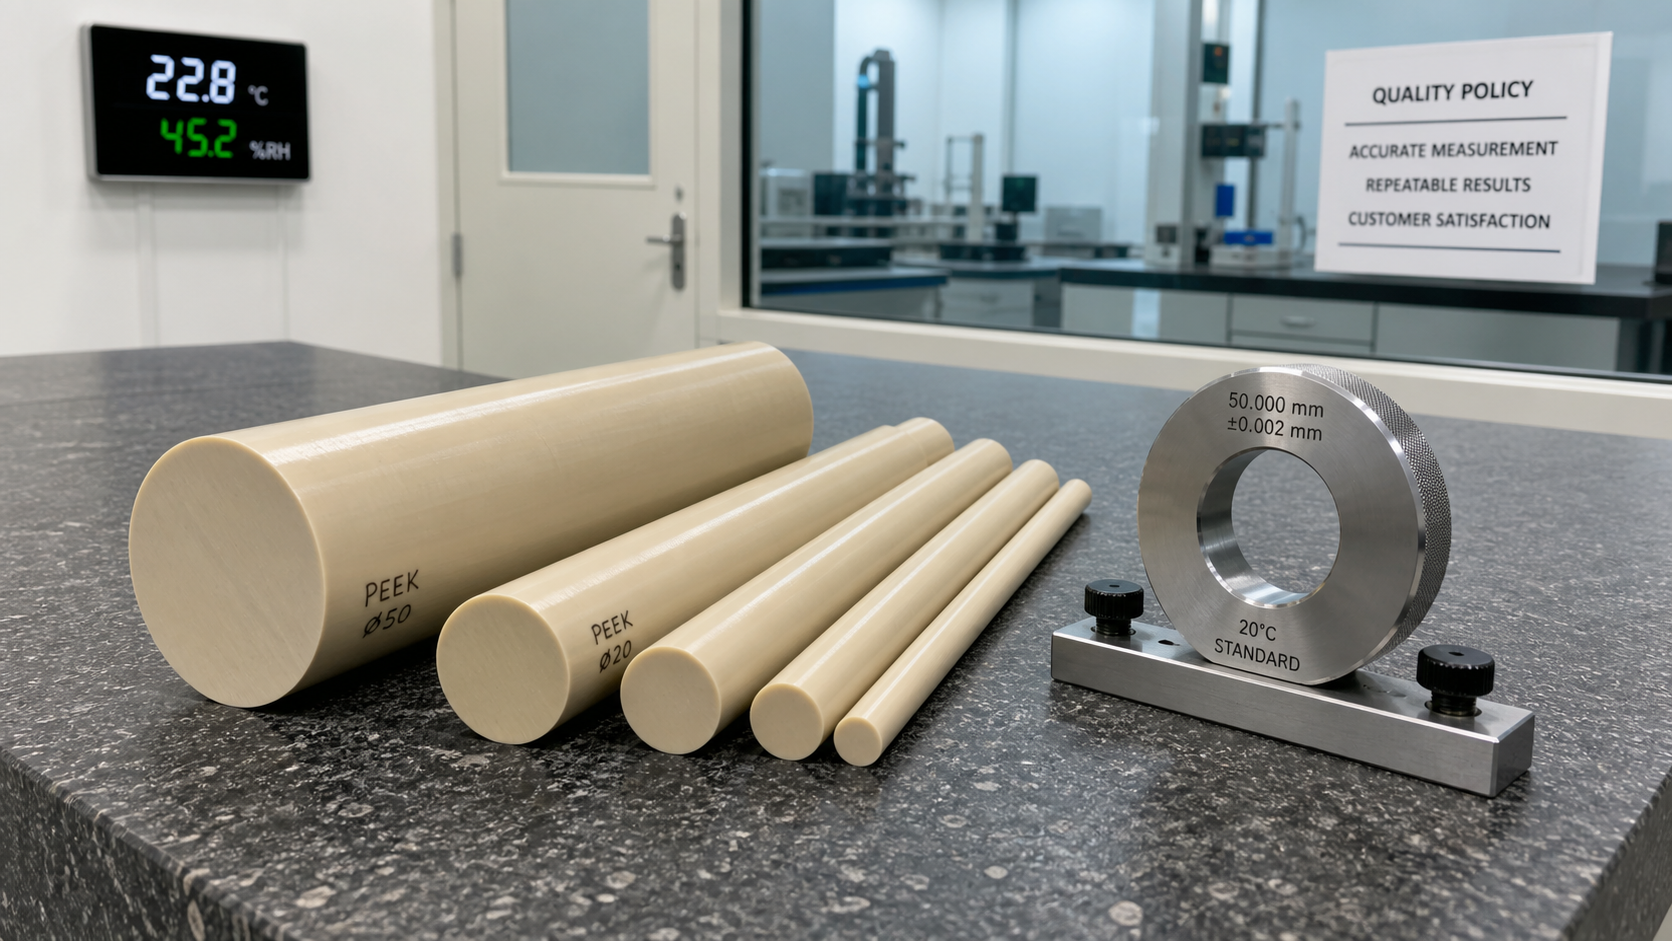
When we machine any material, the process generates heat. This is especially true for polymers like PEEK, which don't conduct heat away as quickly as metals do. A part coming off a CNC machine can be several degrees warmer than the surrounding environment. Because PEEK has a relatively high coefficient of thermal expansion (CTE), even a small temperature difference can cause a measurable change in its size. The problem is compounded because our inspection tools, usually made of steel, have a much lower CTE. Measuring a warm part with a cool gauge is a recipe for an incorrect reading.
Why Temperature Synchronization is Critical
The goal is to eliminate temperature as a variable. By allowing both the PEEK part and the inspection gauge to "soak" at a standard inspection temperature (like 23°C), we ensure that any measurement we take is not skewed by thermal expansion or contraction. This is a fundamental principle of metrology that becomes absolutely critical when working with polymers that can move significantly with temperature.
Establishing a Practical Temperature Protocol
We can’t just guess when a part is ready. A systematic approach is needed. The table below outlines a simple framework for managing temperature before inspection. The time required will depend on the part's size and mass, but the principle remains the same.
| Step | Action | Purpose |
|---|---|---|
| 1. Isolate | Move the machined PEEK part from the machine environment to the quality inspection area. | Removes the part from the heat source and variable temperatures of the shop floor. |
| 2. Stabilize | Place the part and the designated measurement gauges together in a temperature-controlled area. | Allows both items to slowly reach thermal equilibrium with the inspection environment. |
| 3. Verify | Use a non-contact thermometer to check the surface temperature of the part periodically. | Confirms that the part is no longer cooling and has reached a stable temperature before measurement begins. |
Treating this stabilization step as a mandatory part of the inspection workflow is the first step toward reliable measurements.
Measuring How Dimensions Change While Parts Settle?
Even after a part cools to room temperature, its dimensions might not be stable. Internal stresses from machining can relax over time, causing the material to move unexpectedly.
After temperature stabilization, you must measure the part's critical dimensions at regular intervals. By plotting these measurements over time, you can determine the point at which the part has fully "settled" and its dimensions are no longer changing. This is the true point for final inspection.
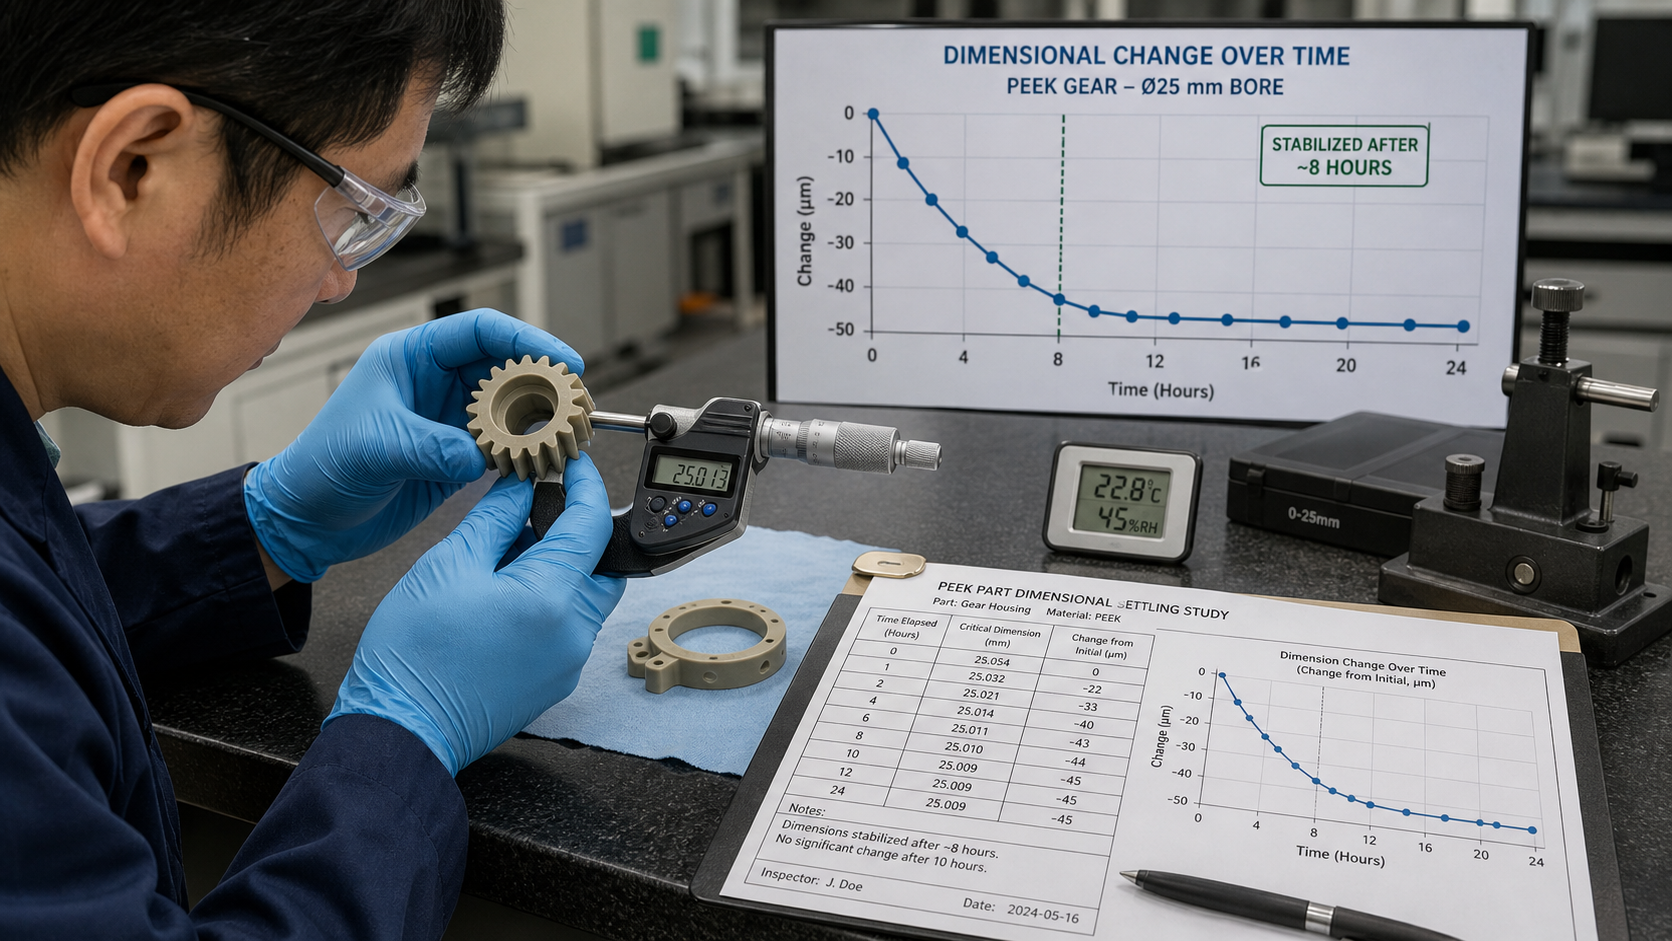
The material used to make PEEK components, whether it's an extruded rod or a compression-molded plate, contains some level of internal stress from its manufacturing process. The machining process itself introduces new stresses into the part. Over hours or even days, these stresses can relax, causing the material to warp, shrink, or expand slightly. This phenomenon is why a part that was in-spec immediately after cooling might be out-of-spec 24 hours later.
I remember a specific project involving a thin-walled PEEK housing with very tight tolerances on its internal diameter. We measured the parts right after they cooled and they were perfect. The next day, the customer called to say nearly half of them were undersized. We discovered that the parts were slowly shrinking as residual machining stresses relaxed. We solved the problem by implementing a settling study. We measured the parts every hour for a full day and found that all dimensional changes stopped after about eight hours. By changing our protocol to wait at least eight hours before final inspection, we eliminated the issue entirely. This experience taught us that we cannot rely only on a polymer's name; we must observe its actual behavior.
Recording the Conditioning Period Before Inspection?
You found the perfect conditioning time through careful measurement, but it's just tribal knowledge. When a new inspector takes over, the process is forgotten, and inspection results become inconsistent.
The entire conditioning procedure—including the stabilization temperature, the required settling time, and the measurement frequency—must be formally documented. This record should become a permanent part of the part's inspection plan or manufacturing traveler, ensuring consistency across all batches and operators.
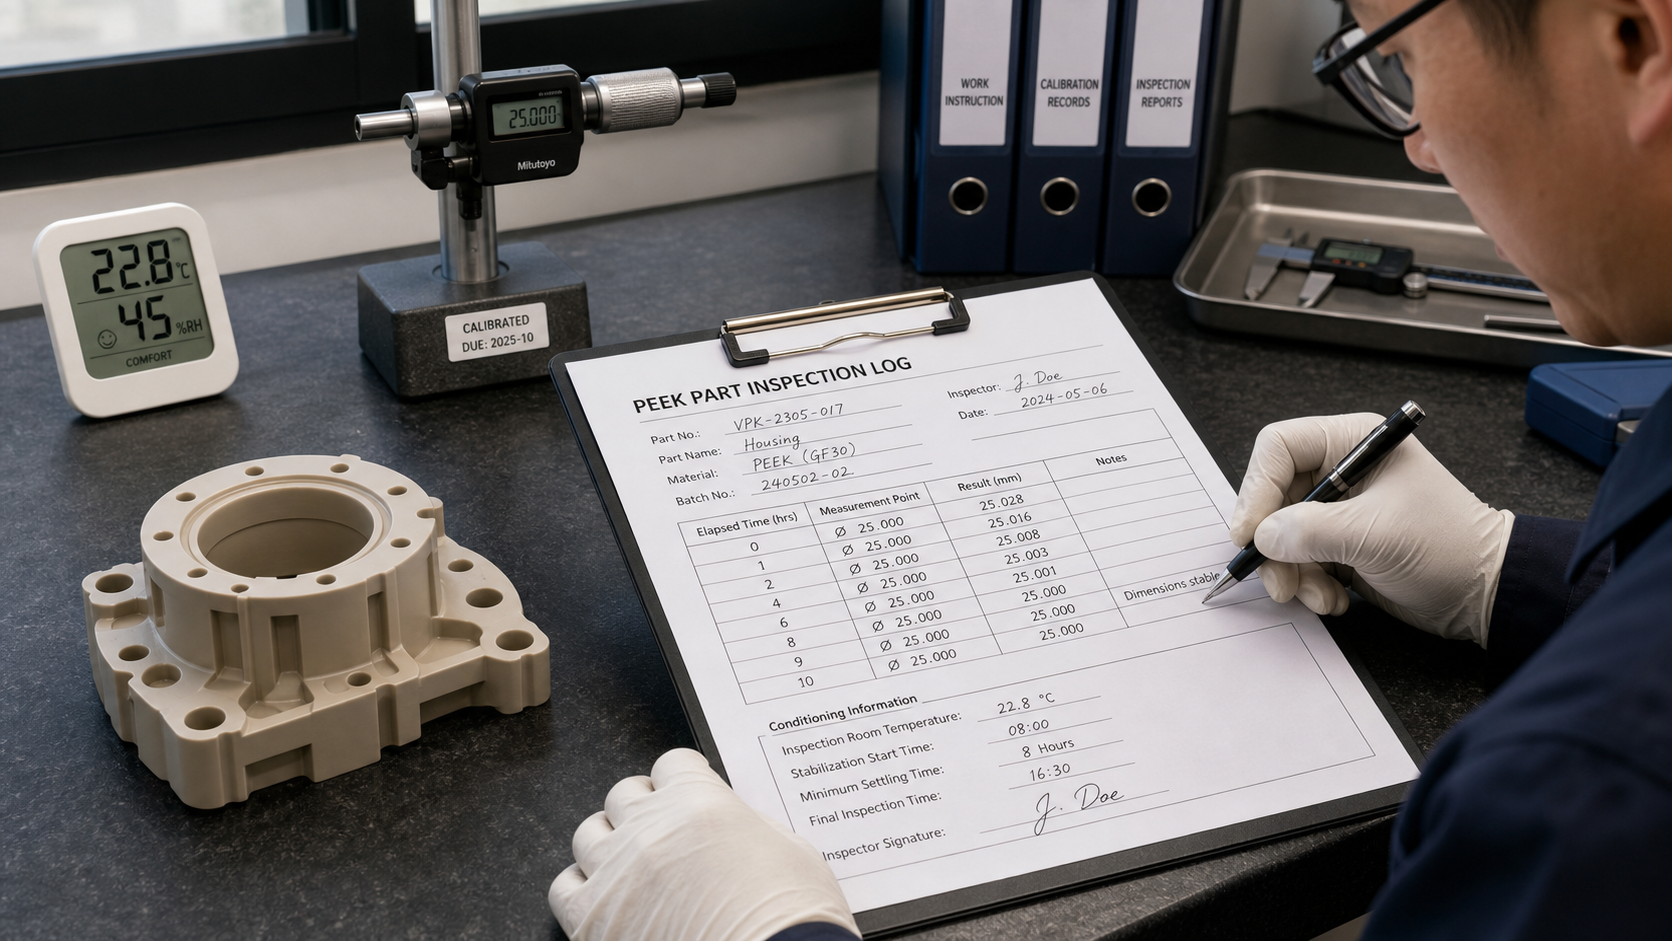
An unwritten rule is not a process. For quality control to be truly effective, it must be repeatable and defensible. If a customer questions a measurement, you need to be able to show them the exact, documented procedure you followed to get that result. This documentation transforms your conditioning process from a good idea into a controlled, auditable standard operating procedure. This is a core part of how we manage quality for drawing-based components, ensuring that what we measure is a true reflection of the part's final state.
What Should the Record Include?
Your conditioning log or procedure should be clear and easy to follow. It provides objective evidence that parts were inspected under controlled conditions. This record is vital for troubleshooting and for maintaining consistency over the long term, especially for repeat orders where consistency is key.
Example Conditioning Log Entry
A simple table added to the inspection report can capture all the necessary information. This creates a clear and traceable record for every batch of parts.
| Parameter | Specification | Actual Reading |
|---|---|---|
| Inspection Room Temperature | 23°C +/- 1°C | 22.8°C |
| Stabilization Start Time | – | 08:00 |
| Minimum Settling Time | 8 Hours | – |
| Final Inspection Time | – | 16:30 |
| Inspector Signature | – | J. Doe |
This level of detail ensures there is no ambiguity in the process and provides a solid foundation for any quality discussion.
Applying the Same Protocol to Supplier and Buyer Checks?
Your team follows a rigorous conditioning protocol and all parts pass. But the customer rejects the shipment, claiming they are out of tolerance. The problem? They measured them differently.
To prevent inspection disputes, the supplier and the buyer must agree on and use the exact same conditioning and inspection protocol. This shared procedure should be a formal part of the quality agreement or purchase order, aligning both parties before production even begins.
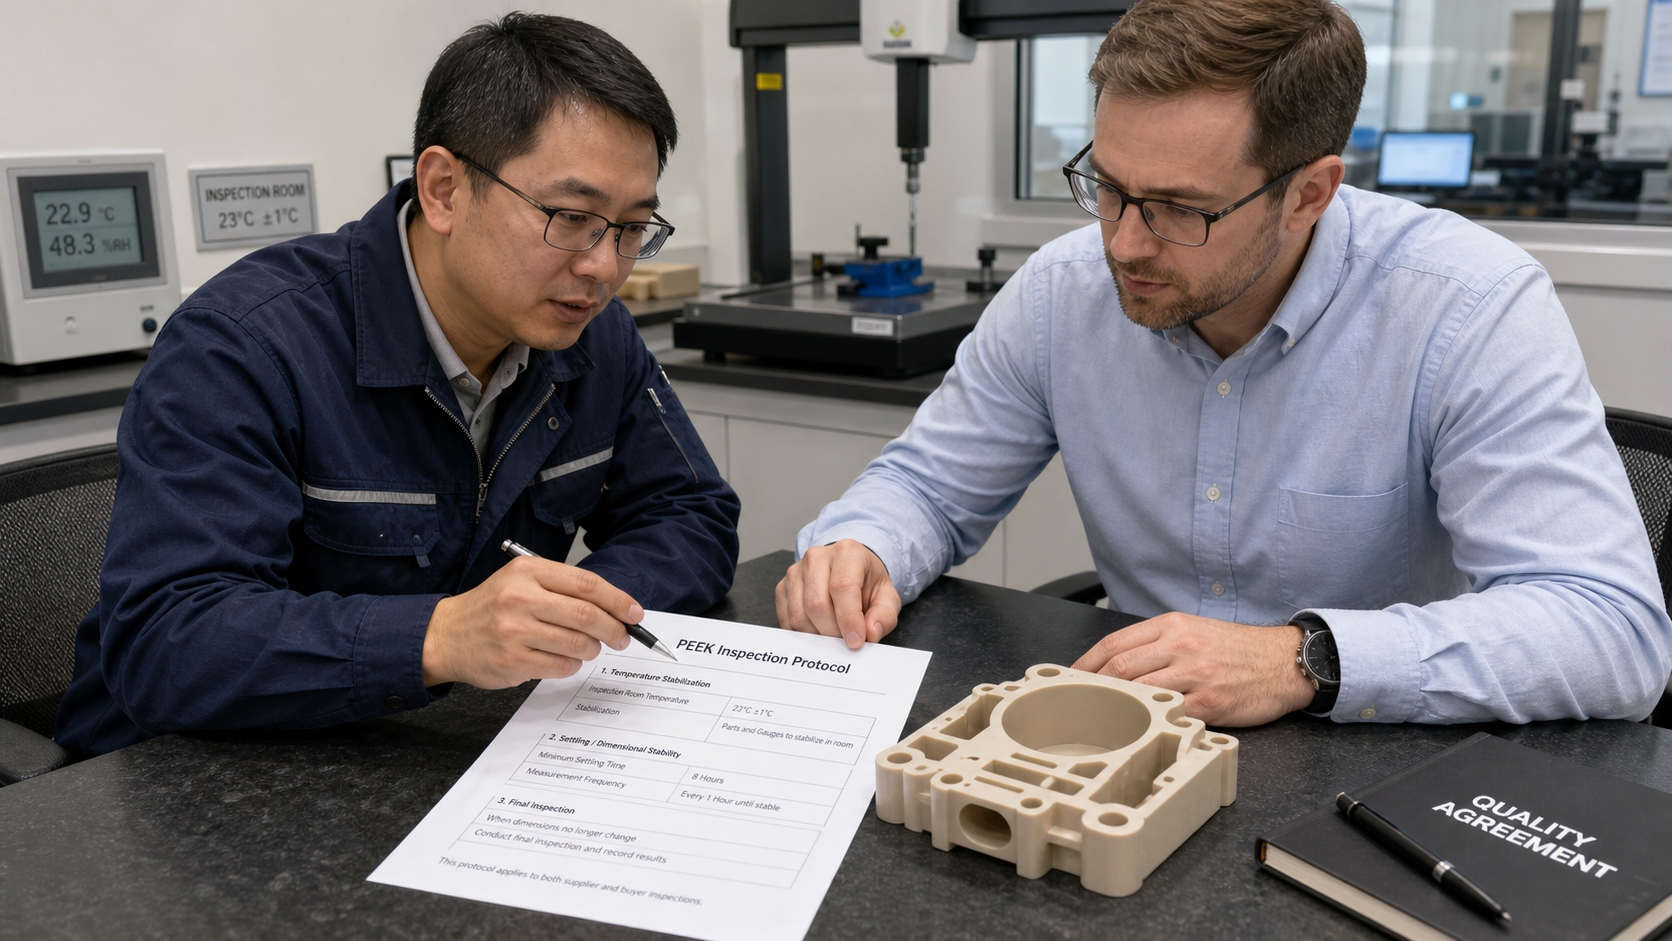
Measurement discrepancies between suppliers and customers are a common source of conflict, delays, and costs. In almost every case I've seen, the issue wasn't a "bad" part but a difference in measurement methods. One party might measure parts right off the truck in a hot receiving dock, while the other uses a climate-controlled lab after 24 hours of stabilization. Without a shared protocol, both parties can be "correct" in their own context, yet their results will never match.
Establishing a single, agreed-upon inspection procedure is the only way to create a fair and objective standard for part acceptance. This discussion should happen early in the project, especially for components with tight tolerances intended for critical applications in sectors like semiconductor equipment or aerospace. We treat this as an evidence-based decision, not just a contractual formality. We work with our clients to define a protocol that is practical, repeatable, and reflects the true, stable condition of the final PEEK part. This collaborative approach turns inspection from a potential point of conflict into a shared goal of ensuring product quality and performance.
Conclusion
A formal conditioning protocol, defining temperature stabilization and settling time, is critical for accurate PEEK inspection. This evidence-based procedure must be documented and shared between the supplier and buyer.