How Do Disinfectant Residues Affect PPSU During Sterilization?
Your PPSU medical components are failing, but they pass all the standard heat tests. Could invisible disinfectant residues be the hidden cause of these cracks during steam sterilization?
Evaluating PPSU's resistance to steam sterilization requires more than just a temperature rating. We must test components under stress after exposure to specific disinfectant residues. This sequence-based approach provides a true measure of performance and makes cleaning-process control an evidence-based decision.
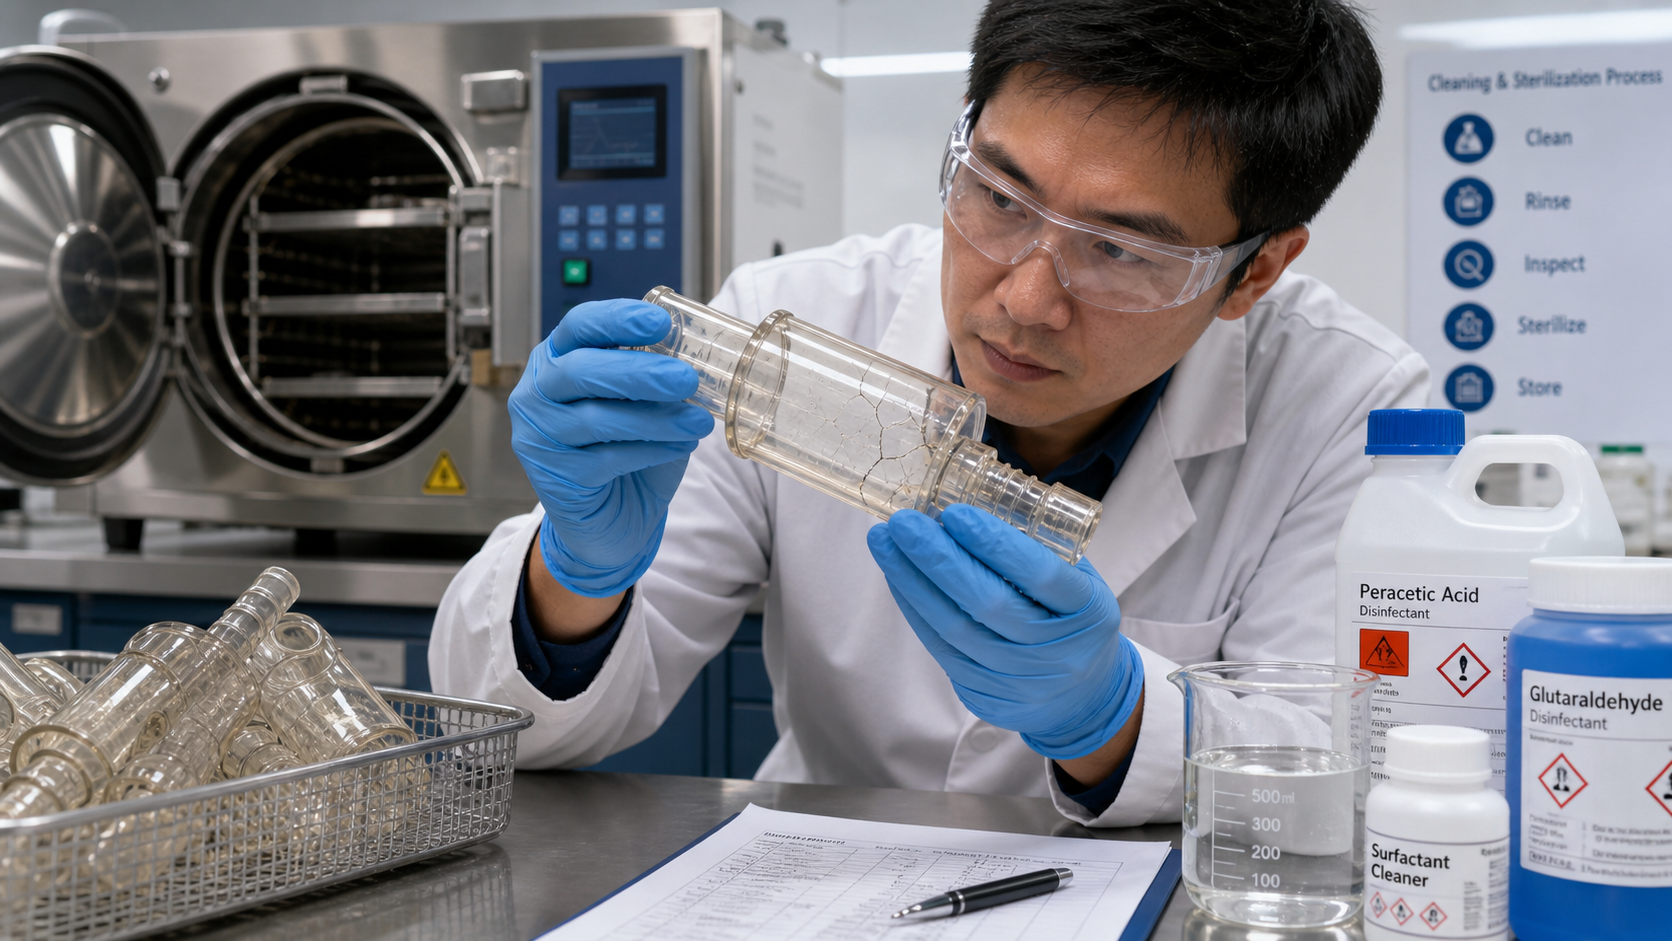
This type of evaluation helps us understand the true limits of a material in its real-world application. The goal is not just to see if a material passes or fails, but to define a safe operating window for the entire cleaning and sterilization process. It's important to note that when we discuss such testing, we refer to the original material supplier's data, retaining their grade, test conditions, and application limits. We do not present this as our own test evidence. Understanding this detailed interaction between chemicals, stress, and heat is what separates a reliable component from a potential field failure. Let's look at how we can build this understanding step-by-step.
Measuring Residual Disinfectant After Cleaning?
You've washed your components, and they look perfectly clean. But how can you be sure that no harmful chemical residues are left behind, waiting to cause damage?
To measure residual disinfectant, we analyze the final rinse water or swab the component's surface. Analytical techniques like titration or high-performance liquid chromatography (HPLC) can then quantify the chemical concentration, telling us exactly what the PPSU part is exposed to before sterilization.
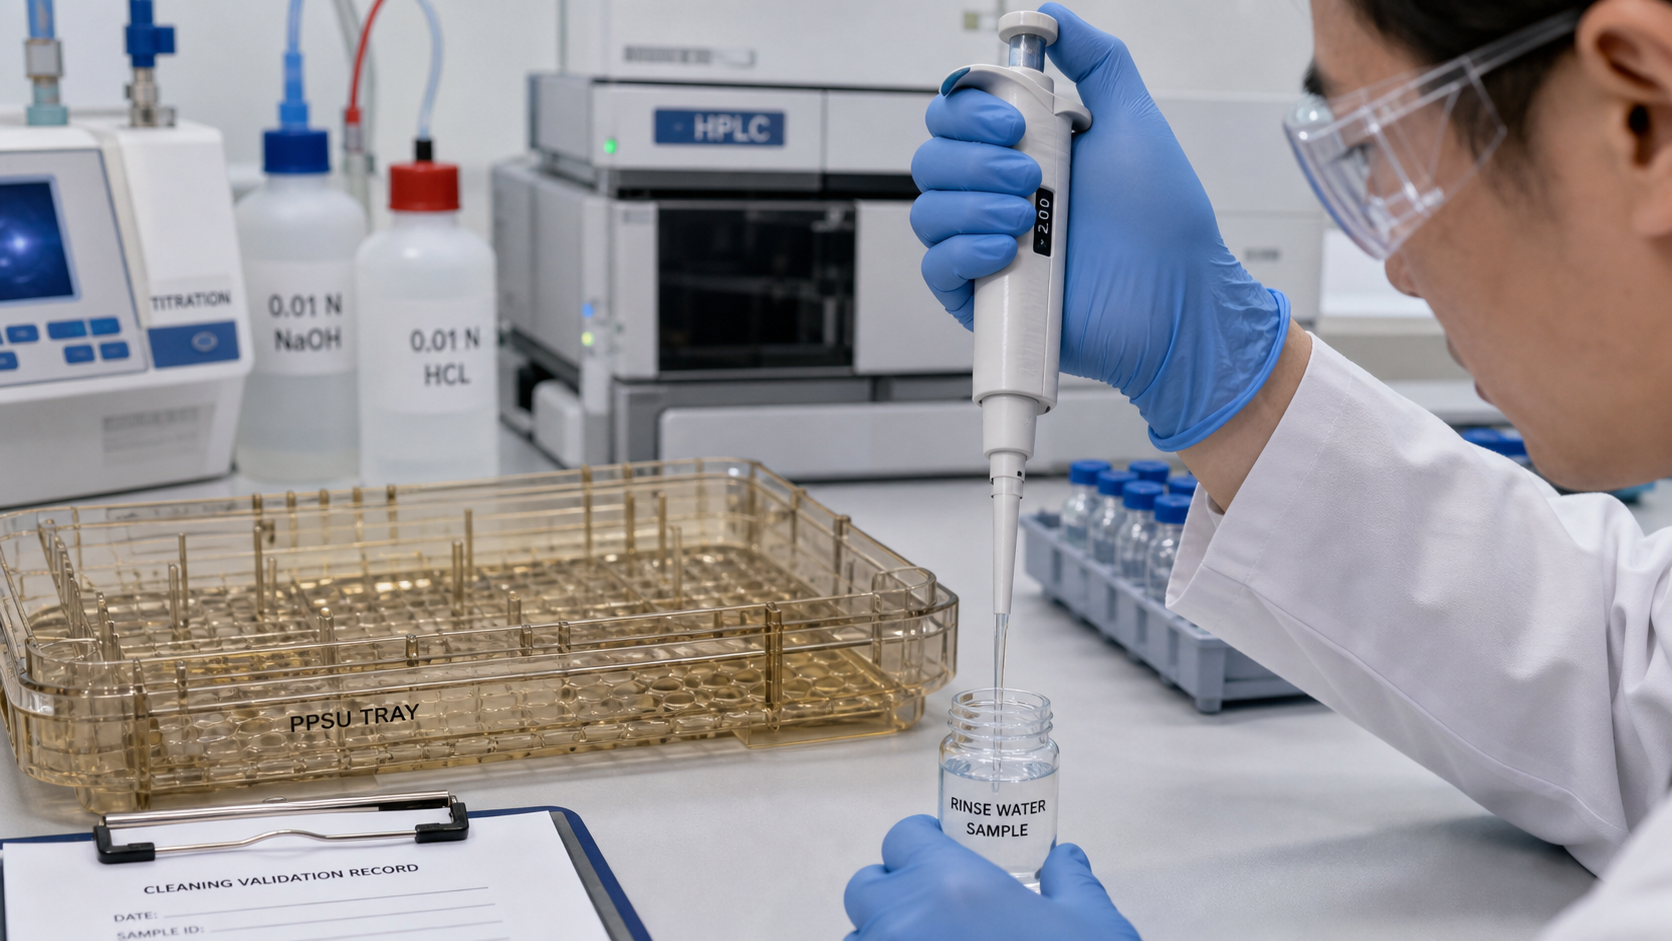
The first step in any robust analysis is to quantify the problem. Simply guessing that a part is "clean enough" is not a reliable strategy for critical applications. We need hard data. The amount of chemical residue left on a surface can be incredibly small, often measured in parts per million (ppm), yet it can be enough to initiate environmental stress cracking when combined with heat and mechanical stress.
Key Measurement Techniques
To get this data, we can use several established methods. The choice depends on the required precision, the specific chemical involved, and whether the test is for process development or routine quality control.
| Measurement Method | How It Works | Best For |
|---|---|---|
| Titration | A chemical reagent is added to the rinse-water sample until a color change indicates the reaction is complete. The amount of reagent used tells us the concentration. | Quickly checking for known acidic or alkaline residues in a production environment. |
| High-Performance Liquid Chromatography (HPLC) | The sample is passed through a column that separates different chemical components. A detector then measures the amount of each one. | Precisely identifying and quantifying very low concentrations of specific organic compounds in a lab setting. |
| Surface Swab Analysis | A sterile swab is wiped across a defined surface area of the component. The swab is then rinsed in a solvent, and that solvent is analyzed using a method like HPLC. | Verifying cleanliness on specific, hard-to-rinse areas of a complex part. |
By measuring the residue, we establish a baseline. This tells us how effective our current cleaning process is and provides a target for improvement. I once worked on a project where a client experienced random cracking in their PPSU trays. By analyzing their rinse water, we found that the disinfectant concentration varied wildly depending on the operator. This simple measurement was the first piece of evidence that pointed us toward a process problem, not a material problem.
Reproducing Concentration and Contact Before Steam Exposure?
You know how much residue is left, but how do you test its effect in a way that reflects reality? A simple dip-and-dunk test in pure disinfectant is not the answer.
We reproduce real-world conditions by applying a specific, measured concentration of the disinfectant to PPSU test specimens. We then control the contact time before the parts are exposed to steam, ensuring the test accurately simulates the worst-case residual conditions from the cleaning process.
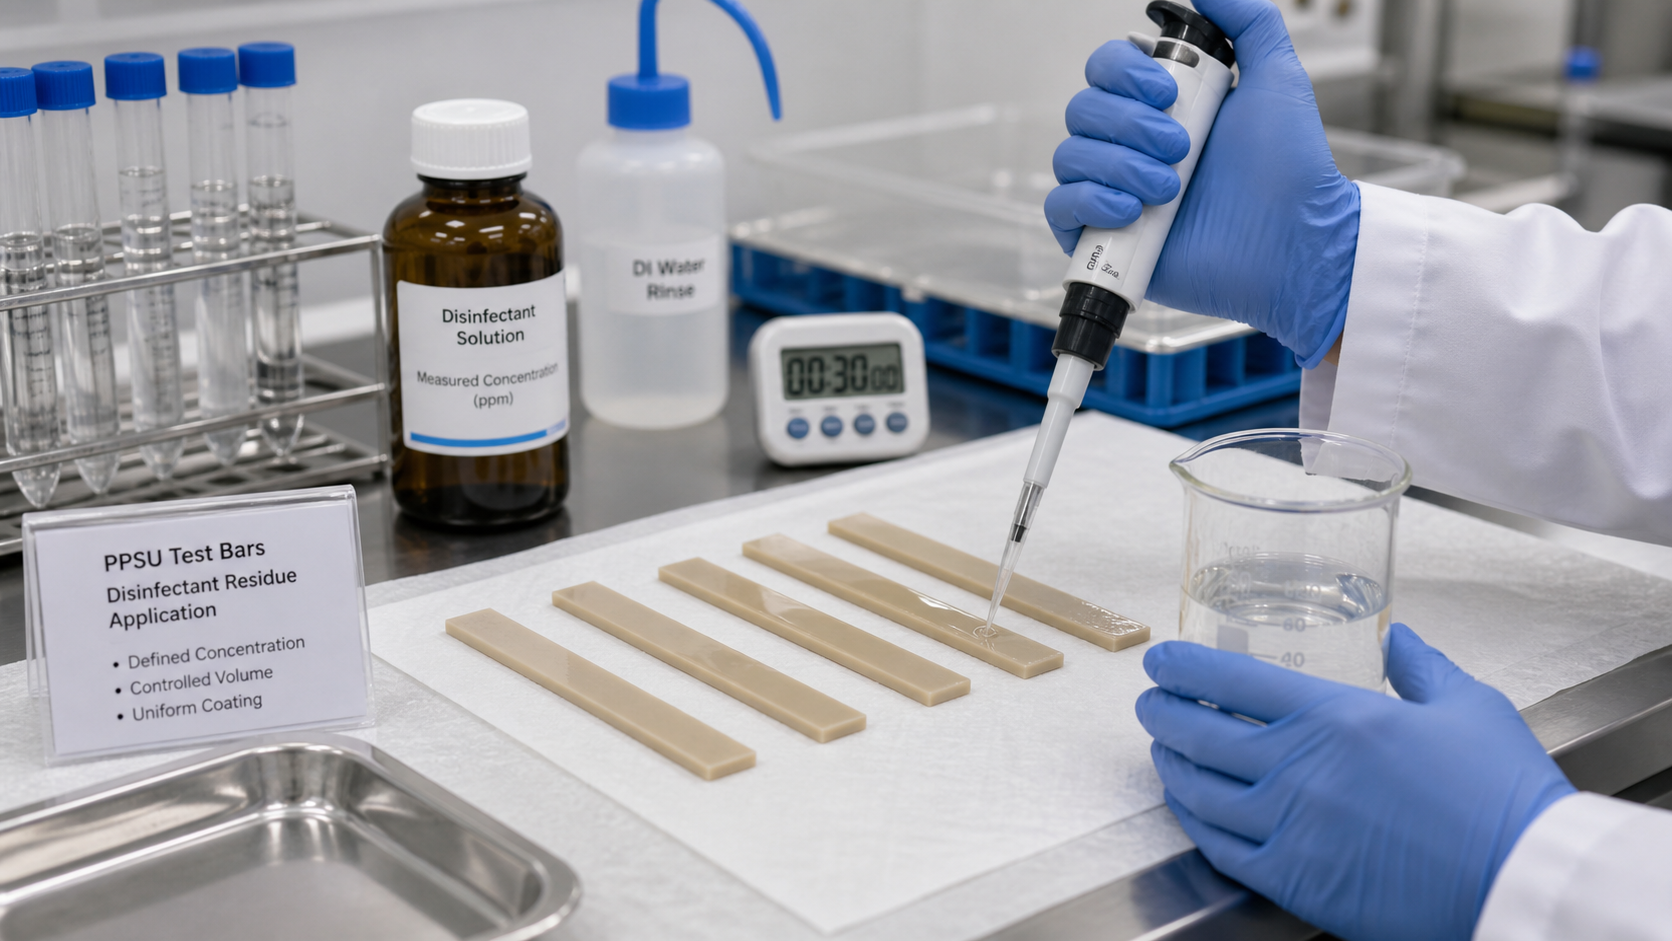
The goal of testing is not to make a material fail; it's to understand its limits under realistic conditions. Many material tests I've seen use extreme conditions that would never occur in practice, like soaking a part in a concentrated chemical for weeks. While that might show you the absolute worst-case scenario, it doesn't help you validate a real-world cleaning process. The true risk often comes from very low concentrations of residue that remain on the surface for a period of time before the next sterilization cycle begins.
To perform a meaningful test, we must meticulously control the variables. First, we determine the chemical concentration based on the measurements from the previous step. We might test at the highest level found, and also at a level that represents our "safe" target. Next, we apply this solution uniformly to the test specimens. We also have to consider the contact time—the duration between the end of cleaning and the start of the autoclave cycle. This could be minutes or hours, and it can significantly influence how the chemical interacts with the polymer surface. Replicating this "dwell time" is a critical part of an accurate simulation. This methodical approach ensures the test results are relevant and can be used to make informed decisions about process parameters.
Testing the Sequence on Stressed Components?
A PPSU part can handle chemicals and heat separately. But what happens when you combine them on a part that is already under mechanical stress from assembly or use?
To properly test for environmental stress cracking, we must follow a specific sequence. First, we apply a controlled mechanical stress to the PPSU component. Then, we apply the disinfectant residue, and finally, we expose the stressed component to repeated steam sterilization cycles.
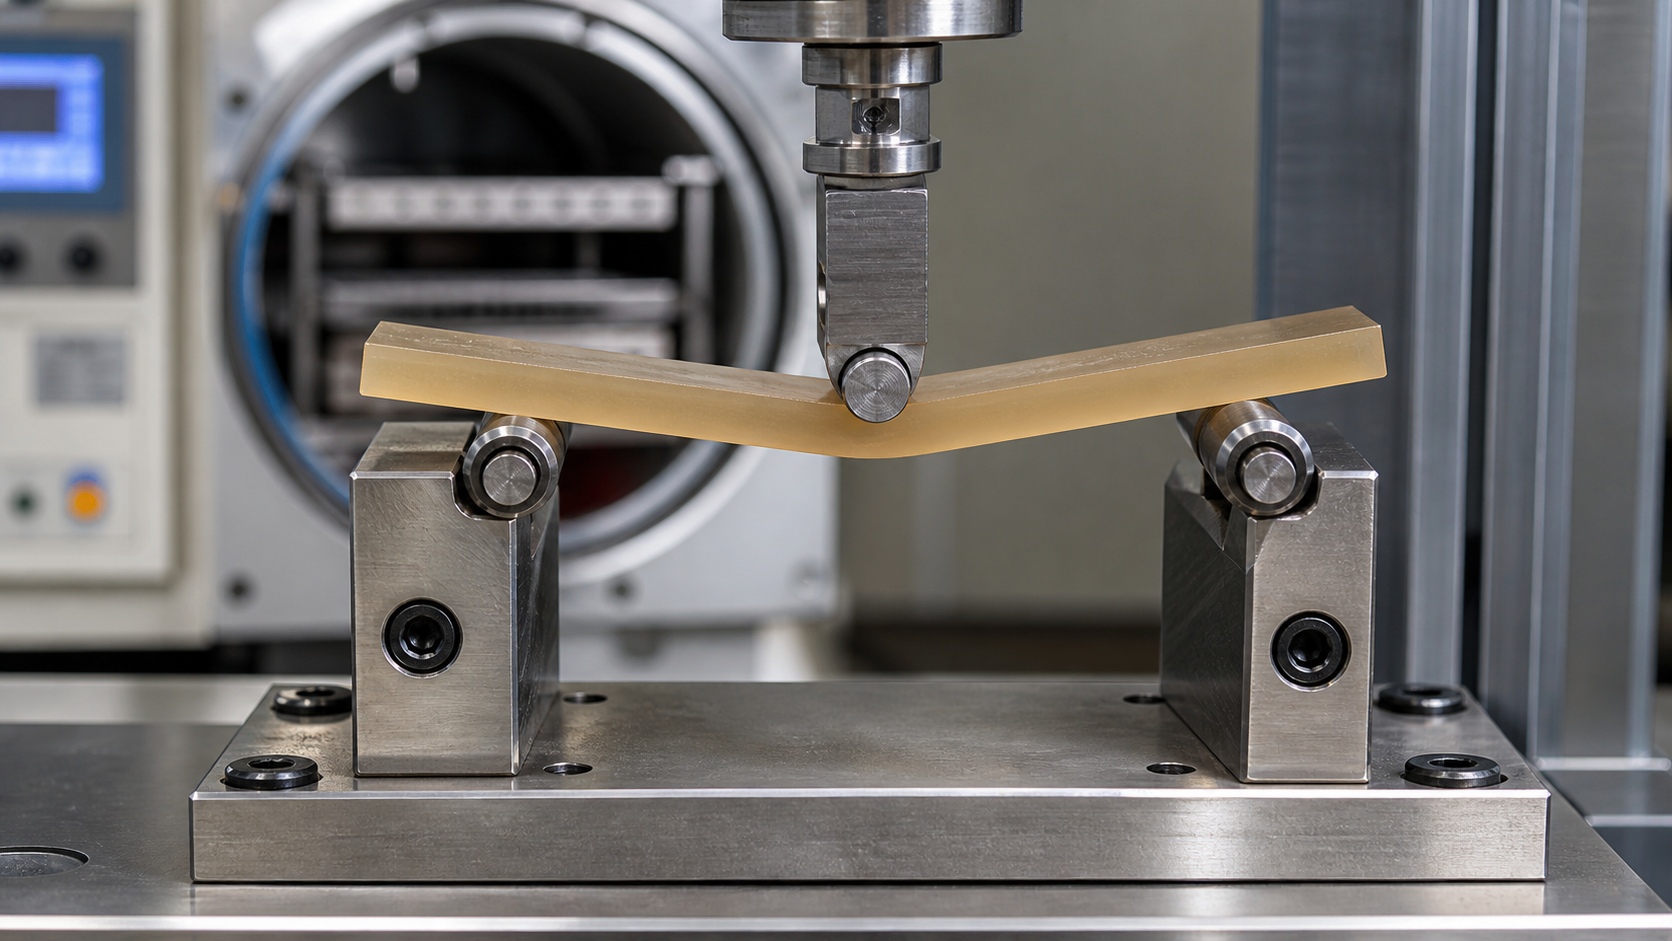
This sequence is the most important part of the entire evaluation. It replicates the real-world trifecta that leads to failure: mechanical load, chemical exposure, and thermal energy. If you change the order, you will likely get a false sense of security. A polymer might be perfectly fine sitting in a chemical at room temperature or being steamed without any load. The damage happens when a chemical agent finds a stressed point on the polymer and the heat from the steam accelerates a cracking process.
In a laboratory setting, we apply this stress using specialized fixtures. For example, a rectangular test bar can be bent over a metal form to induce a specific amount of strain on its outer surface. This strain mimics the stress a component might experience from being press-fit, bolted down, or flexed during use. Once the specimen is stressed in the fixture, we apply the chemical residue and place the entire assembly into the autoclave. We run it through a standard steam cycle, let it cool, and inspect it for any signs of crazing or cracking. This isn't a one-time test; we repeat the process for dozens or even hundreds of cycles to simulate the expected lifetime of the product. This is how we find the true performance limits.
Controlling Rinsing Conditions in the Approved Process?
You have done the testing and now understand the failure threshold. How do you apply this knowledge to prevent failures in your daily production and operations?
We control the risk by defining and validating specific rinsing parameters. By setting clear rules for water quality, temperature, flow rate, and duration, we can create a repeatable process that reliably reduces disinfectant residue to a safe, proven level.
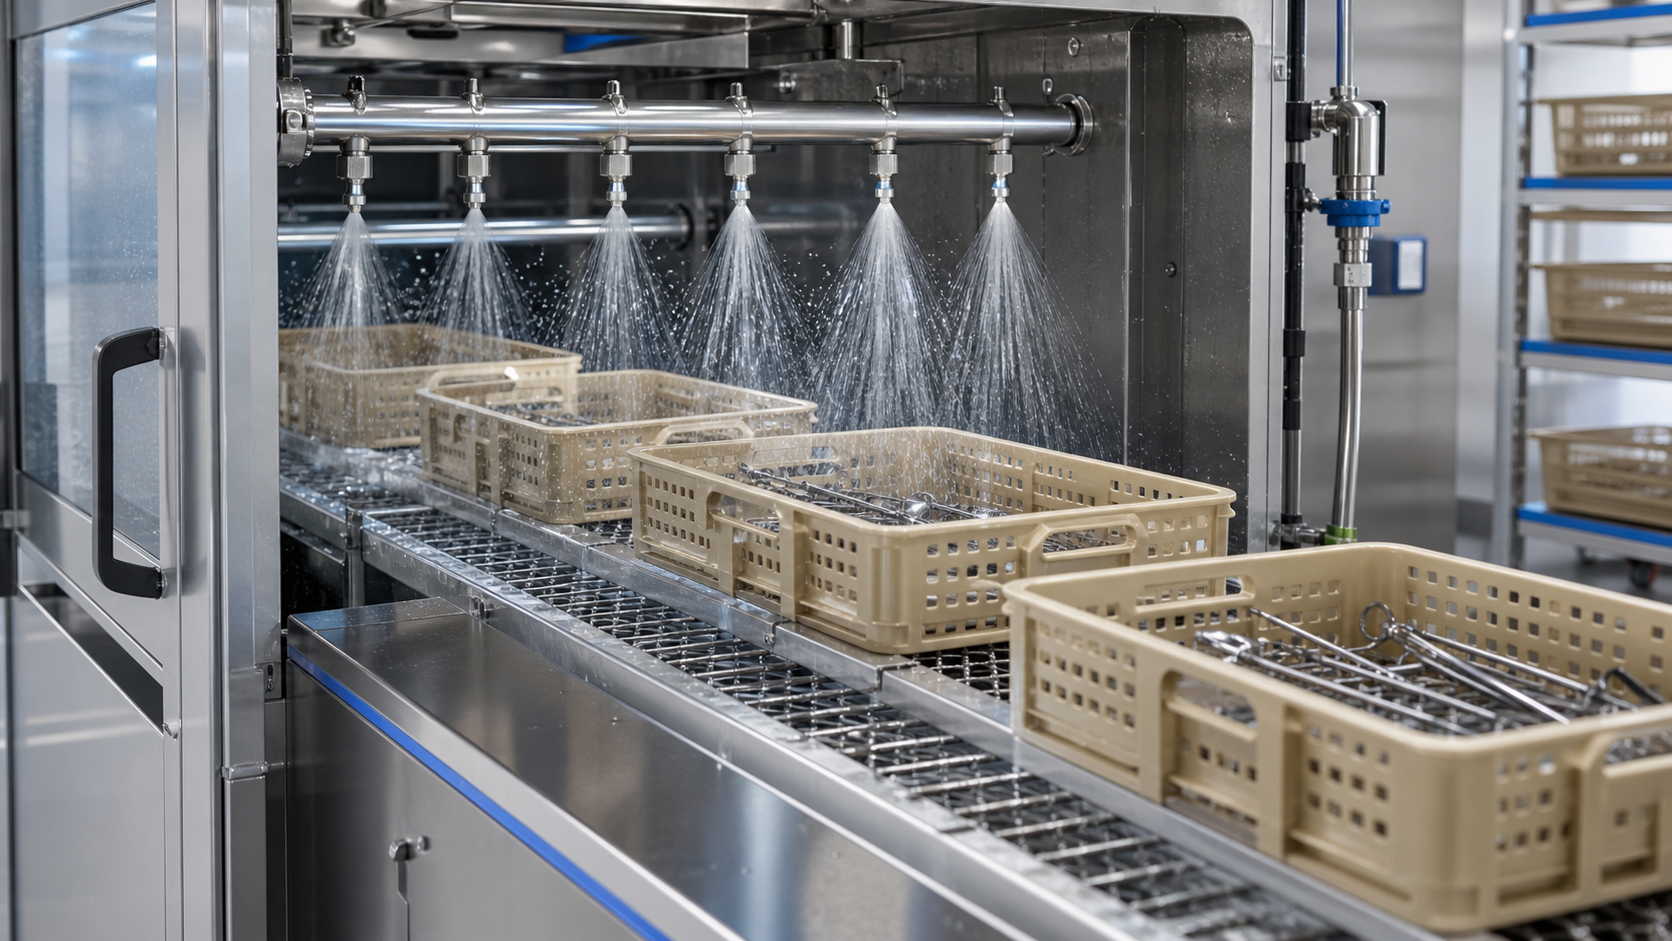
All the data we've gathered is useless if it doesn't lead to a more robust and reliable process. The ultimate goal is to design a cleaning protocol that guarantees the chemical residue on any part is well below the failure threshold we identified during testing. This moves rinsing from an undefined art to a controlled science. Instead of telling an operator to "rinse the parts well," we can provide specific, measurable instructions.
Critical Rinsing Parameters
Building a reliable rinsing process means controlling several key variables. Each one plays a role in effectively removing chemical residues from the surface of the PPSU components.
| Parameter | Why It’s Important | How to Control It |
|---|---|---|
| Water Quality | Using tap water can leave behind mineral deposits (scale) that might trap disinfectant residues. | Specify the use of deionized (DI) or reverse osmosis (RO) water for final rinses. |
| Rinse Time | A rinse that is too short may not provide enough contact time to dilute and wash away all the chemicals. | Use automated, timed cycles in a washer or set a minimum manual rinsing time. |
| Water Temperature | Warmer water can increase the solubility of some chemical residues, making them easier to remove. | Use a system with thermostatic control to maintain a consistent water temperature. |
| Flow and Agitation | High flow rates and spray pressure physically dislodge and carry away contaminants from complex geometries. | Design the process with appropriate pump speeds, spray nozzle patterns, or ultrasonic agitation. |
Once these parameters are defined, the process must be validated. This means we run the process and then use the measurement techniques from the first step to confirm that the residue is below our safe limit. This evidence-based approach gives us confidence that every component we produce will perform safely and reliably throughout its intended service life.
Conclusion
To evaluate PPSU properly, we must test the full sequence of stress, chemical residue, and steam. This evidence-based approach makes your cleaning and sterilization processes safer and more reliable.