Should PEEK Crystallize During Printing or Afterwards?
Printing PEEK is a challenge. Parts can warp, have weak layers, or fail to meet spec. You are left wondering which process path is the right one for your application.
The best approach depends on your part's geometry and performance needs. In-build crystallization offers superior dimensional stability and layer adhesion right off the printer, while post-annealing can maximize crystallinity but introduces a high risk of distortion and requires extra steps.
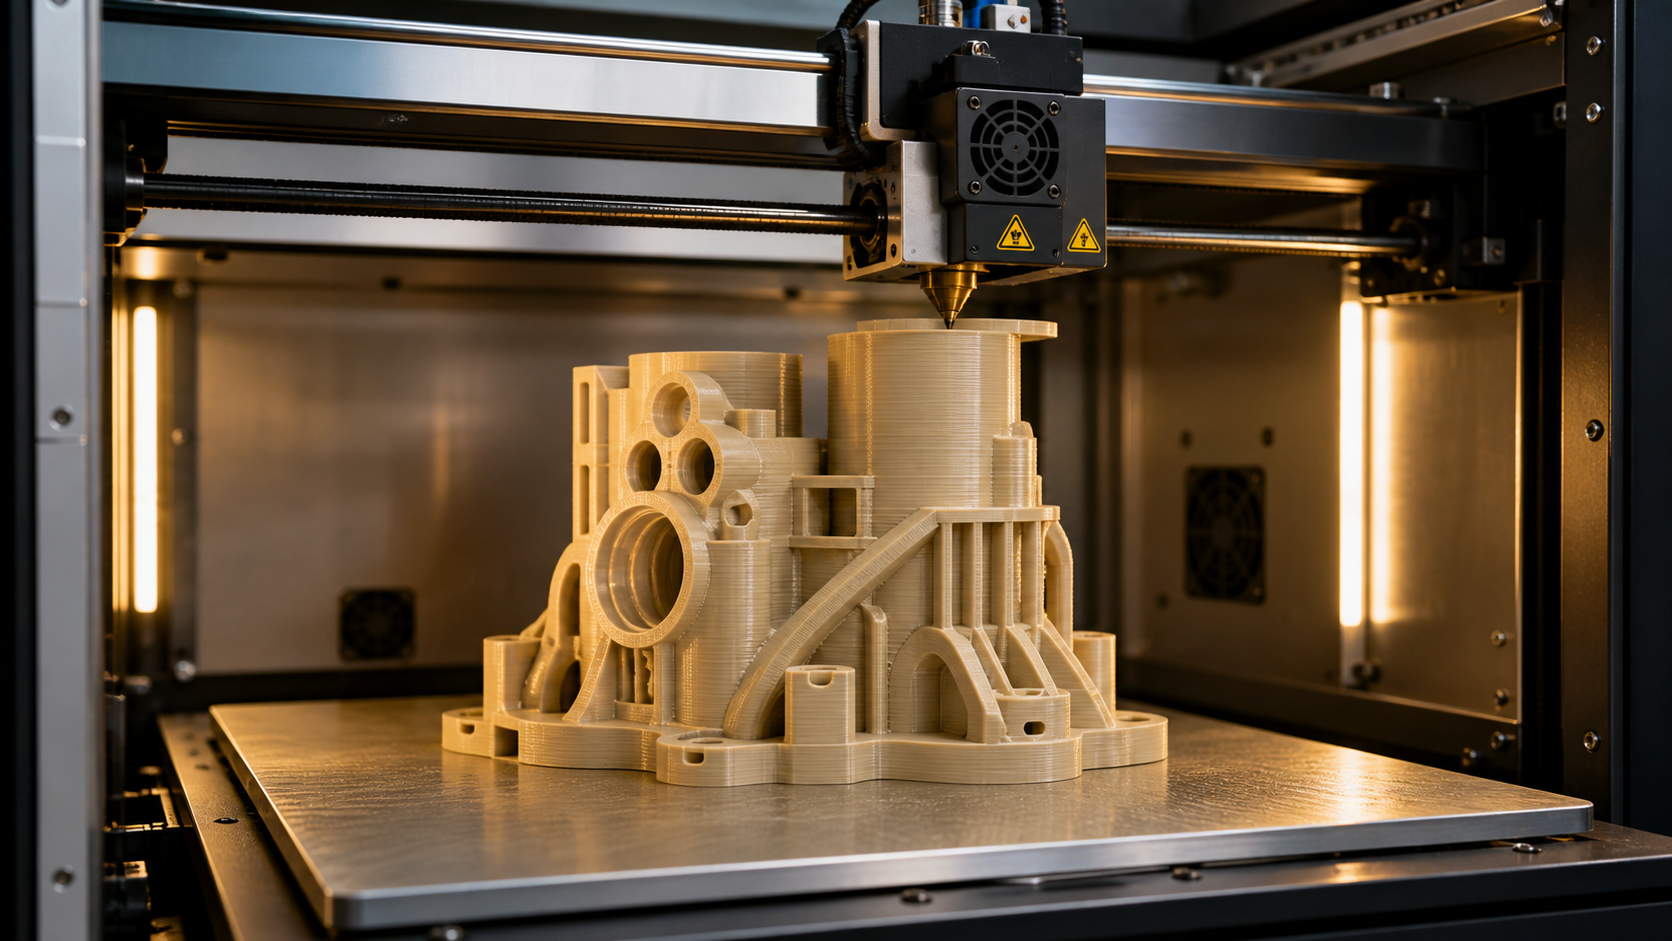
I've seen many projects struggle with this exact question. It’s easy to get lost in the material science, but from a practical manufacturing standpoint, the answer often comes down to two things: distortion and layer adhesion. We focus on these because they often matter more than achieving the absolute maximum theoretical crystallinity. Let's look at the two main routes, compare them with real-world trials, and help you make an evidence-based decision for your specific part. Remember, this discussion is based on our experience, and you should always confirm any process for your specific grade of PEEK.
Comparing Structure Developed During the Build?
You invested in a high-temperature 3D printer that can crystallize PEEK during the build. But what does that really get you? If the process is not dialed in perfectly, you can still end up with a brittle part that has poor layer bonding. Let's examine what's happening to the polymer structure as it's printed.
In-build crystallization occurs when the printer's chamber is held above PEEK's glass transition temperature (around 143°C). This allows the polymer to cool slowly, giving the chains time to form organized crystalline structures layer-by-layer, which greatly improves layer adhesion and reduces built-in stress.
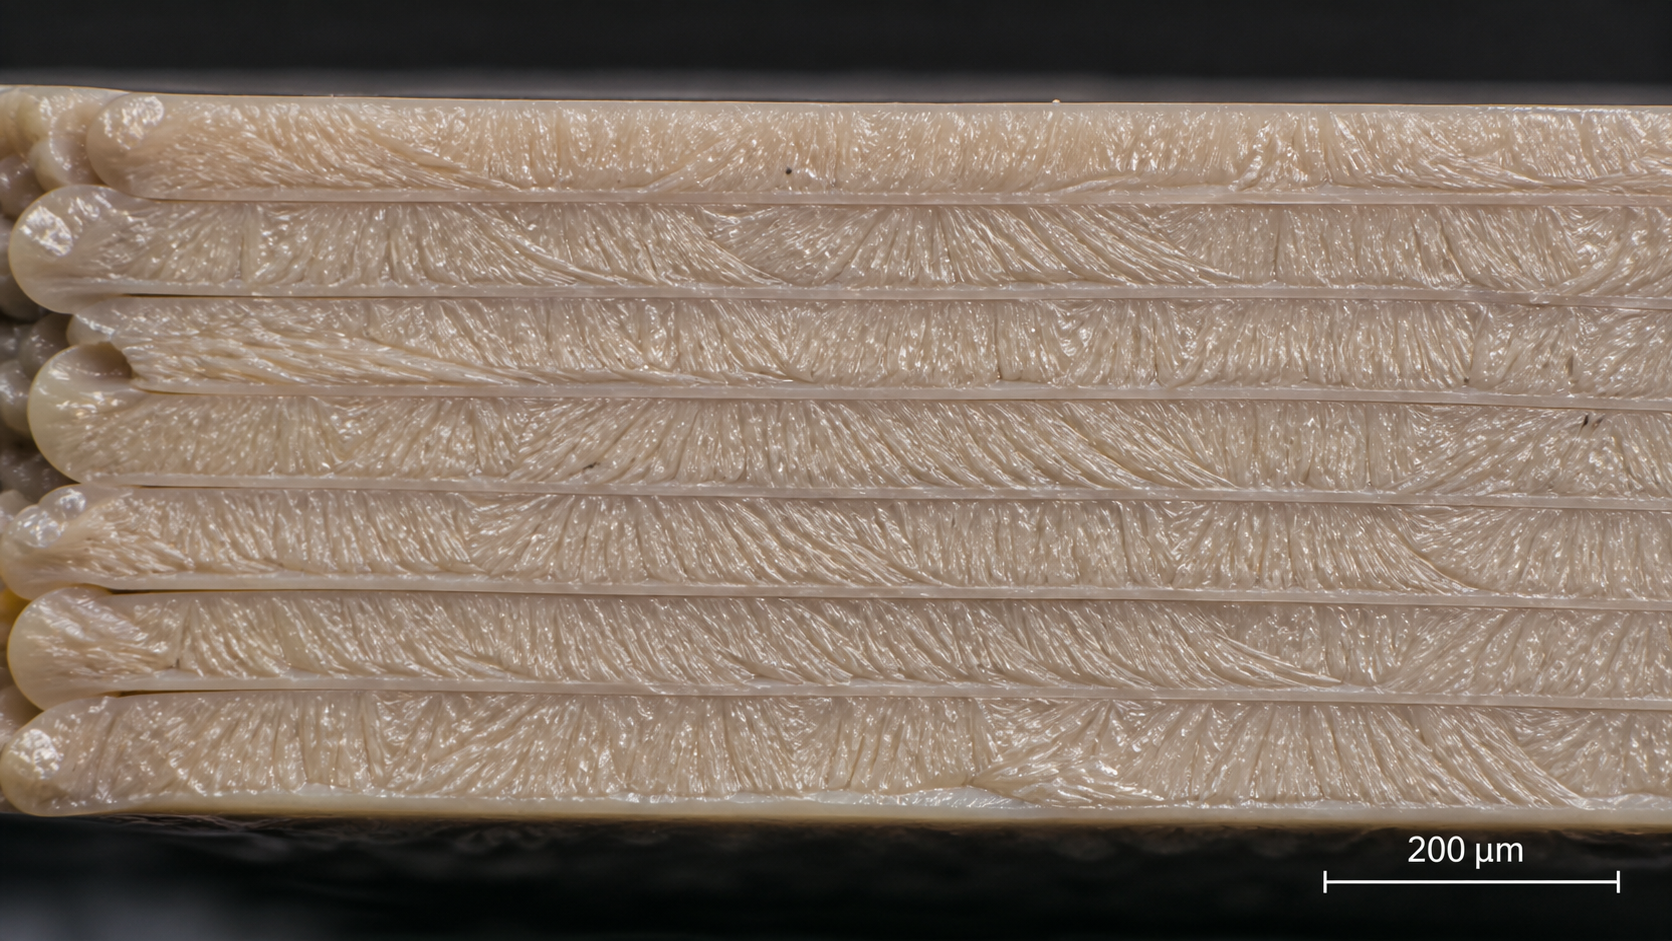
When we talk about crystallizing during the build, we're really talking about controlling the cooling rate. A printer capable of maintaining a chamber temperature well above 150°C keeps the entire part hot as new layers are added. This constant heat prevents the rapid quenching that would otherwise lock the PEEK into an amorphous, glassy state. Instead, the polymer chains have the energy and time to arrange themselves into tightly packed, ordered regions. This process is known as in-situ crystallization.
Key Outcomes of In-Situ Crystallization
The primary benefit I see is superior Z-axis strength. Because each new layer is fusing to a hot, mobile layer below it, the bond between layers is much stronger than in a cold-build process. This also dramatically reduces the internal stresses that cause warping and delamination. A part that crystallizes as it is built is dimensionally stable and often ready to use right off the build plate, with no secondary annealing step required.
| Property | In-Build Crystallization Outcome | Practical Implication |
|---|---|---|
| Layer Adhesion | Excellent | Parts are much stronger in the Z-direction, behaving more like an isotropic material. |
| Internal Stress | Low | Significantly reduced risk of warping or cracking during or after the print. |
| Dimensional Accuracy | High (As-Printed) | The part comes off the printer very close to the intended CAD dimensions. |
| Process Complexity | High | Requires a specialized, high-temperature printer and fine-tuned print profiles. |
Assessing the Additional Changes From Post-Treatment?
So you've printed a PEEK part in its amorphous state. It looks good, it's a translucent brown color, but it doesn't have the properties you expect from PEEK. Now you have to anneal it. If you just throw it in an oven without a proper plan, I can almost guarantee it will warp, shrink unevenly, and become completely useless. We have to understand what the post-treatment step really does.
Post-treatment annealing involves heating an amorphous PEEK part in a controlled oven cycle above its glass transition temperature (Tg). This process gives the polymer chains the mobility to rearrange into a crystalline state, maximizing the material's mechanical strength, chemical resistance, and thermal stability.
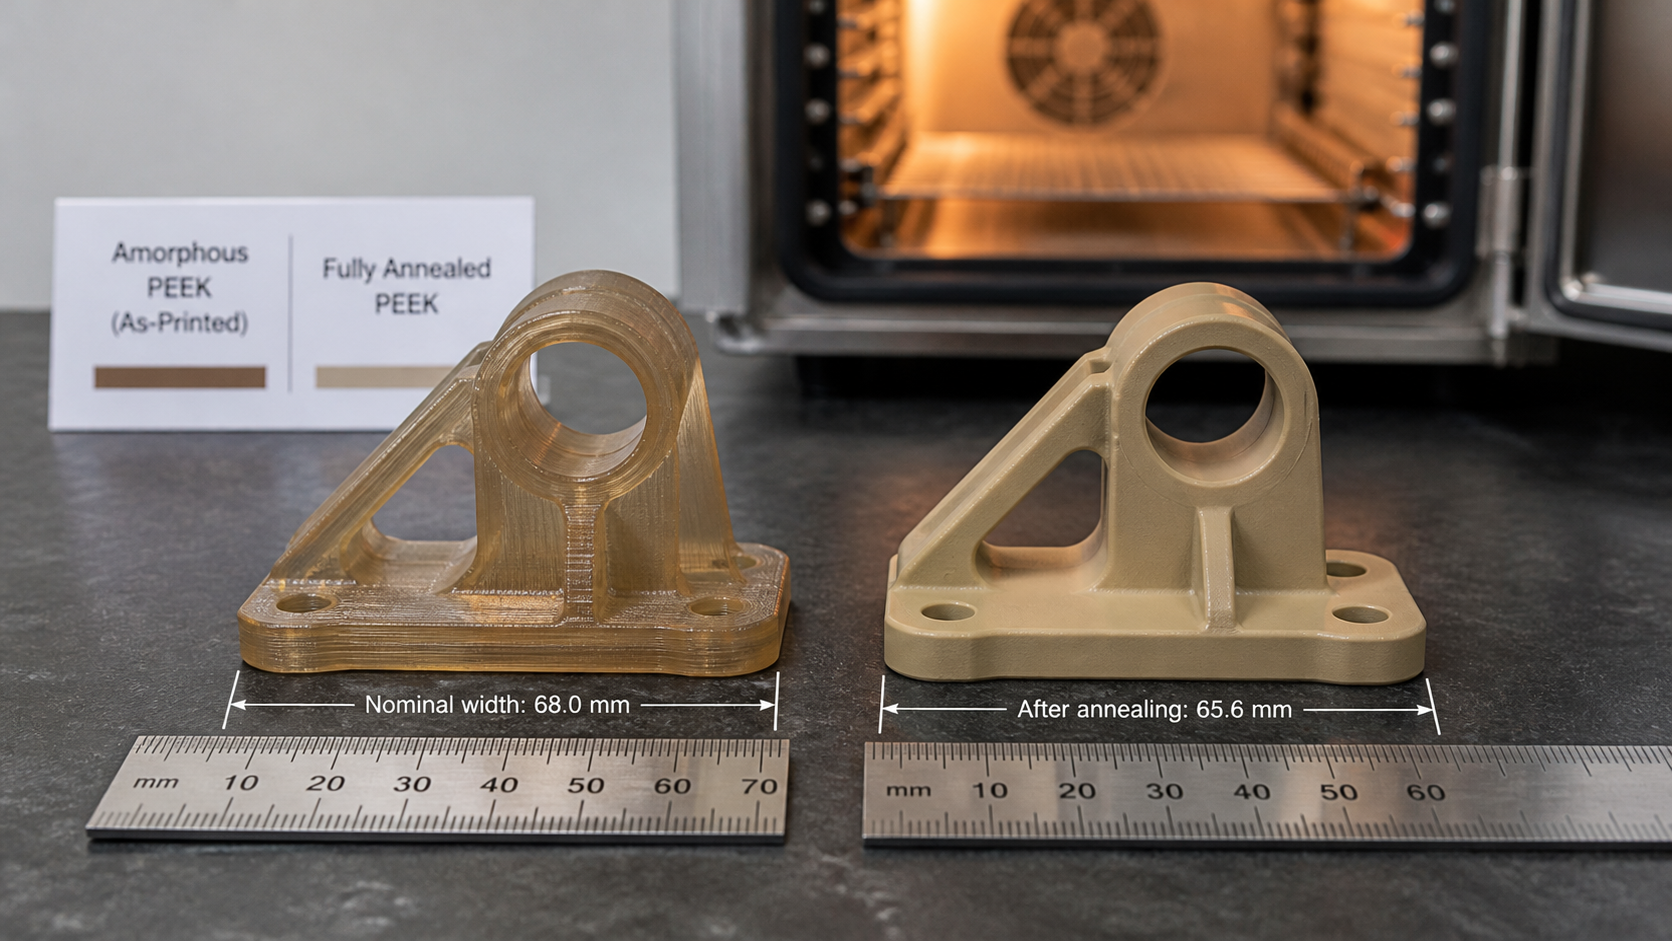
This route is often chosen by those without a high-temperature chamber printer. The part is printed "cold," resulting in an amorphous structure. It's then placed in a programmable oven for a secondary annealing cycle. This cycle involves slowly heating the part past its Tg (~143°C) to a temperature around 200°C, holding it there for a period, and then cooling it back down very slowly. During this hold period, the crystallization process happens. You can see it physically; the part changes color from a translucent brown to an opaque tan or beige. This change signals that the polymer chains have reorganized. The process definitely increases the bulk material properties, but it comes at a cost. The biggest challenge is distortion. As the polymer crystallizes, it shrinks, and this shrinkage is rarely uniform, especially in parts with complex geometries or varying wall thicknesses.
Testing Matched Parts Made by Both Routes?
The theory is useful, but how do you know which method is truly better for the component you need to make? You could follow a datasheet and hope for the best, but that often leads to wasted time and expensive PEEK filament when the part fails. The only way to get a real answer is to set up a direct, head-to-head comparison.
We strongly recommend printing identical parts using both methods: one crystallized in-build and one printed amorphous then post-annealed. Afterward, you must conduct comparative tests focusing on dimensional accuracy against the CAD model and mechanical strength, especially layer adhesion.
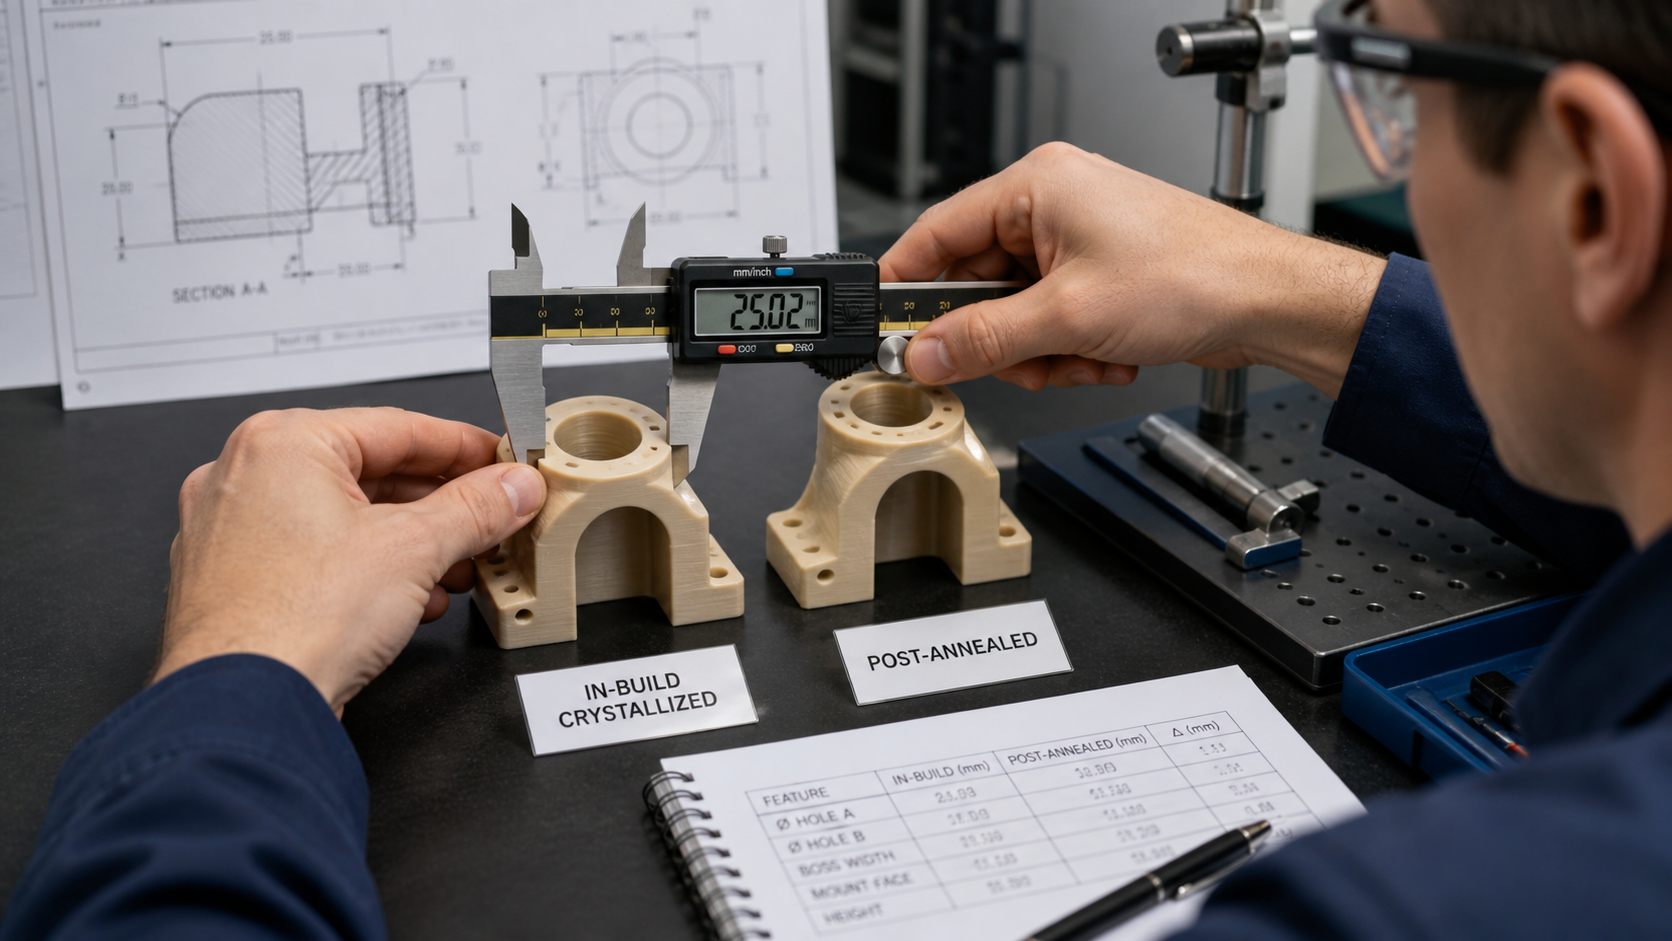
This is the only way to get an evidence-based answer. I recall a project where we needed to produce a set of brackets with tight tolerances. We printed two batches. Batch A was done on our high-temperature machine, allowing the PEEK to crystallize during the build. Batch B was printed amorphous on a standard machine and then put through a carefully controlled annealing cycle. Visually, both finished batches looked good. But when we took out the calipers, the story changed. The parts from Batch A were nearly perfect, matching the drawing dimensions with minimal deviation. The annealed parts from Batch B, however, had shrunk unpredictably. Some holes were undersized, and a flat mounting face had developed a slight bow. Even though a lab test might show the annealed material had slightly higher crystallinity, the parts were unusable without extensive post-machining, which defeated the purpose of 3D printing them in the first place.
Choosing a Route From Finished-Part Results?
You've done the tests. You have two parts in your hands. The in-build crystallized part is dimensionally accurate, but the post-annealed part feels slightly harder. Now what? Making the wrong trade-off could mean choosing a part that fits perfectly but fails under chemical exposure, or a part that is strong but can't be assembled. You need a clear way to decide.
Choose in-build crystallization for parts with complex geometries, tight tolerances, or where strong layer adhesion is the most critical factor. Opt for post-annealing only when you must achieve the absolute maximum bulk crystallinity and you can manage or fixture against the inevitable dimensional changes.
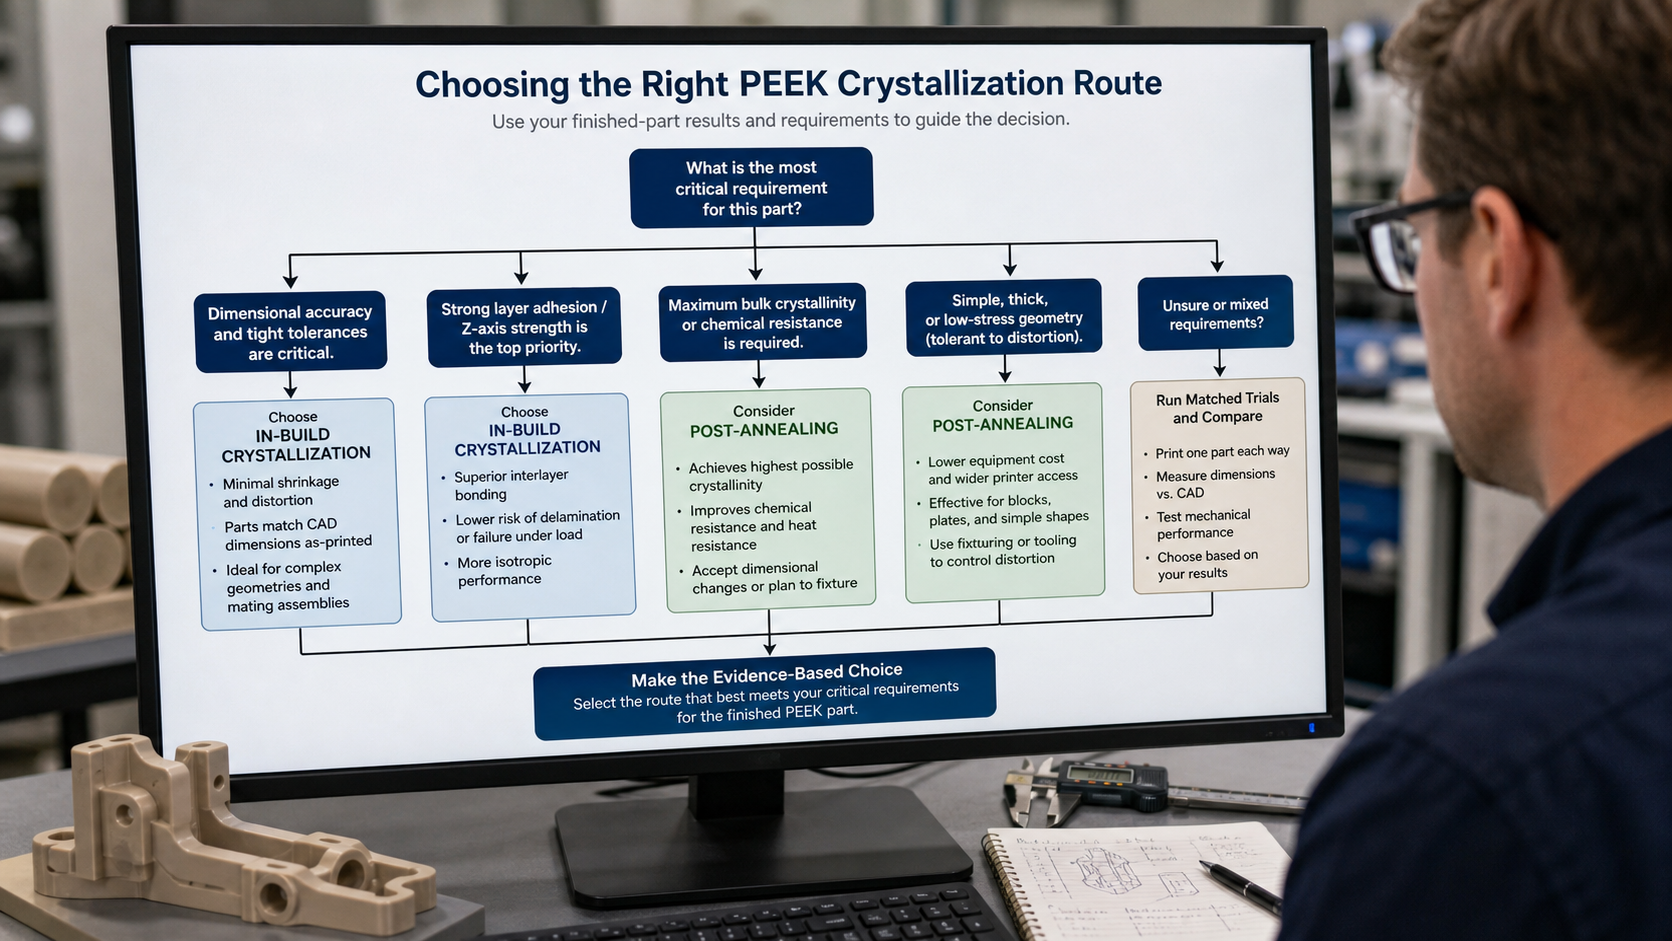
The decision should always circle back to the end-use application. What failure mode are you most worried about? If the part has to fit into a complex assembly with tight clearances, then dimensional stability is your number one priority. In this case, in-build crystallization is almost always the better choice. If the part is a simple shape, like a thick disk or block, and it will be exposed to aggressive chemicals at high temperatures, then maximizing the bulk chemical resistance through post-annealing might be worth the risk of distortion. You have to weigh the pros and cons based on your specific results. It's not about the polymer's name; it's about making the entire manufacturing process work for your finished part. This is why we treat these choices on a case-by-case basis, using matched trials to guide the decision rather than relying on a generic datasheet.
Conclusion
The choice between in-build and post-annealing for PEEK depends on balancing dimensional accuracy against maximizing bulk properties. Always test your specific part and grade to make an informed decision.