How Hot Is Too Hot for PPS Hot-Plate Welding?
Getting a Polyphenylene Sulfide (PPS) weld wrong can lead to catastrophic component failure. But relying on generic data sheets is a gamble. We need a better, more evidence-based approach.
The ideal temperature for PPS hot-plate welding is a balance, typically between 340°C and 380°C. Going "too hot" means thermal degradation outpaces fusion benefits, causing a brittle, discolored, and weak bond. The exact limit depends on your specific PPS grade and contact time.
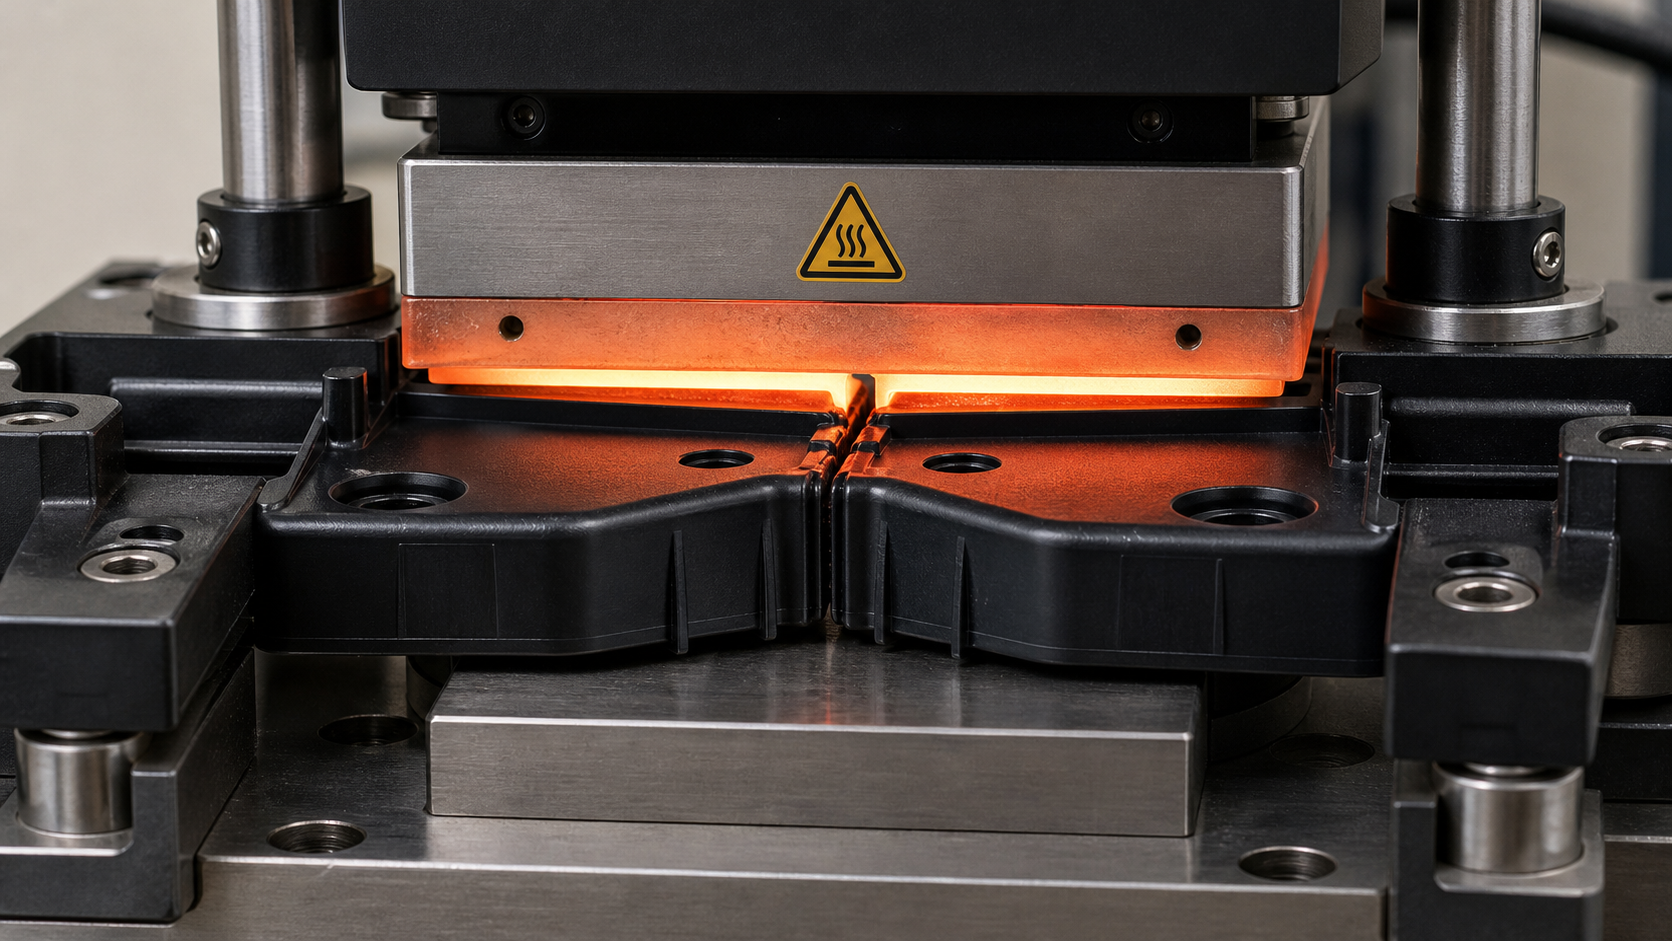
I've seen many projects where teams struggle with inconsistent joint strength. They often blame the material, but the real issue is usually the process. When we treat welding as a science rather than guesswork, we can achieve strong, repeatable results. The key is to understand that every PPS formulation behaves differently under heat. What works for one grade may completely ruin another. This is why we advocate for a methodical approach to define the process window, looking at the evidence from controlled trials instead of just a name on a technical data sheet. Let's walk through how we can establish these critical process limits.
How Do We Measure Interface Exposure During Hot-Plate Contact?
You can't see what is happening at the weld interface. Just guessing at the right temperature or time based on a datasheet often leads to poor, inconsistent weld quality.
We measure interface exposure by methodically controlling the hot-plate temperature and contact time in a series of trials. We start with a baseline recommendation and increase one variable at a time, carefully documenting the resulting melt layer and any visual changes for each test.
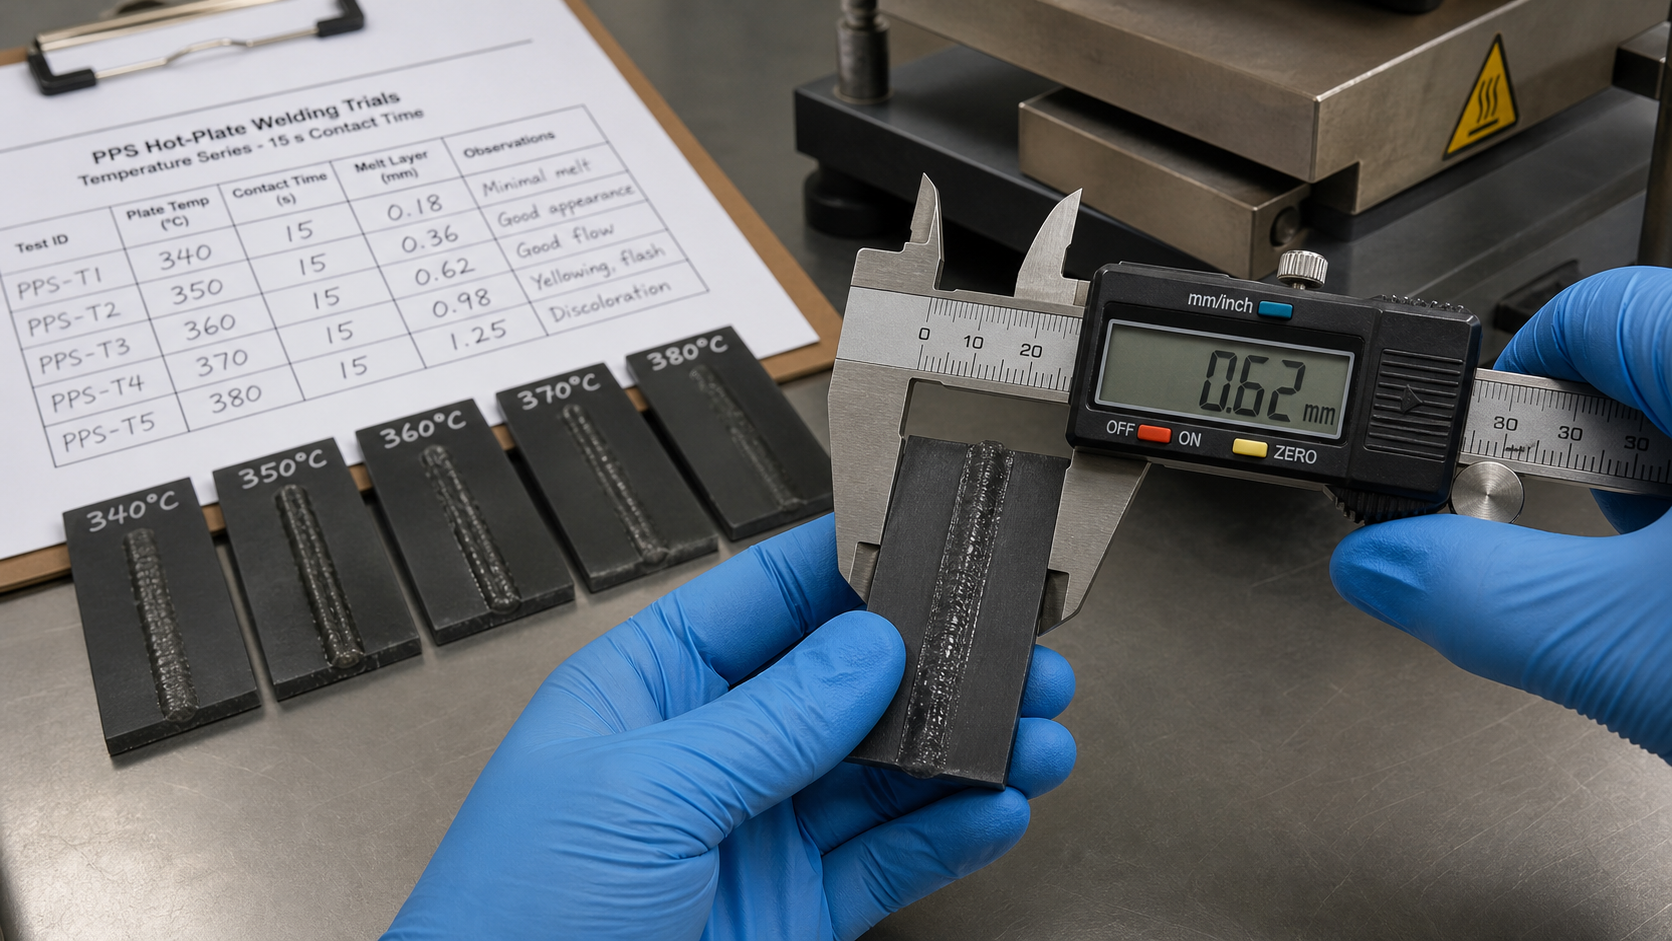
To get this right, we have to be systematic. This isn't about just turning up the heat until it "looks good." It's about building a data-driven understanding of how a specific PPS grade responds to thermal energy. We consider this interfacial processing a critical factor, right alongside the base polymer formulation itself. The goal is to create just enough molten material for a deep, molecular-level bond without starting to damage the polymer chains. Based on our experience, setting up a simple test matrix is the most effective way to begin this process. We retain the original grade and test conditions specified by the application; we are not presenting this as our own test evidence but as a fundamental engineering method.
Setting Up a Temperature Series
The first step is to create a controlled experiment. We fix the contact time and pressure, then run a series of welds at increasing plate temperatures. For example, we might start at 340°C and increase in 10°C increments up to 400°C.
Documenting Key Parameters
For each weld, we document everything. This includes the settings we used and the results we observed. A structured table helps keep this information organized and easy to compare.
| Test ID | Plate Temperature (°C) | Contact Time (s) | Observations |
|---|---|---|---|
| PPS-T1 | 340 | 15 | Minimal melt, poor surface wetting. |
| PPS-T2 | 350 | 15 | Consistent melt layer, good surface appearance. |
| PPS-T3 | 360 | 15 | Slightly more flow, good appearance. |
| PPS-T4 | 370 | 15 | Slight yellowing at edges, excessive flash. |
| PPS-T5 | 380 | 15 | Obvious discoloration, brittle flash. |
How Do We Look for Damage as Temperature or Time Increases?
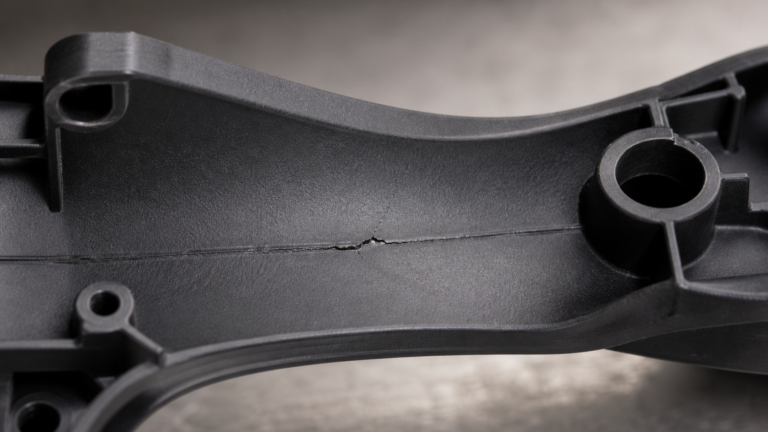
Overheating PPS causes hidden damage deep within the polymer. This creates a brittle joint that can lead to unexpected and dangerous failures in the field, even if it looks fine initially.
We look for visual cues like discoloration from yellow to brown, charring, an unusually large or crumbly flash, and a generally brittle texture at the weld line. These signs mean the PPS has been degraded by too much heat or time, causing a weak joint.
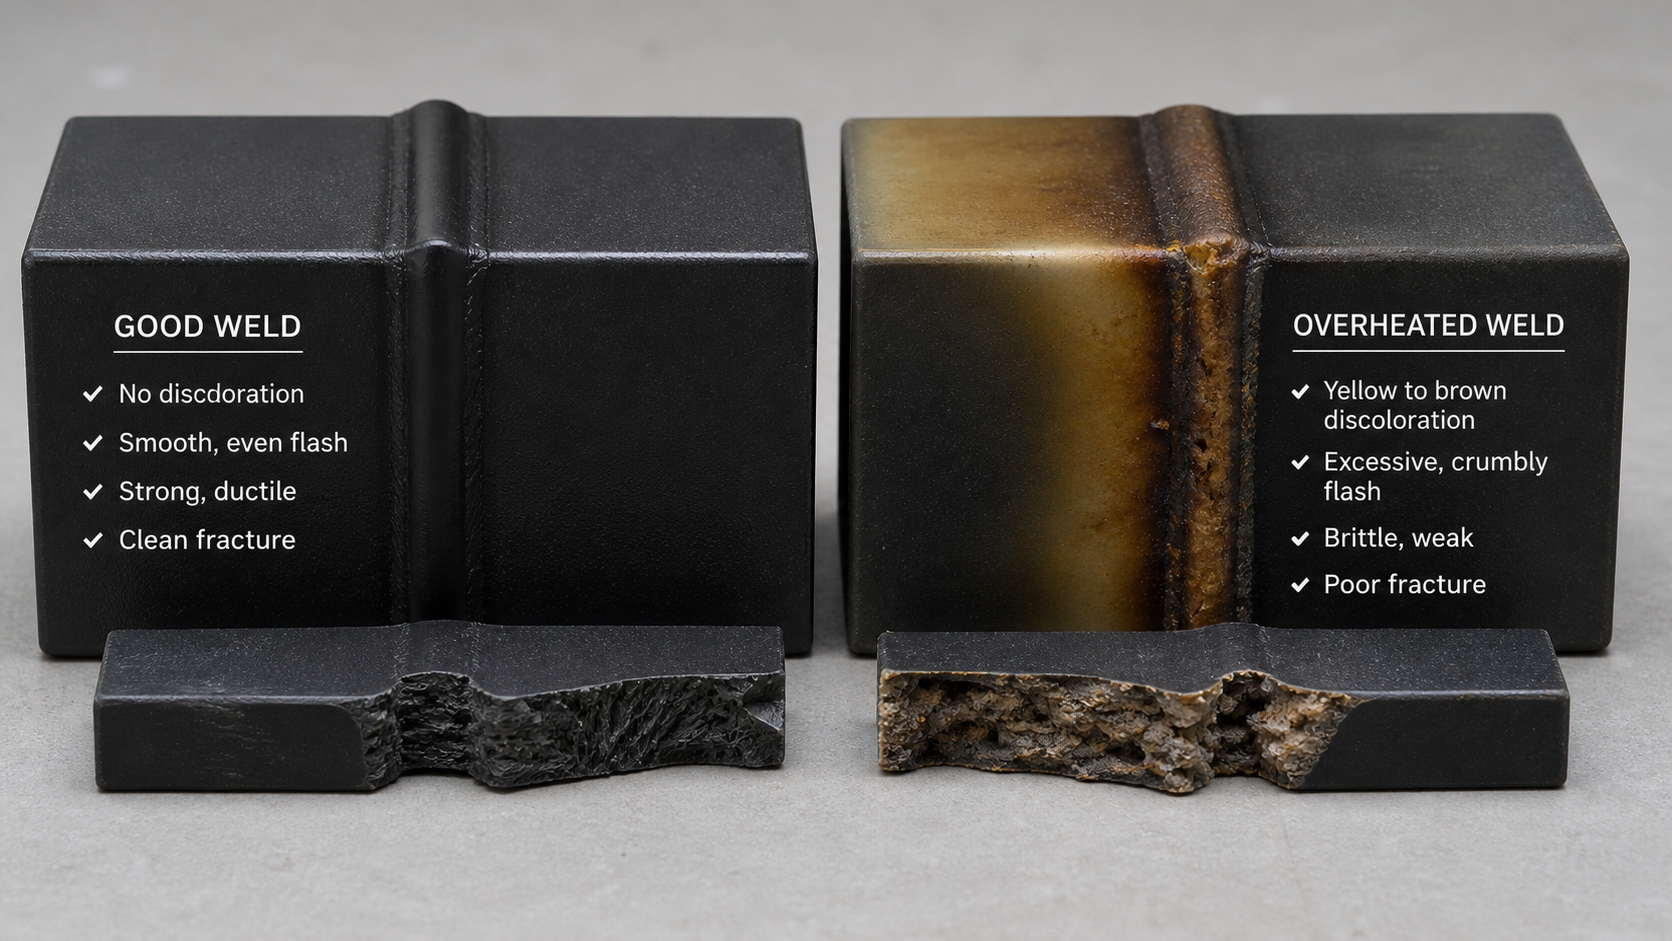
When we push the temperature or contact time too far, we are essentially burning the plastic. This process, known as thermal degradation, breaks down the long polymer chains that give PPS its strength and toughness. The result is a weak, brittle material at the most critical point—the interface. I remember a project involving a fluid-handling component where the welds looked perfect externally. However, they were failing under pressure cycling. When we cross-sectioned the parts, we saw significant browning and micro-cracks just below the surface. They had pushed the temperature just 15°C too high, which was enough to compromise the integrity of the joint. This is why visual inspection is so critical. We must look for the subtle signs of overexposure before moving on to mechanical testing. Even a slight change in color can indicate a significant drop in performance and long-term reliability.
How Do We Compare Strength Across a Controlled Welding Window?
A welded joint might look perfect on the outside but still be mechanically weak. Without performing destructive tests, we are simply hoping that the part will hold up in its final application.
We compare strength by performing destructive mechanical tests, like tensile or shear tests, on welded samples made at different settings. We then plot the breaking strength against temperature or time to find the processing "sweet spot" before strength starts to drop off.
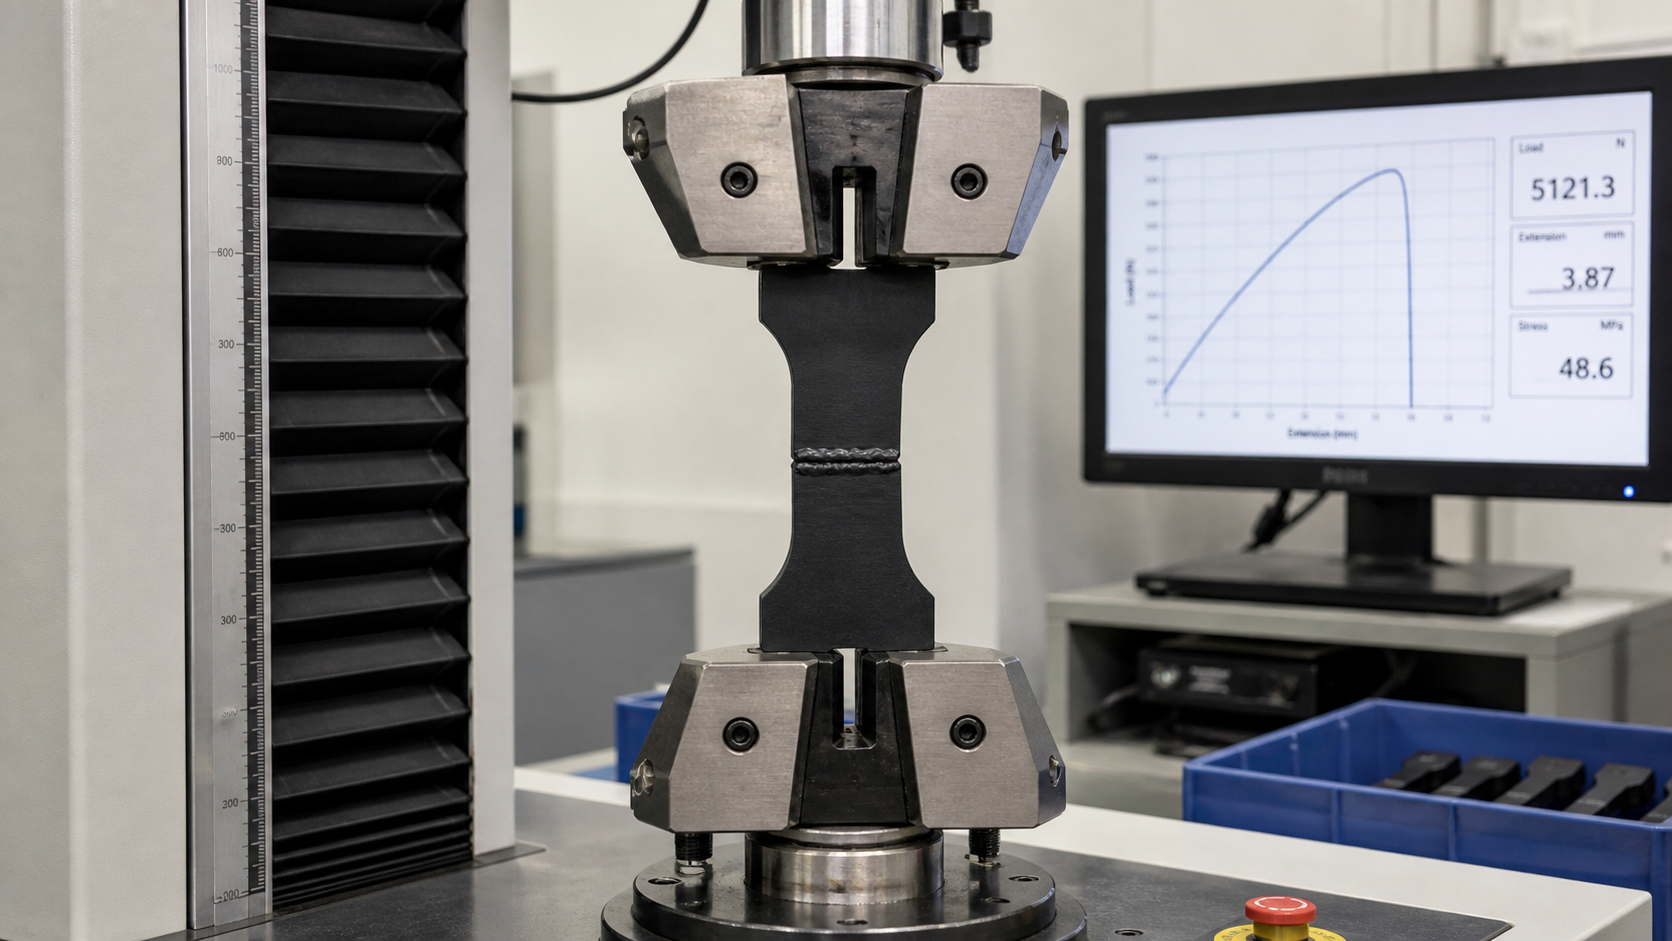
This is where we turn our observations into hard numbers. After creating a series of test samples at different temperatures, we need to break them in a controlled, measurable way. Typically, this involves pulling the samples apart in a tensile tester and recording the force required to make them fail. When we plot this data, a clear picture emerges. At low temperatures, the weld strength is poor because there isn't enough melting and molecular entanglement—this is called a "cold weld." As we increase the temperature, the strength rises sharply as fusion improves. It reaches a peak, which represents the optimal welding condition. But if we keep increasing the temperature, the strength will start to drop again. This decline is caused by thermal degradation overpowering the benefits of good fusion. This strength curve gives us the welding window. It's important to remember that this data is specific to the exact PPS formulation, part geometry, and welding equipment used.
How Do We Choose Limits That Avoid Both Poor Fusion and Overexposure?
The ideal setting for a perfect weld is a very narrow target. If we define our acceptable process window too broadly, we risk producing inconsistent or faulty parts that could fail in service.
We choose limits by analyzing the strength-versus-temperature data. The lower limit is the point where strength rises above the minimum required for the application. The upper limit is where strength drops below that minimum due to degradation. The zone between is the robust process window.
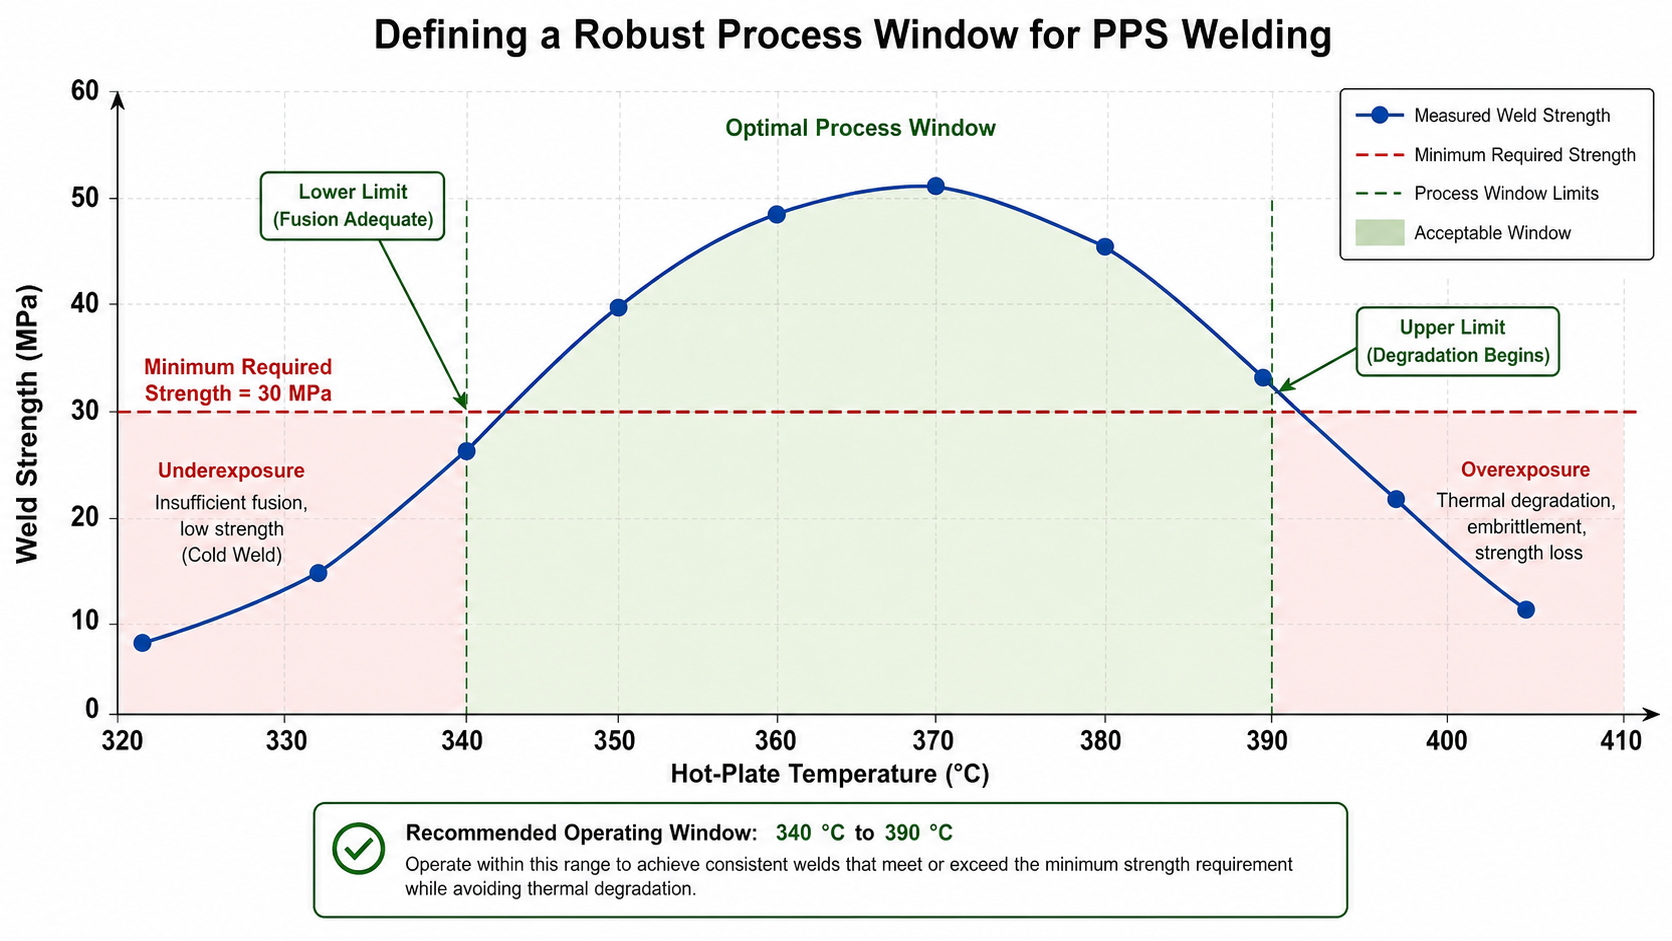
The final step is to translate our test data into practical, evidence-based production limits. Looking at the strength curve, we identify the temperature range that consistently produces welds stronger than the minimum required by the application's design specifications. This range becomes our official process window. For example, if our part requires a minimum weld strength of 30 MPa, we would set our lower limit at the temperature that first achieves this, and our upper limit at the temperature where the strength drops back down to 30 MPa. I always advise adding a safety margin to this window. Real-world production has variables—the machine's temperature might fluctuate slightly, or ambient conditions could change. By tightening the window slightly, say by 5°C on each end, we create a more robust process that can handle minor variations without producing bad parts. This makes welding-window control a confident, data-driven decision, not a guess based on a polymer's name alone.
Conclusion
A successful PPS weld relies on a carefully defined, evidence-based process window. By testing and measuring, we balance strong fusion with the risk of thermal damage, ensuring reliable joints.