Can More Mold Release Hide a PPS Tooling Problem?
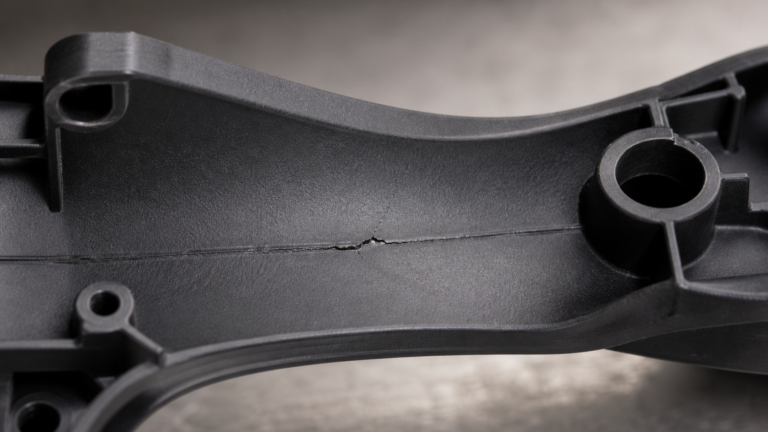
Your PPS parts keep breaking during ejection. You reach for the mold release spray, hoping for a quick fix, but the problem returns. Is the spray helping or just hiding something worse?
No, more mold release cannot fix an underlying PPS tooling problem. It often just masks symptoms like high friction or minor drag. If parts, especially short shots, still break, it strongly suggests a mechanical lock like an undercut or insufficient draft that lubrication alone will never overcome.
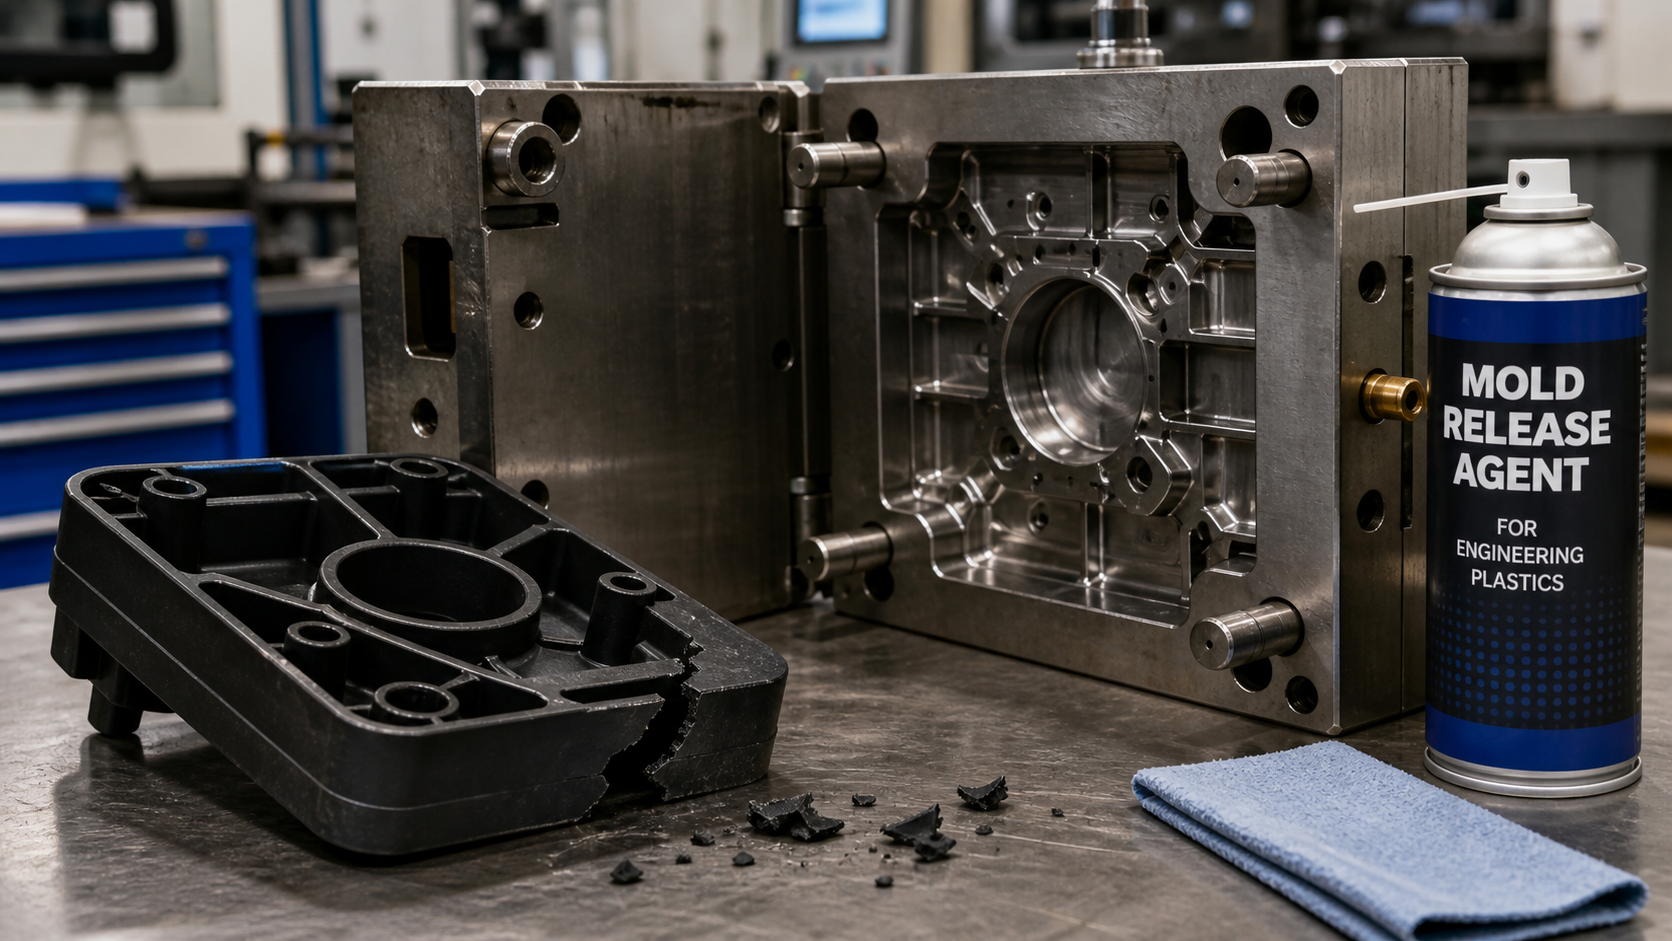
We have all been there. A high-temperature material like Polyphenylene Sulfide (PPS) is giving us trouble, and the first instinct is to grab a can of release agent. Sometimes it works, but when it does not, we are left wondering if we are fighting the right battle. The spray can feel like a solution, but often it is just a clue that points to a deeper issue within the tool steel itself. The key is to stop treating the symptom and start investigating the root cause. Let's dig into how to tell the difference between a simple friction problem and a more serious mechanical one.
Checking Whether Lubrication Changes Friction or Only Symptoms?
Your parts are sticking. You apply a lubricant, and they release. But is the problem truly solved, or did you just cover up a clue that will lead to more failures?
Lubrication primarily lowers surface friction. If breakage stops completely and consistently after one application, it was likely a friction issue. But if parts still break sometimes or need constant reapplication, the spray is only masking a mechanical problem like an undercut or poor draft angle.
When a part sticks, we need to figure out if it is being held by friction or by a physical obstruction. Think of it like trying to pull a wooden block across a rough tabletop. Sanding the table smooth or adding oil (reducing friction) will make it slide easily. But if a nail is sticking up through the table, no amount of oil will help; you have to remove the nail (the mechanical lock). In molding, especially with filled PPS grades, the "roughness" can come from the tool's surface finish, and the "nail" can be a feature with no draft. Release agent is the oil. It is great for friction, but powerless against a nail. We need to use the agent's effect as a diagnostic tool.
Differentiating Friction from Mechanical Issues
We can look at the symptoms to decide the likely cause. I use a simple table to help organize my thoughts when troubleshooting.
| Symptom or Clue | Likely Cause (Friction) | Likely Cause (Mechanical Lock) |
|---|---|---|
| Effect of Release Agent | Breakage stops for many cycles. | Breakage continues, maybe less often, but is not eliminated. |
| Location of Breakage | Scuff marks or drag along a long wall. | Clean snap at a specific feature like a rib or boss. |
| Problem with Short Shots | Short shots eject easily. | Even short shots break, as the lock engages before the part is full. |
| Tool Wear Pattern | General polishing or fine scratches along the direction of ejection. | Localized gouging or peening at a specific corner or feature. |
Looking for Mechanical Locks That Release Agent Cannot Fix?
Are you frustrated that even with a coated mold, your PPS parts are still cracking on ejection? The problem might be a physical trap in your tool that you cannot see easily.
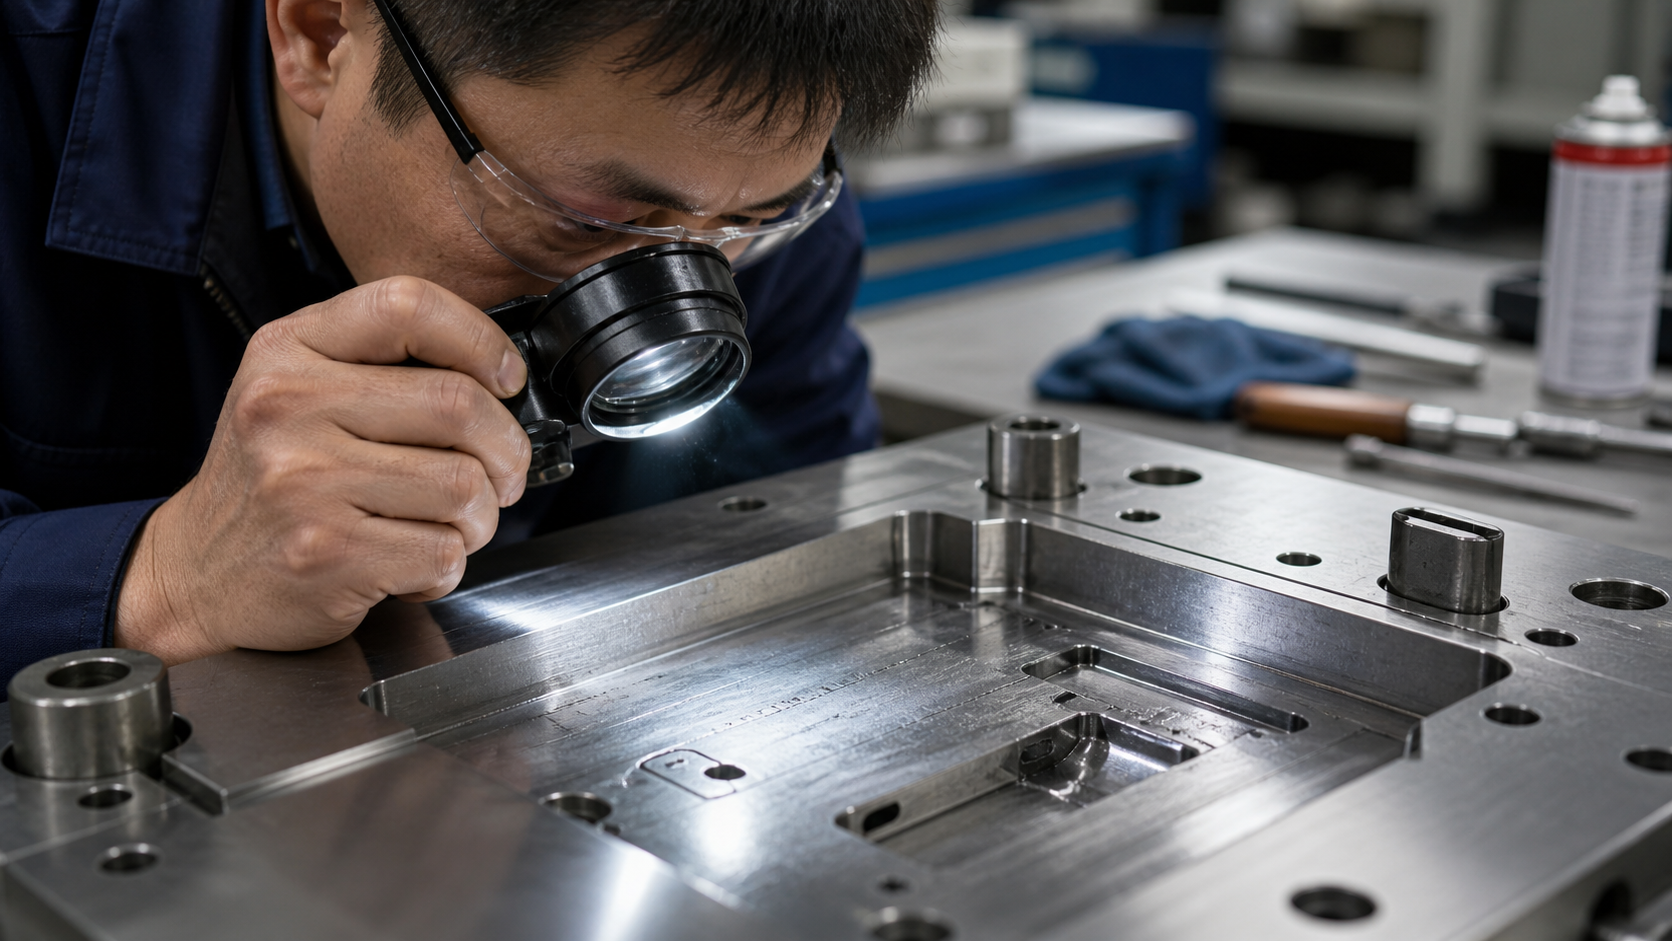
Look for undercuts, zero or negative draft angles, and rough surfaces from EDM or tool wear. These create physical locks that grip the PPS part as it cools and shrinks. A release agent is only a lubricant; it cannot overcome a mechanical obstruction that requires physical force.
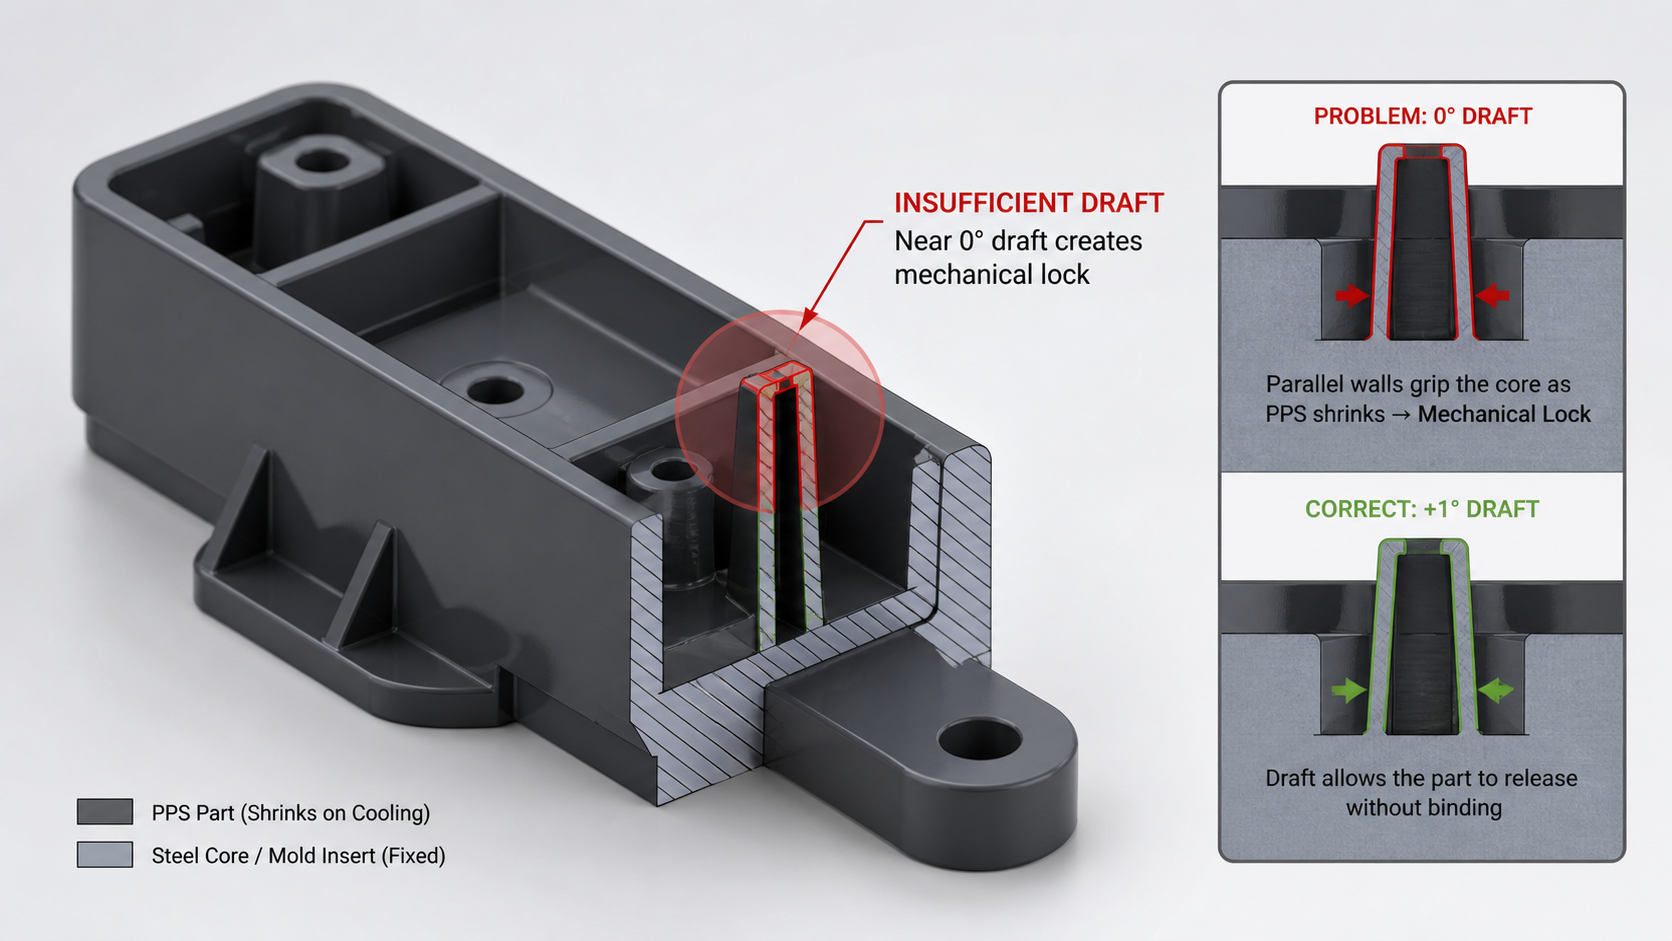
I once worked on a project with a 40% glass-filled PPS part. A small, thin rib kept snapping off during ejection. At first, we blamed the material, thinking it was too brittle. We tried more release agent, higher mold temperatures, and slower ejection speeds. Nothing worked consistently. The problem was not the material or the process. We finally took a hard look at the tool itself. It turned out the draft angle on that tiny rib was almost zero. The steel walls were basically parallel. As the stiff, strong PPS material cooled and shrank, it gripped that steel core like a vise. No amount of spray could have fixed that. We had to take the tool out of the press and have a toolmaker grind a one-degree draft angle on that feature. After that, the parts ejected perfectly every single time. This experience taught me to always suspect the tool first when release agent does not provide a clear and lasting solution.
Tracking Breakage Over Repeated Treated Cycles?
You spray the mold, and the next few shots are fine. Then, the breaking starts again. This pattern is not a failure; it is a critical piece of evidence for your investigation.
Systematically track the number of successful shots between failures after applying release agent. A short, predictable number of good cycles suggests the agent is burning off or being stripped, pointing to a high-friction surface. Erratic, unpredictable failures point toward a mechanical issue or process instability.
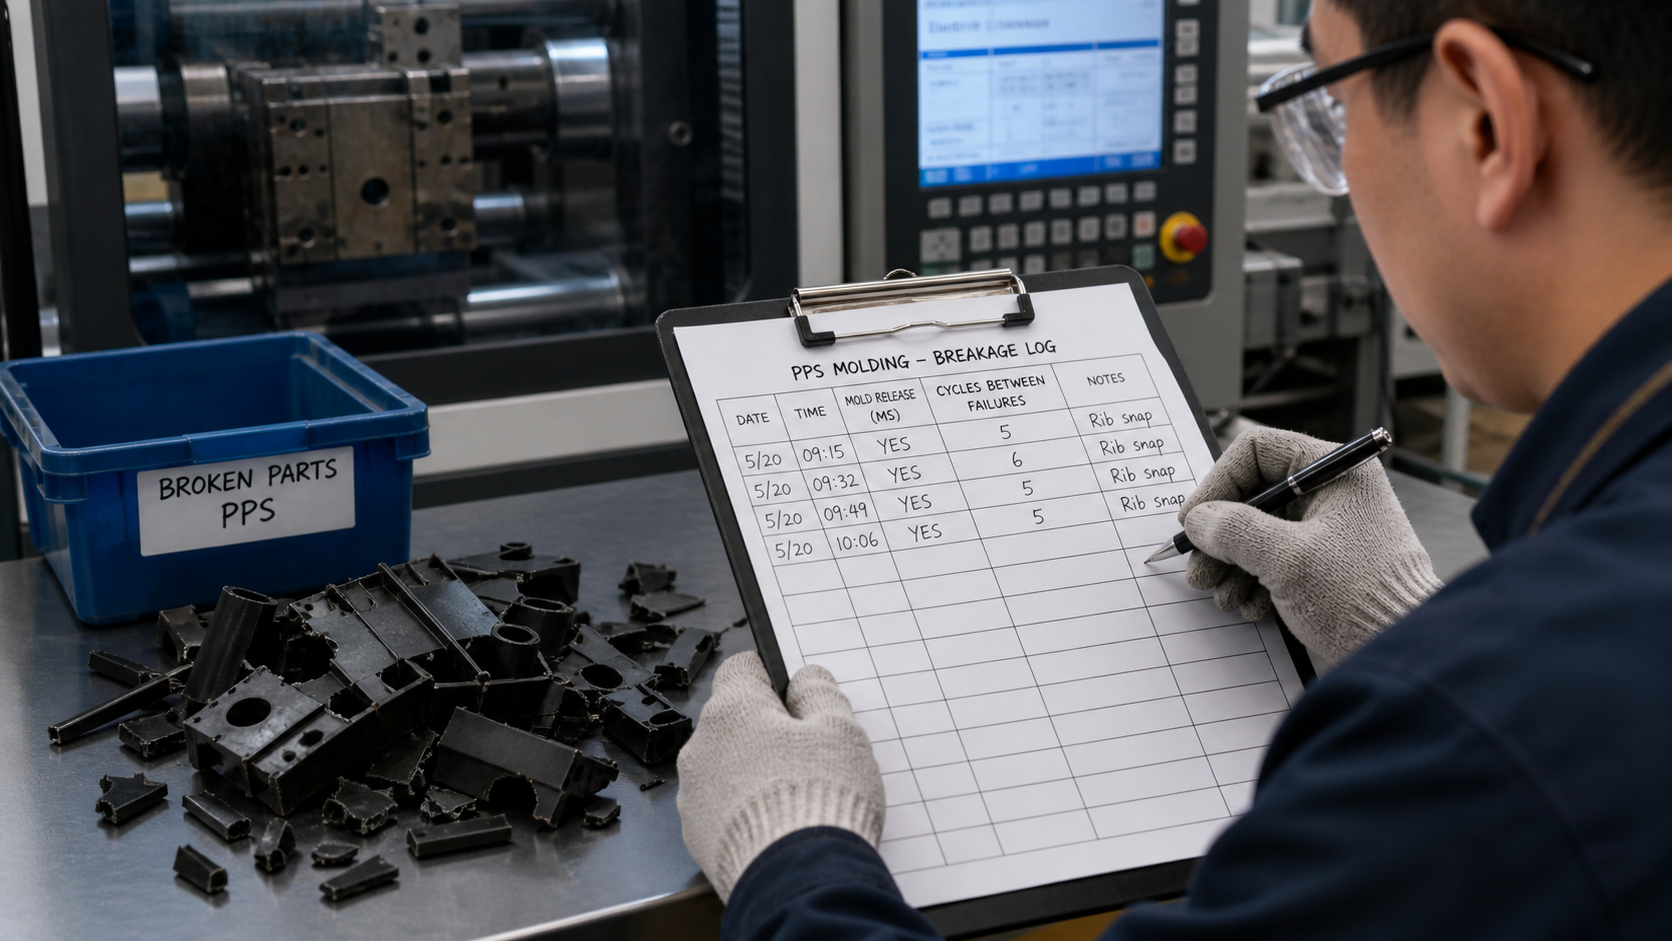
Instead of just spraying the mold whenever a part breaks, turn your troubleshooting into a simple experiment. This is how we gather evidence instead of just guessing. Get a clipboard or a notepad and start a log. Spray the mold cavity once with a consistent, light coating. Then, run the press and count how many parts eject cleanly before the first one breaks again. Write that number down. Do this three or four times to see if a pattern emerges. If the part breaks after 5 cycles, then 6 cycles, then 5 cycles again, you have a very strong clue. This tells you the release agent is working, but its effect is temporary. The problem is very likely related to high surface friction that the spray is temporarily fixing. But if the breakage is random—it breaks on cycle 2, then runs fine for 20 cycles, then breaks on cycle 8—the problem is less likely to be simple friction. That kind of inconsistency often points to a mechanical issue where the part only gets stuck under certain conditions.
Choosing a Lasting Tool Correction From the Evidence?
You have gathered your evidence and identified the likely cause. Now what? Making the right tool correction saves a lot of time and money, but choosing the wrong one means you will be right back here again.
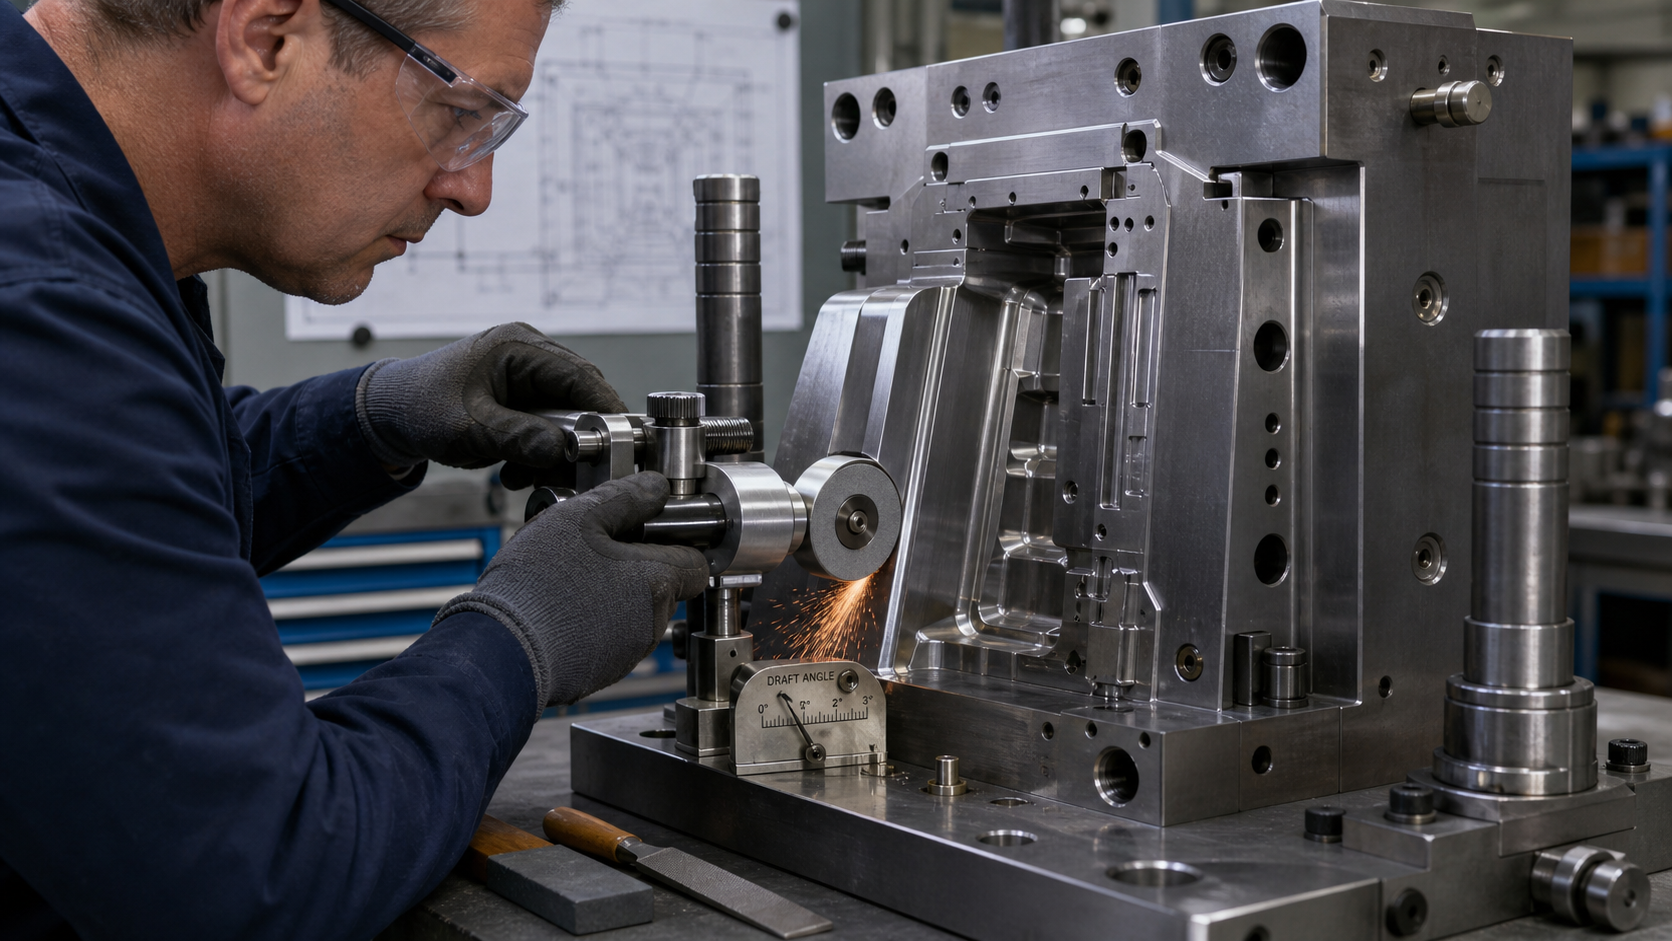
If your evidence points to friction, the best long-term fix is improving the tool surface by polishing or applying a permanent, low-friction coating. If the evidence shows a mechanical lock, the tool steel itself must be modified by adding draft, radiusing sharp corners, or removing undercuts.
The data you collected tells you what to do next. You should not just guess. If your tracking log showed that release agent consistently worked for a predictable number of cycles, the problem is friction. The solution is to make the mold surface permanently slicker. You could have the mold cavity and core polished to a better surface finish, like an SPI A-2. An even better, more durable solution is to have a specialty coating like Nickel-Teflon or diamond-like carbon (DLC) applied. These create a permanent, low-friction surface.
On the other hand, if your evidence—like breaking short shots or inconsistent failures—points to a mechanical lock, no amount of polishing or coating will fix it. You have to change the steel. This means taking the mold to the tool shop to add more draft angle to vertical walls, increase the size of radii in sharp internal corners, or carefully grind away any unintended undercuts. This is a more involved repair, but it is the only way to fix a true mechanical lock. The key is to match the solution to the specific problem you have proven.
Conclusion
Stop relying on temporary sprays for PPS molding problems. By systematically checking for friction and mechanical locks, you can find the root cause of part breakage and apply a permanent, evidence-based correction.